

Erin & Ken’s Backyard: Almost There!


Apartment Therapy’s annual Small/Cool Contest is back again! Look inside 71 homes and tell us which is the smallest and coolest. The grand prize winner will get $1,000.Start voting now!

Name: Erin & Ken
Type of Project: Backyard Redesign
Location:Upper Tangletown — Minneapolis, Minnesota
Type of building: 1930s Tudor-Style Duplex
The Renovation Diaries are a collaboration with our community in which we feature your step-by-step renovation progress and provide monetary support towards getting it done in style.See all of our Reno Diaries here.
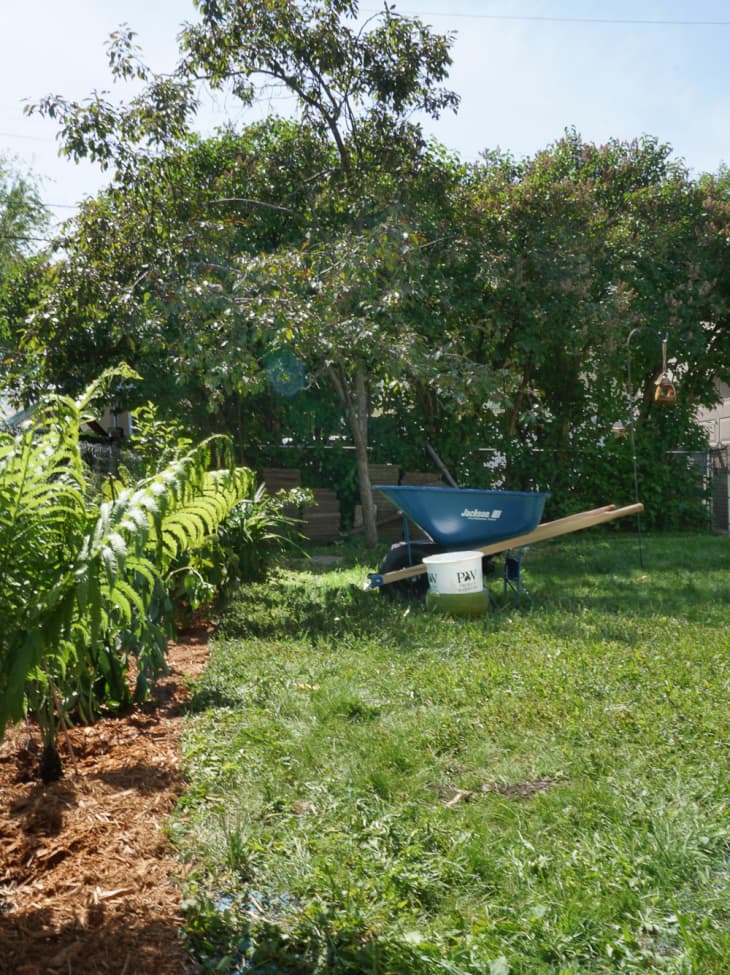
After a slow progress week last weekend, Ken and I were ready to hit the dirt and power tools with full force this weekend. We got to work finishing the perimeter plantings along the south side of the yard. There was a peony bush that was buried in a pack of ferns on the other side of the house, so we moved it to the backyard and also added in a white hydrangea bush, day lilies, and ferns in hopes that they’ll grow tall and hearty enough to hide the chain link fence behind it.
The chain link fence situation is one that I’ve been wrestling with this entire project. The fencing along the south edge of the yard is technically our neighbor’s, and somewhere along the line, the previous owner of our home fenced in our yard and hooked into our neighbor’s fence, so as not to double fence the south edge of the yard. Thus, part of the fencing is ours, and part is our neighbor’s. Needless to say, I’m not wild about the chain-link fence for aesthetic and privacy reasons, but it’s not in our budget right now to replace it, and it does keep kids and pets corralled in the yard. So for now the fence stays, and we’ll do our darnedest to camouflage it with greenery.
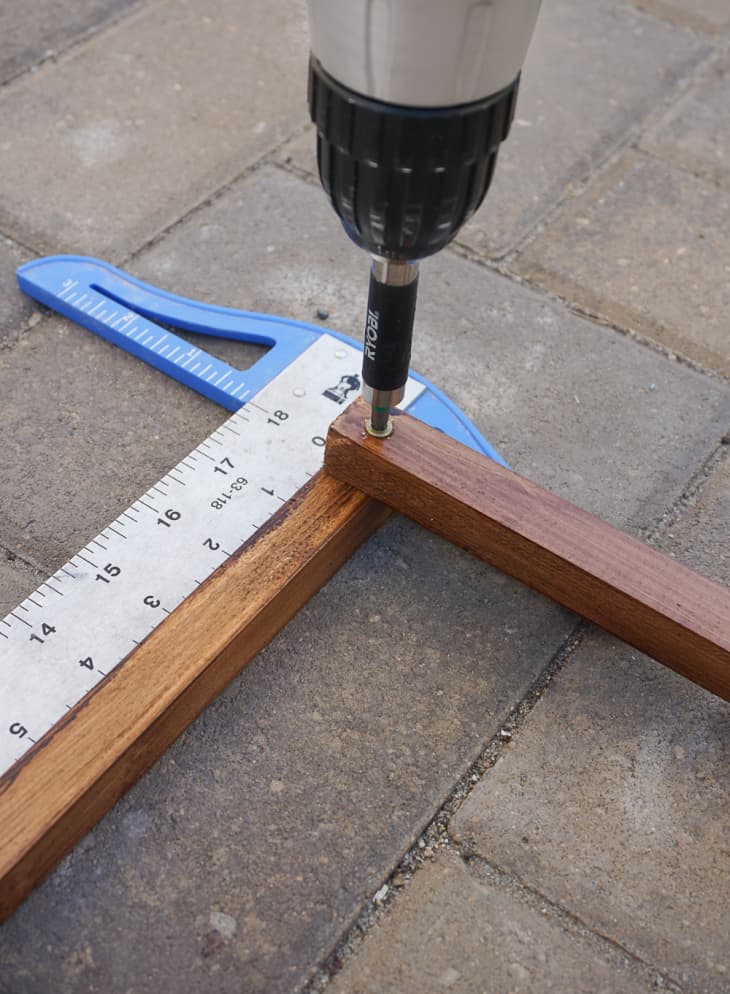
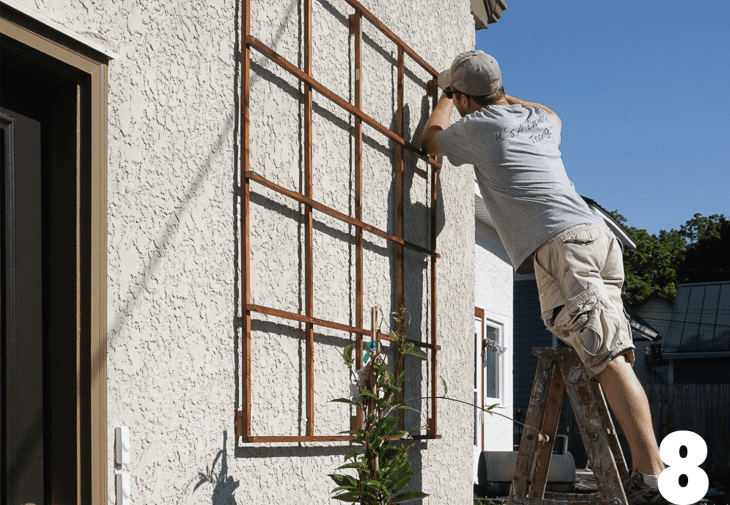
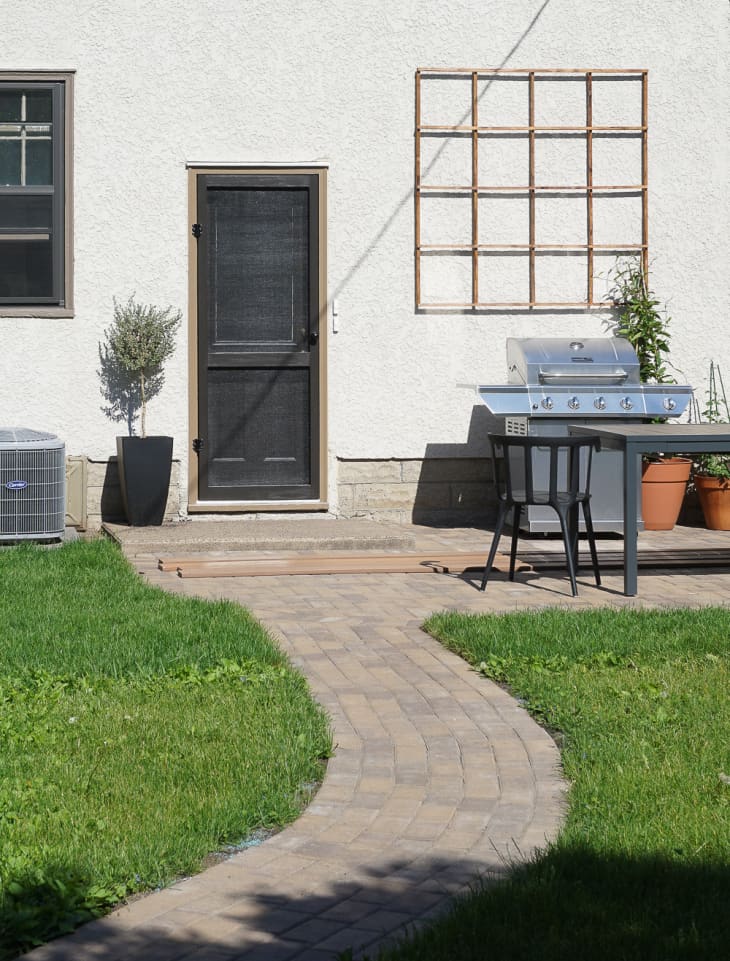
The next project on the list was a trellis grid for the wall area above the patio. If you remember in the before photos, there was a giant blank area to the right of the backdoor that was calling out to be addressed. I love the look of large, modern grid trellises, but most of the ones I’d seen were custom pieces, made of iron and were quite expensive. Though we are pretty can-do when it comes to DIY, iron welding is just not something either of us were up for tackling. Nonetheless, I wasn’t ready to let my dreams of a modern grid trellis die just yet, so I picked up ten 60” garden stakes from the garden center and began to experiment. I cut off the spiked end, stained them, formed a 5’x5’ grid, and attached them together with 1-1/2” galvanized screws. The grid took shape, and we positioned it to align with the tops of the other first floor windows. We attached it to the house with large screws and exterior caulking to seal the holes. I love the way it turned out, and I think it will be even prettier once the Mandevilla and hops start to climb it!
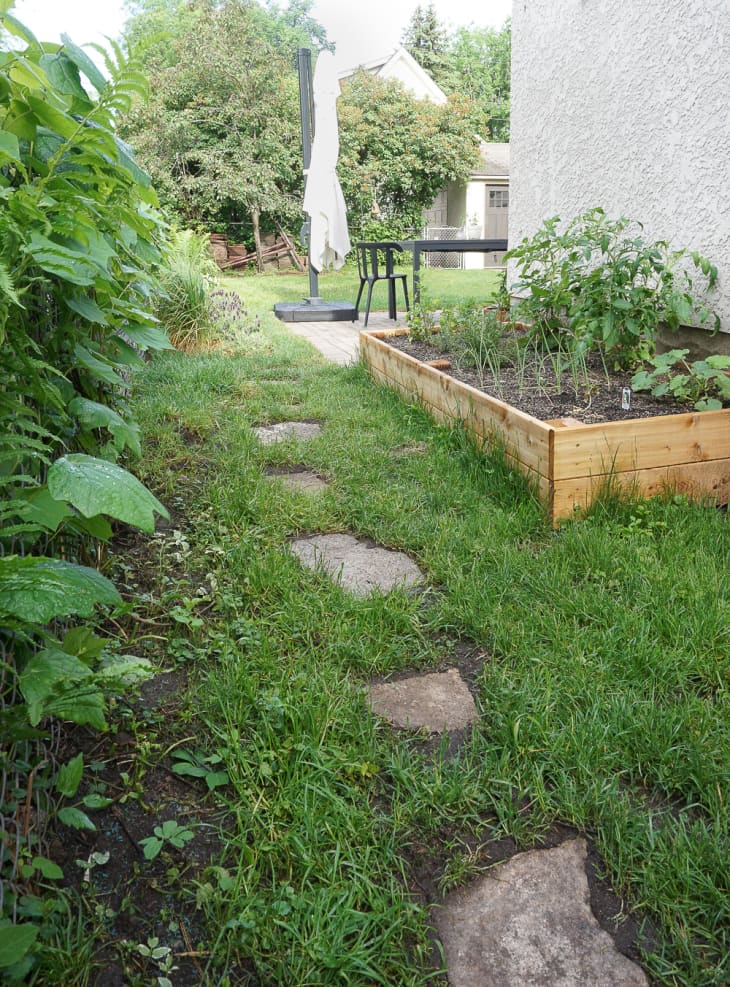
We also created a little stepping stone path along the raised garden beds as a sort of lead-in to the patio. Amidst the chaos of the yard when we purchased the home, there were lots of flagstone pieces in an area that looked like it was once a landscaped garden. I used the old flagstone for the path, and dug down around each stone so they’d be set into the ground. Lastly, I went to town with grass seed in this area, so I’m hoping it will take. As a side note, you might also notice that some of patio furniture has begun to arrive!

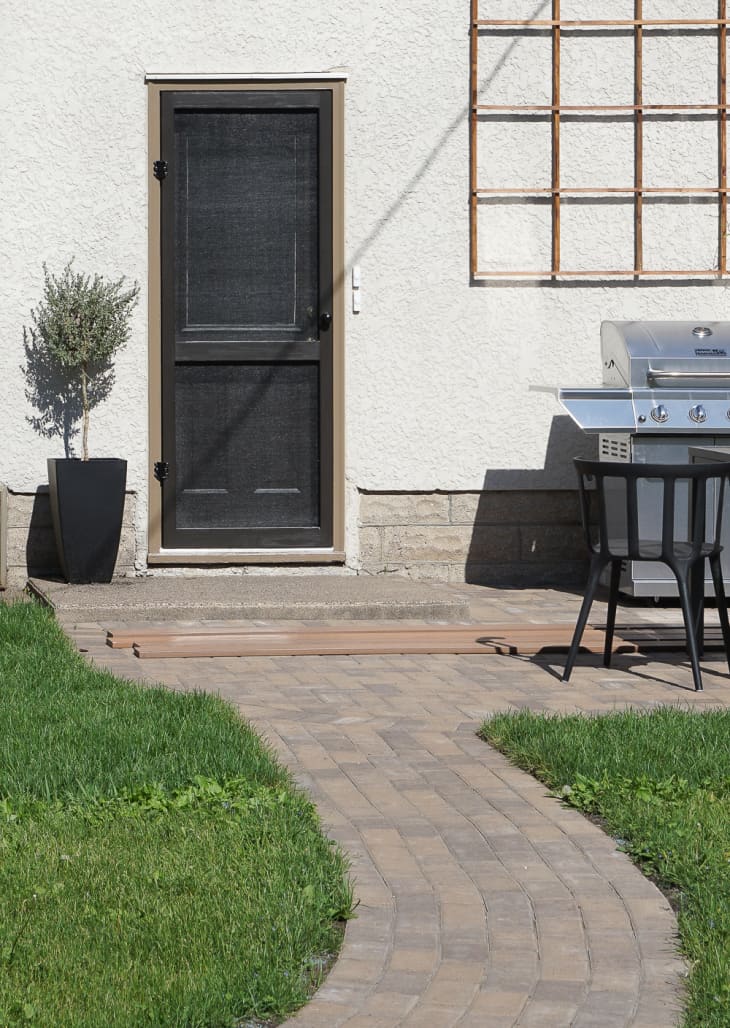
The last project for the weekend was to install the screen door. We chose a wood door so that it could easily be cut down to fit our skinny backdoor, and we painted it dark bronze to match the backdoor and the storm windows. Once the stoop is refinished and the gooseneck light goes in above the door the backdoor area will be a wrap. Things are beginning to come together, and we’re feeling encouraged by the progress that’s being made!
Estimated time for project:7 weeks
Time remaining:2 Weeks
Perecent Done:65%