

Before & After: A Free Kitchen Cart’s Sunny Save
We independently select these products—if you buy from one of our links, we may earn a commission. All prices were accurate at the time of publishing.
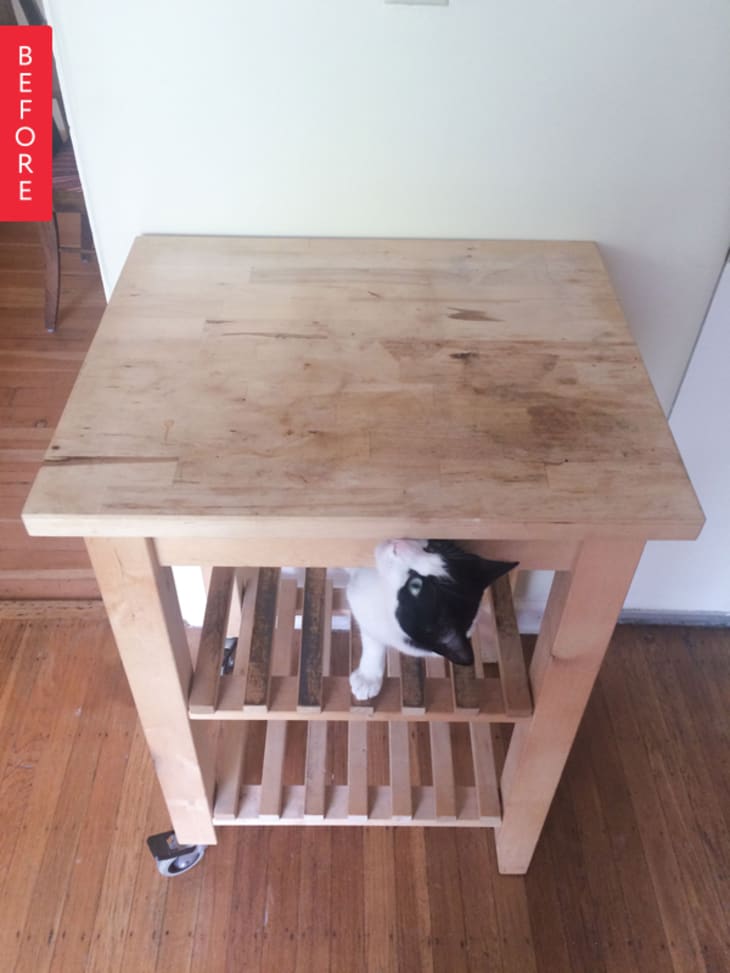

(Image credit:Bryna Shields)

Apartment Therapy’s annual Small/Cool Contest is back again! Look inside 71 homes and tell us which is the smallest and coolest. The grand prize winner will get $1,000.Start voting now!
Depleted after a long distance move, Bryna was thrilled with this free kitchen island. It proved the perfect piece to practice her DIY skills and also add an unexpected hue to her space:
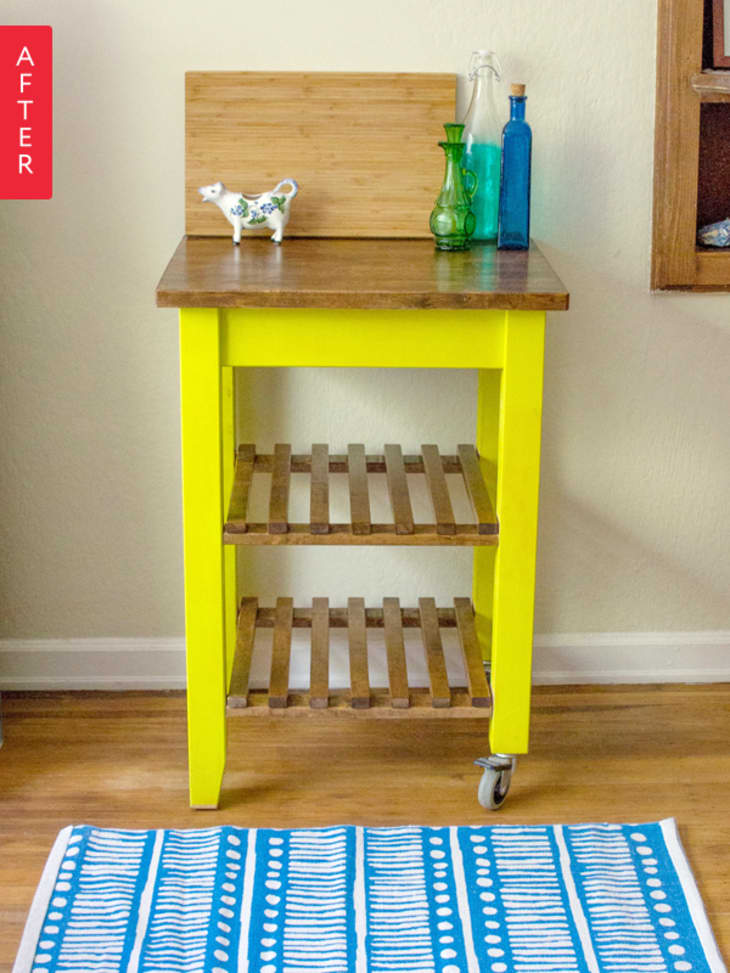
(Image credit:Bryna Shields)
From Bryna:
后一个长途的举动from Chicago to Portland, my apartment was in need of a few key pieces of furniture to round out the needs of my new space. I’d moved major pieces of furniture with me, but it was clear my new space in Portland could benefit from things like a small kitchen island. A friend of mine found a kitchen island and asked me if I wanted it for free. Without seeing the piece, I said yes. A few weeks later she dropped it off; after an expensive move I was so thankful for the free loot (and especially because it was the perfect size for my kitchen), but definitely saw the need for some improvement. The island was in sturdy shape, but the top surface and shelving was quite stained, and the wood was unfinished.结果是完美的我尝试哈nd at rehabbing furniture; since I didn’t know what I was doing, I would have been too afraid to experiment (read: potentially ruin) with a piece I’d purchased. I sanded down all the surfaces, starting with 60, then 100 and 220 grit sandpaper, by hand. I wiped it down and stained the top surface and shelves, and let it dry for a couple of days. I painted the legs a few days later after I’d finally decided on a color; after going back and forth between chartreuse and magenta, I’d settled on chartreuse because it was more unexpected and would play well with the teal cabinets in my kitchen. It turns out chartreuse is a really nerve wracking color to choose; I painted this piece outside on my front stoop, where the color looked much more yellow (not at all what I was going for). After a few coats of paint and some polyurethane on the stained portion, I finally brought it inside, where it truly looks chartreuse, is functional, and fits in with my bold and quirky style!
The process of rehabbing furniture was more fun than I anticipated – so much so that a few days later I went out and bought an old marble top side table that needed some love, and I can’t wait to start working on it!
See more over onBryna’s blog.
谢谢你Bryna !