

15 Inspiring Dresser Redo Ideas That Go Beyond Just Paint


Second to your bed, your dresser will be the biggest furniture piece in your bedroom. And for obvious reasons: It needs to be functional enough to give you sufficientbedroom storage, holding the bulk of your folded clothing, accessories, and more. But that doesn’t mean that it’s destined for a boring life that prioritizes functionality over design.
There are plenty of ways to redo a plain dresser to give it fresh style while maintaining its practicality—and they go beyond justpainting furniture! From stain to stenciling to decals and more, the options abound. The best part? These ideas work for dressers you already own, or on dressers you snag at garage sales, thrift shops, or even curbside. (And if you’re looking for tips onhow to get free furniture, we can help you with that). The moral of the story: Nearly every piece of furniture, no matter how scratched or dinged-up, has potential.
Below, find 15 of our favorite ideas for giving a plain dresser some character, or bringing an old, damaged dresser back to life. The ideas range in difficulty, but with the right tools and a little patience, you’ll be able to tackle them all. (Psst: There are even some IKEA hacks below, if you’re looking for ideas to give your piece a fresh spin.) Read on to get inspired.
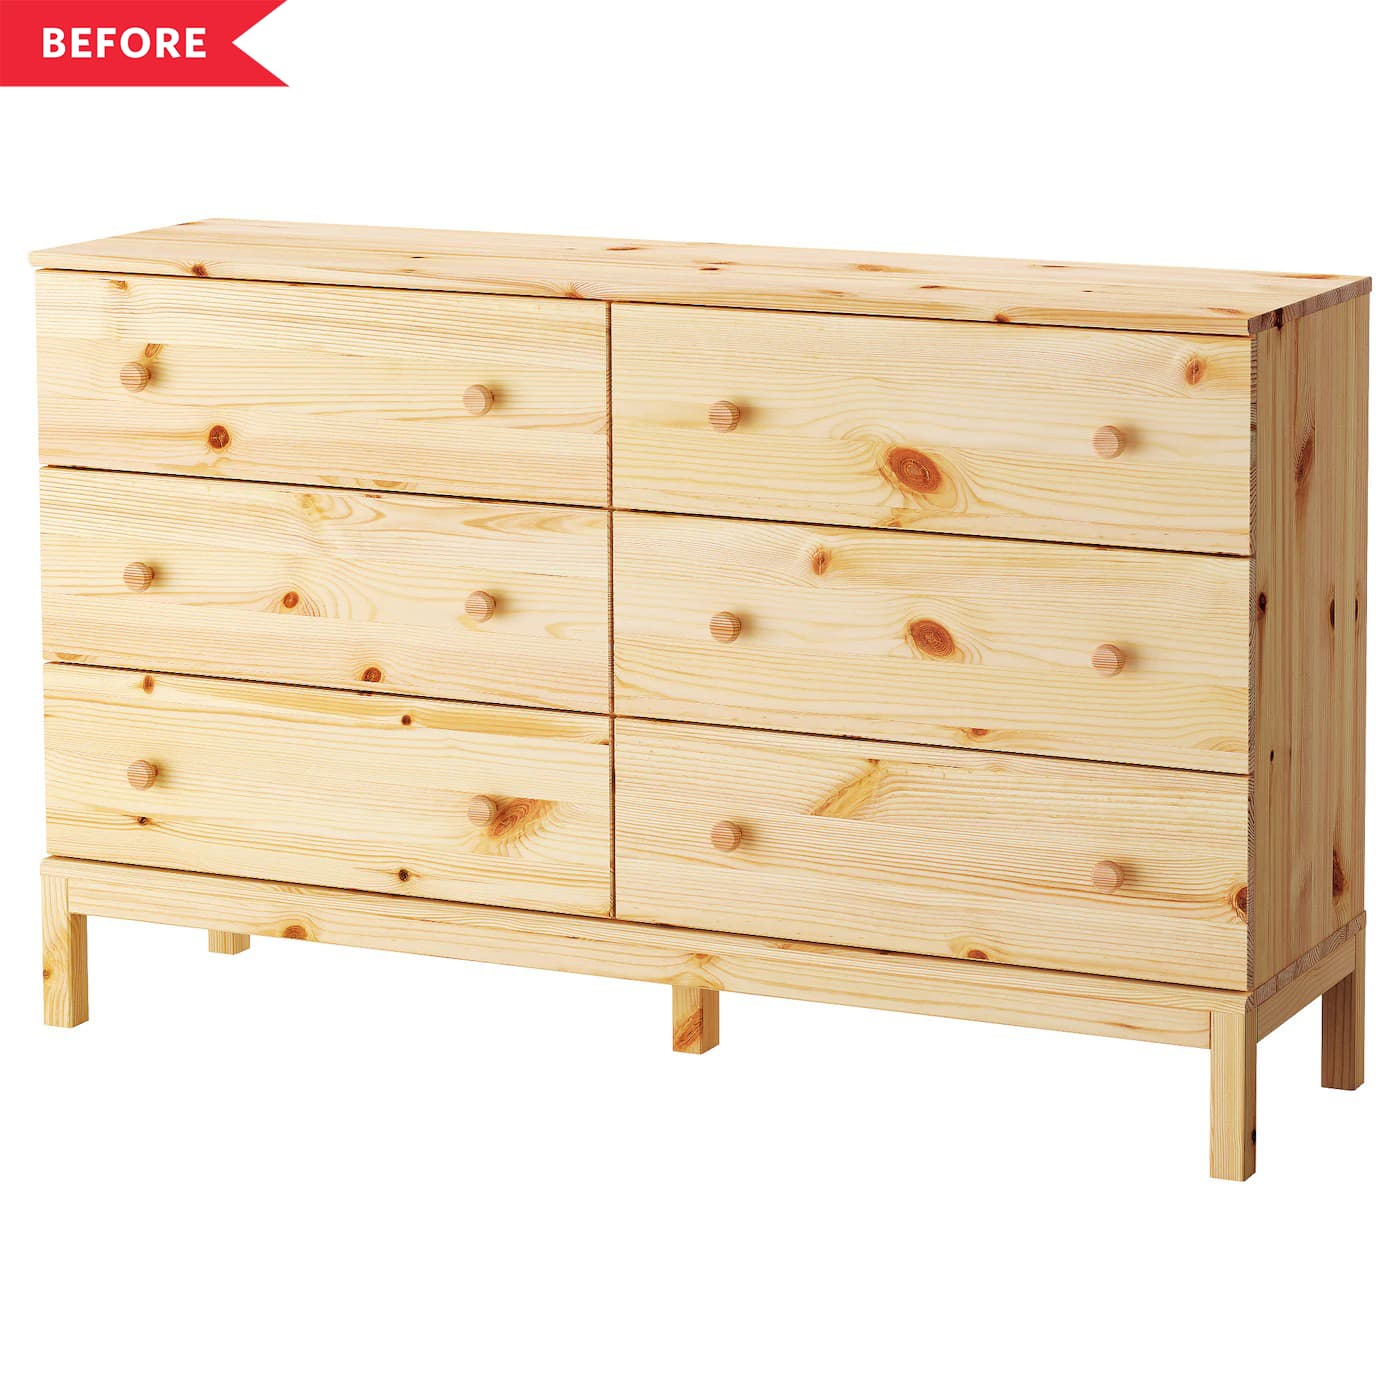

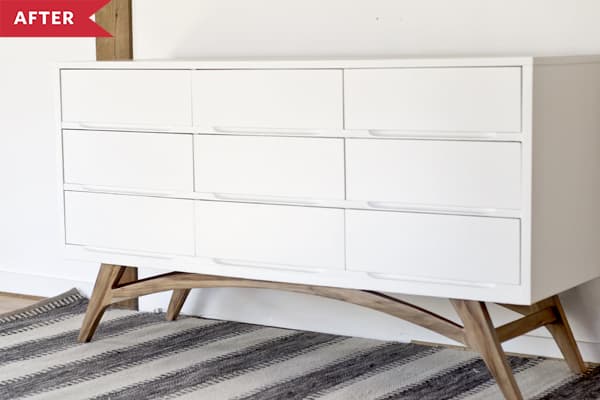
1. Taper the legs and add white paint for a mid-century look
This West Elm-inspired IKEA hack byKristina Lynnemakes theTARVAstaple completely unrecognizable.The key lies in all the clever detail work—from reshaping the legs, to swapping the knobs, to the mid-century-style walnut stain on the legs.It creates the same mid-century modern look at a fraction of the cost.
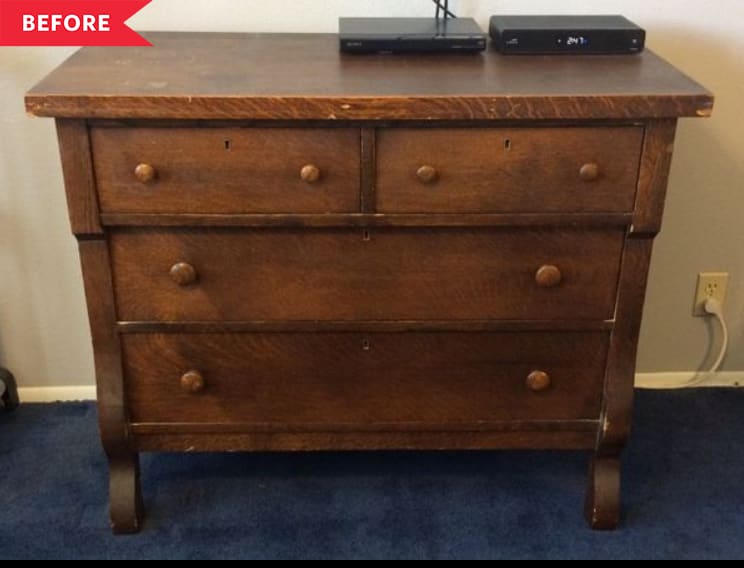
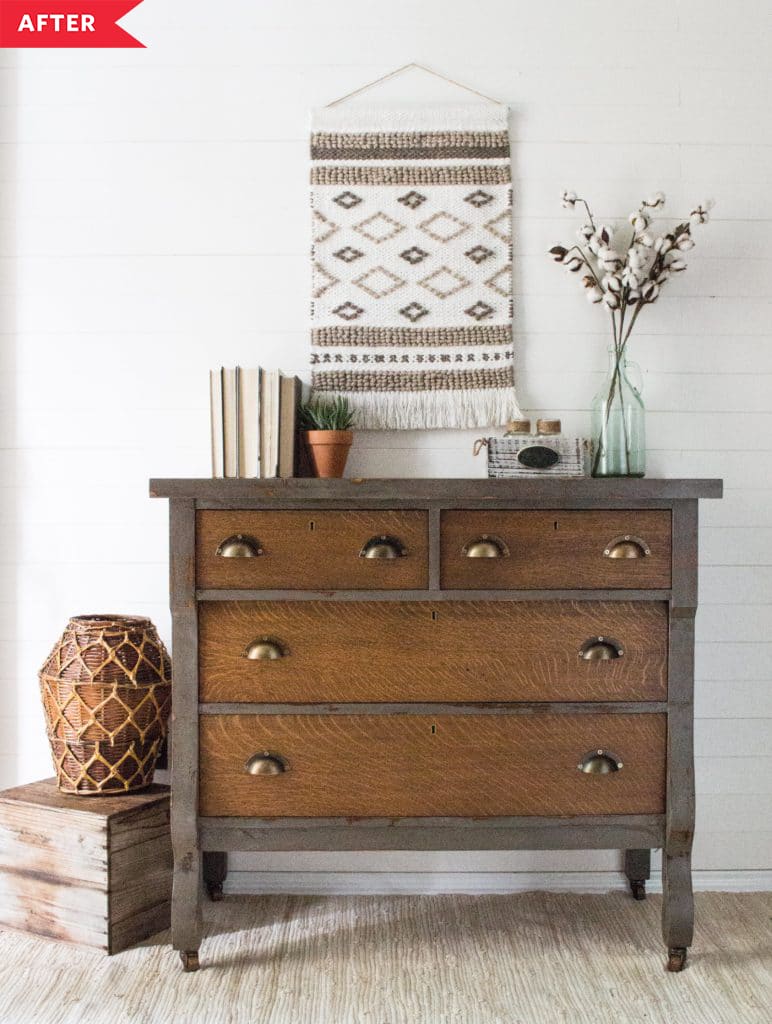
2. Highlight unique shapes with two different stains
You’ll always find unique shapes and lines in thrifted finds that are just begging to be highlighted.Crystal ofThe Driftwood Homeleveraged a tonal, gray-brown stain to call attention to the dresser’s curvy outline.It creates the perfect amount of contrast between the dresser’s frame and its drawers.
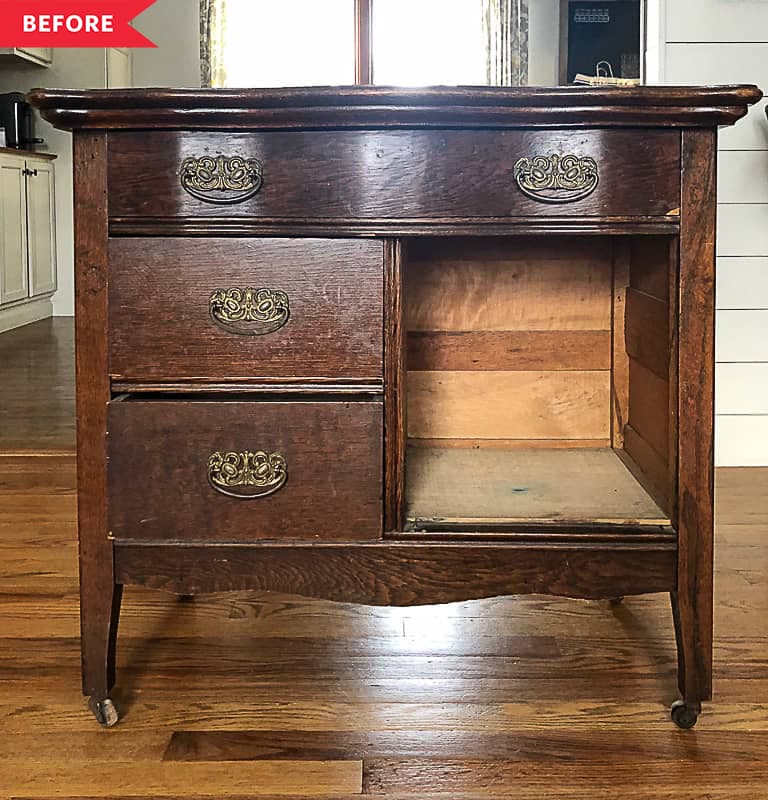
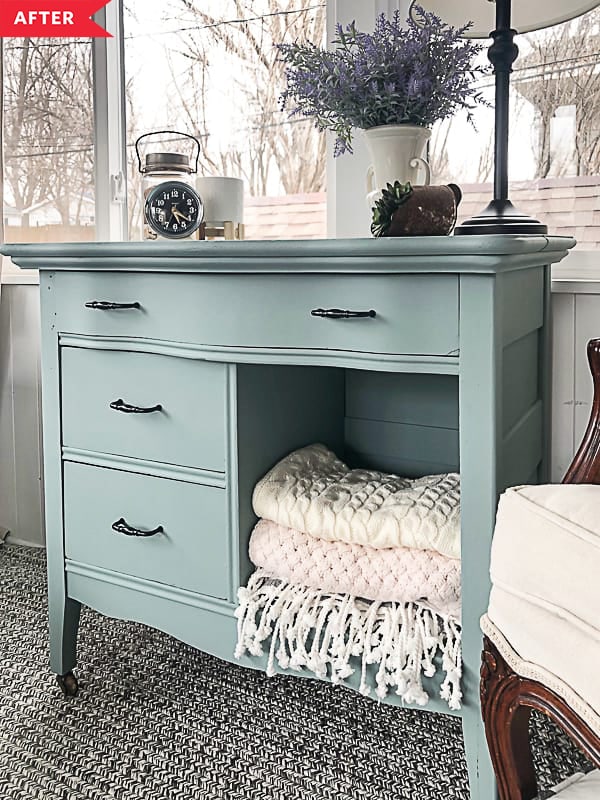
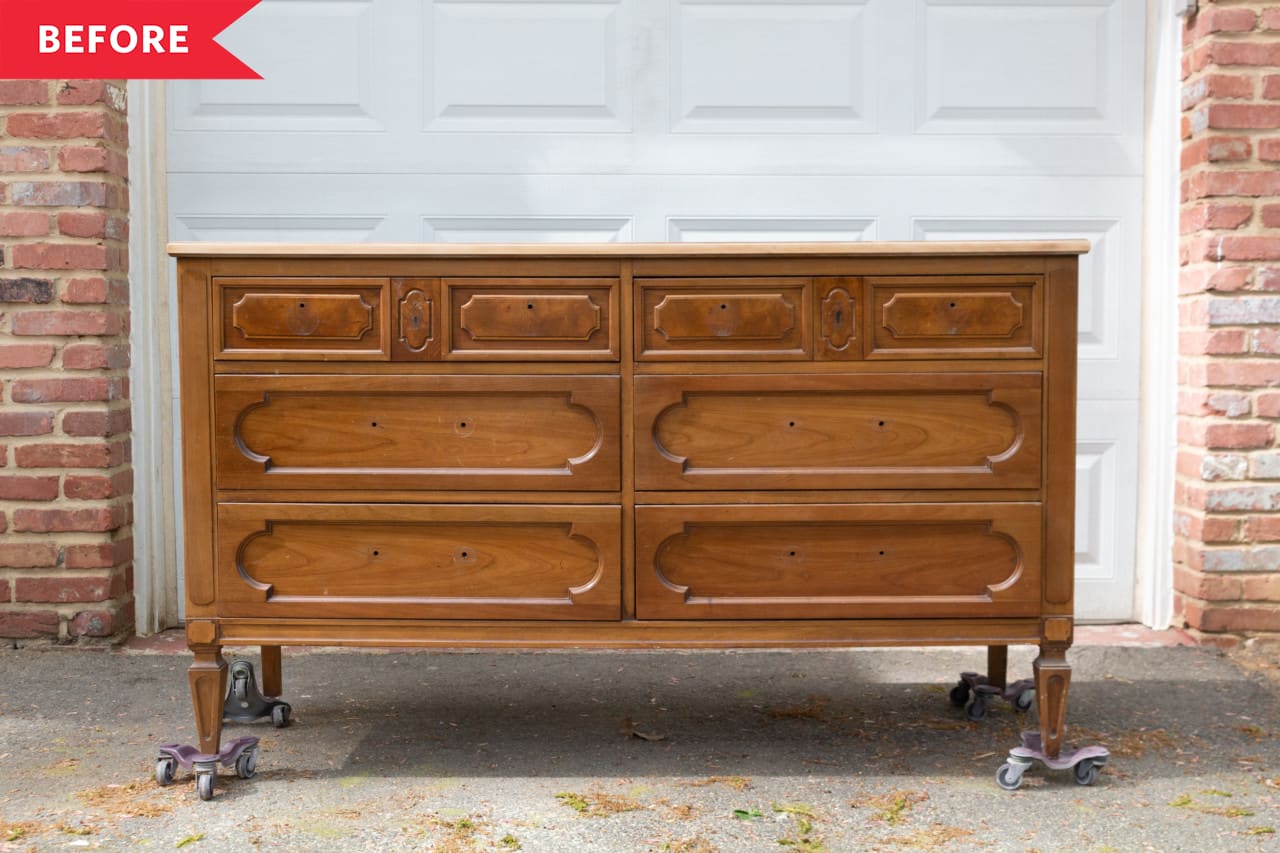
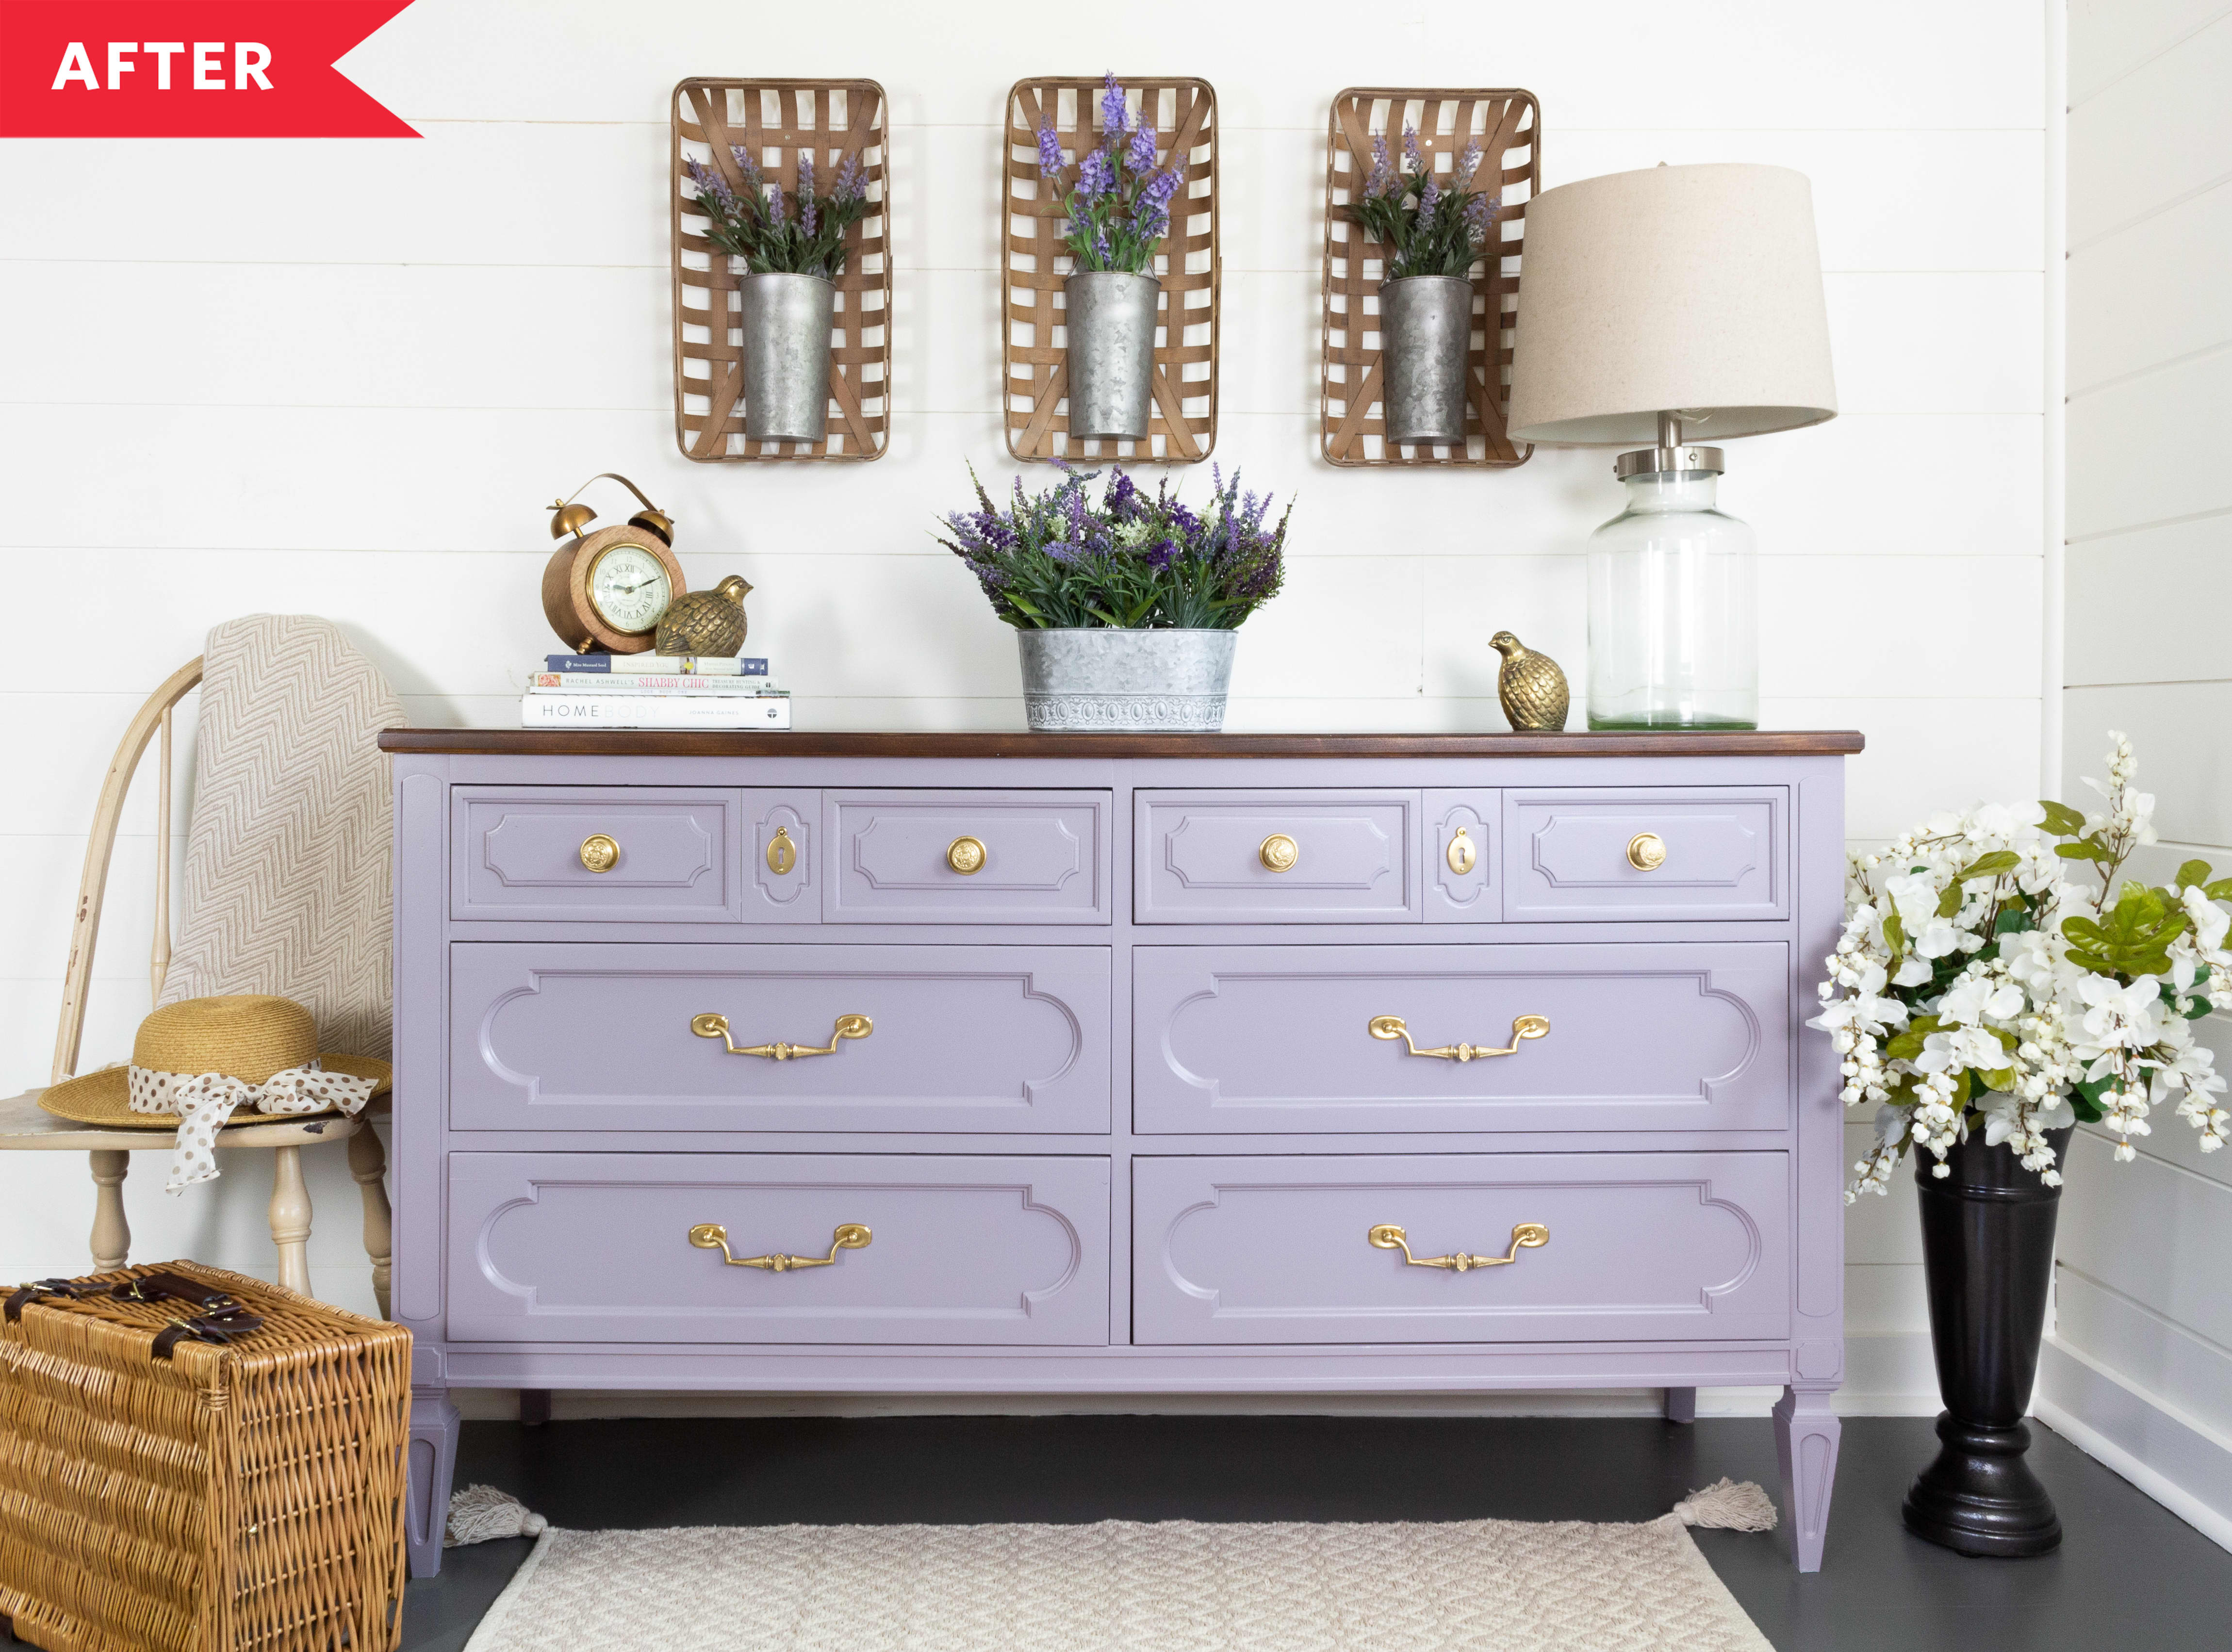
3. Leverage “faults” (and add a bright color)
This little dresser was missing a door before Lindsay, ofMy Creative Days, refreshed it.With just a fresh coat of pretty blue paint and new hardware, the open space seems more intentionaland provides the perfect amount of storage for stacked blankets. The light blue Lindsay used is a versatile pick—just take a look at all thecolors that match with blue.
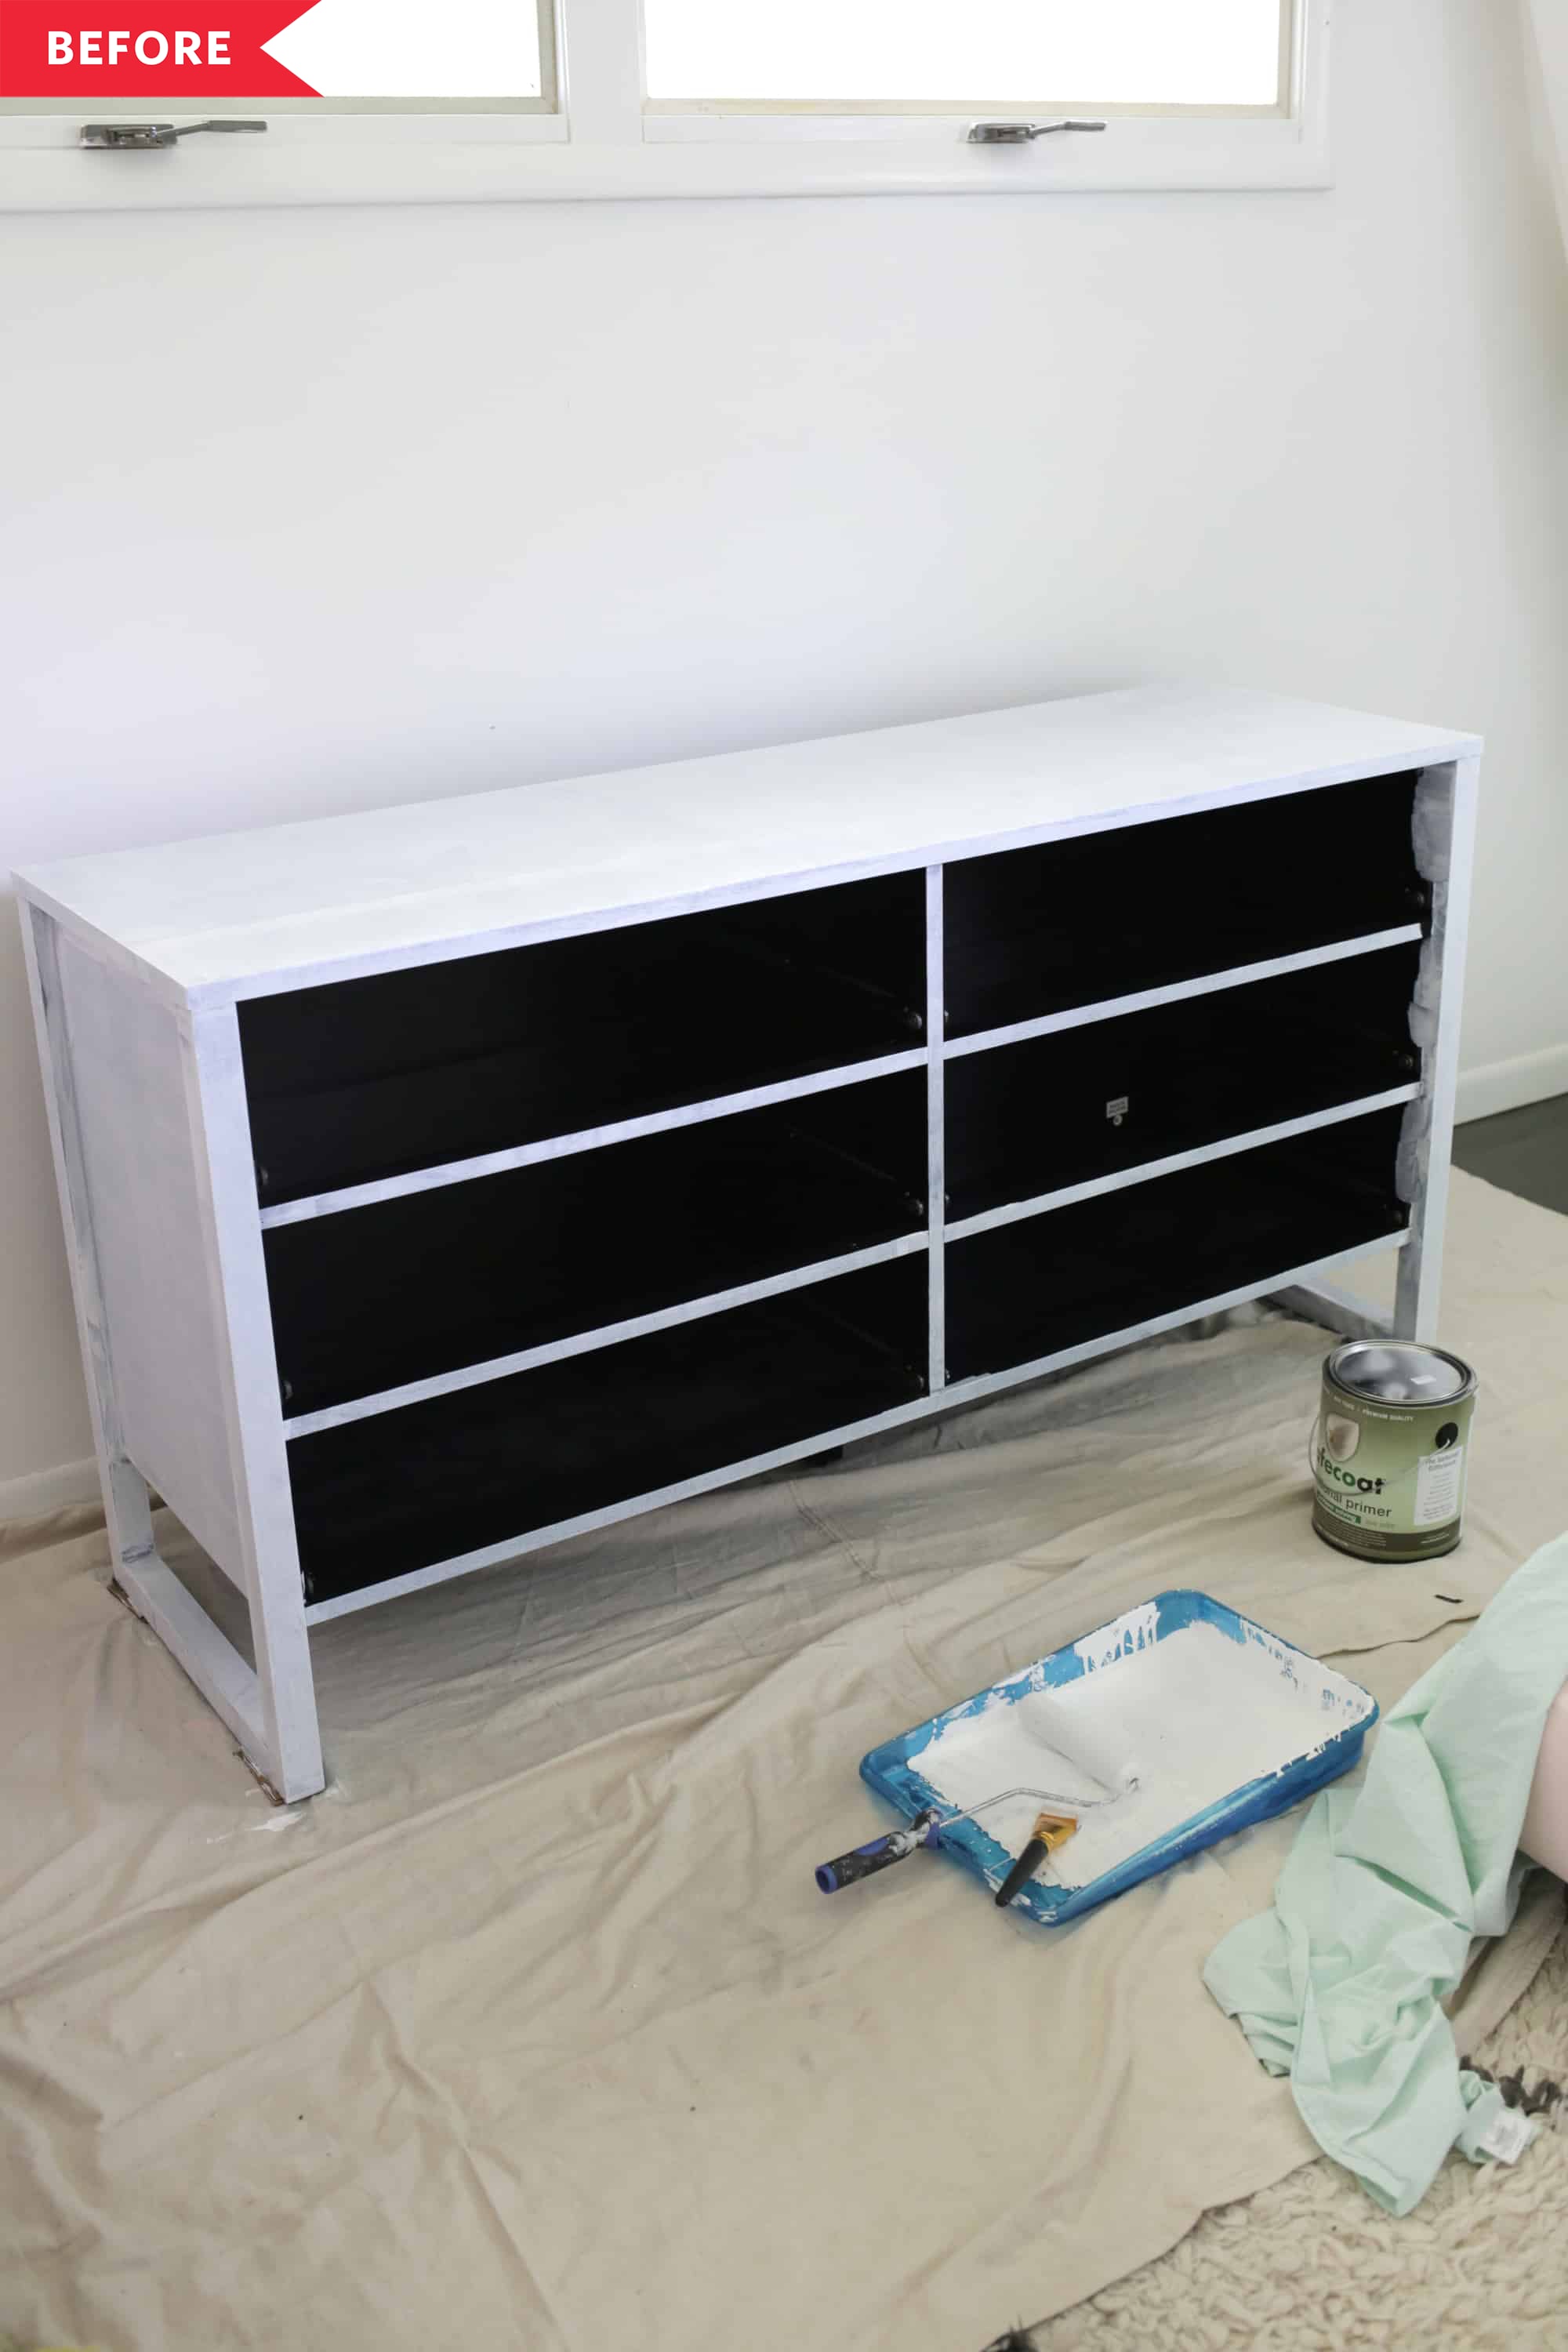
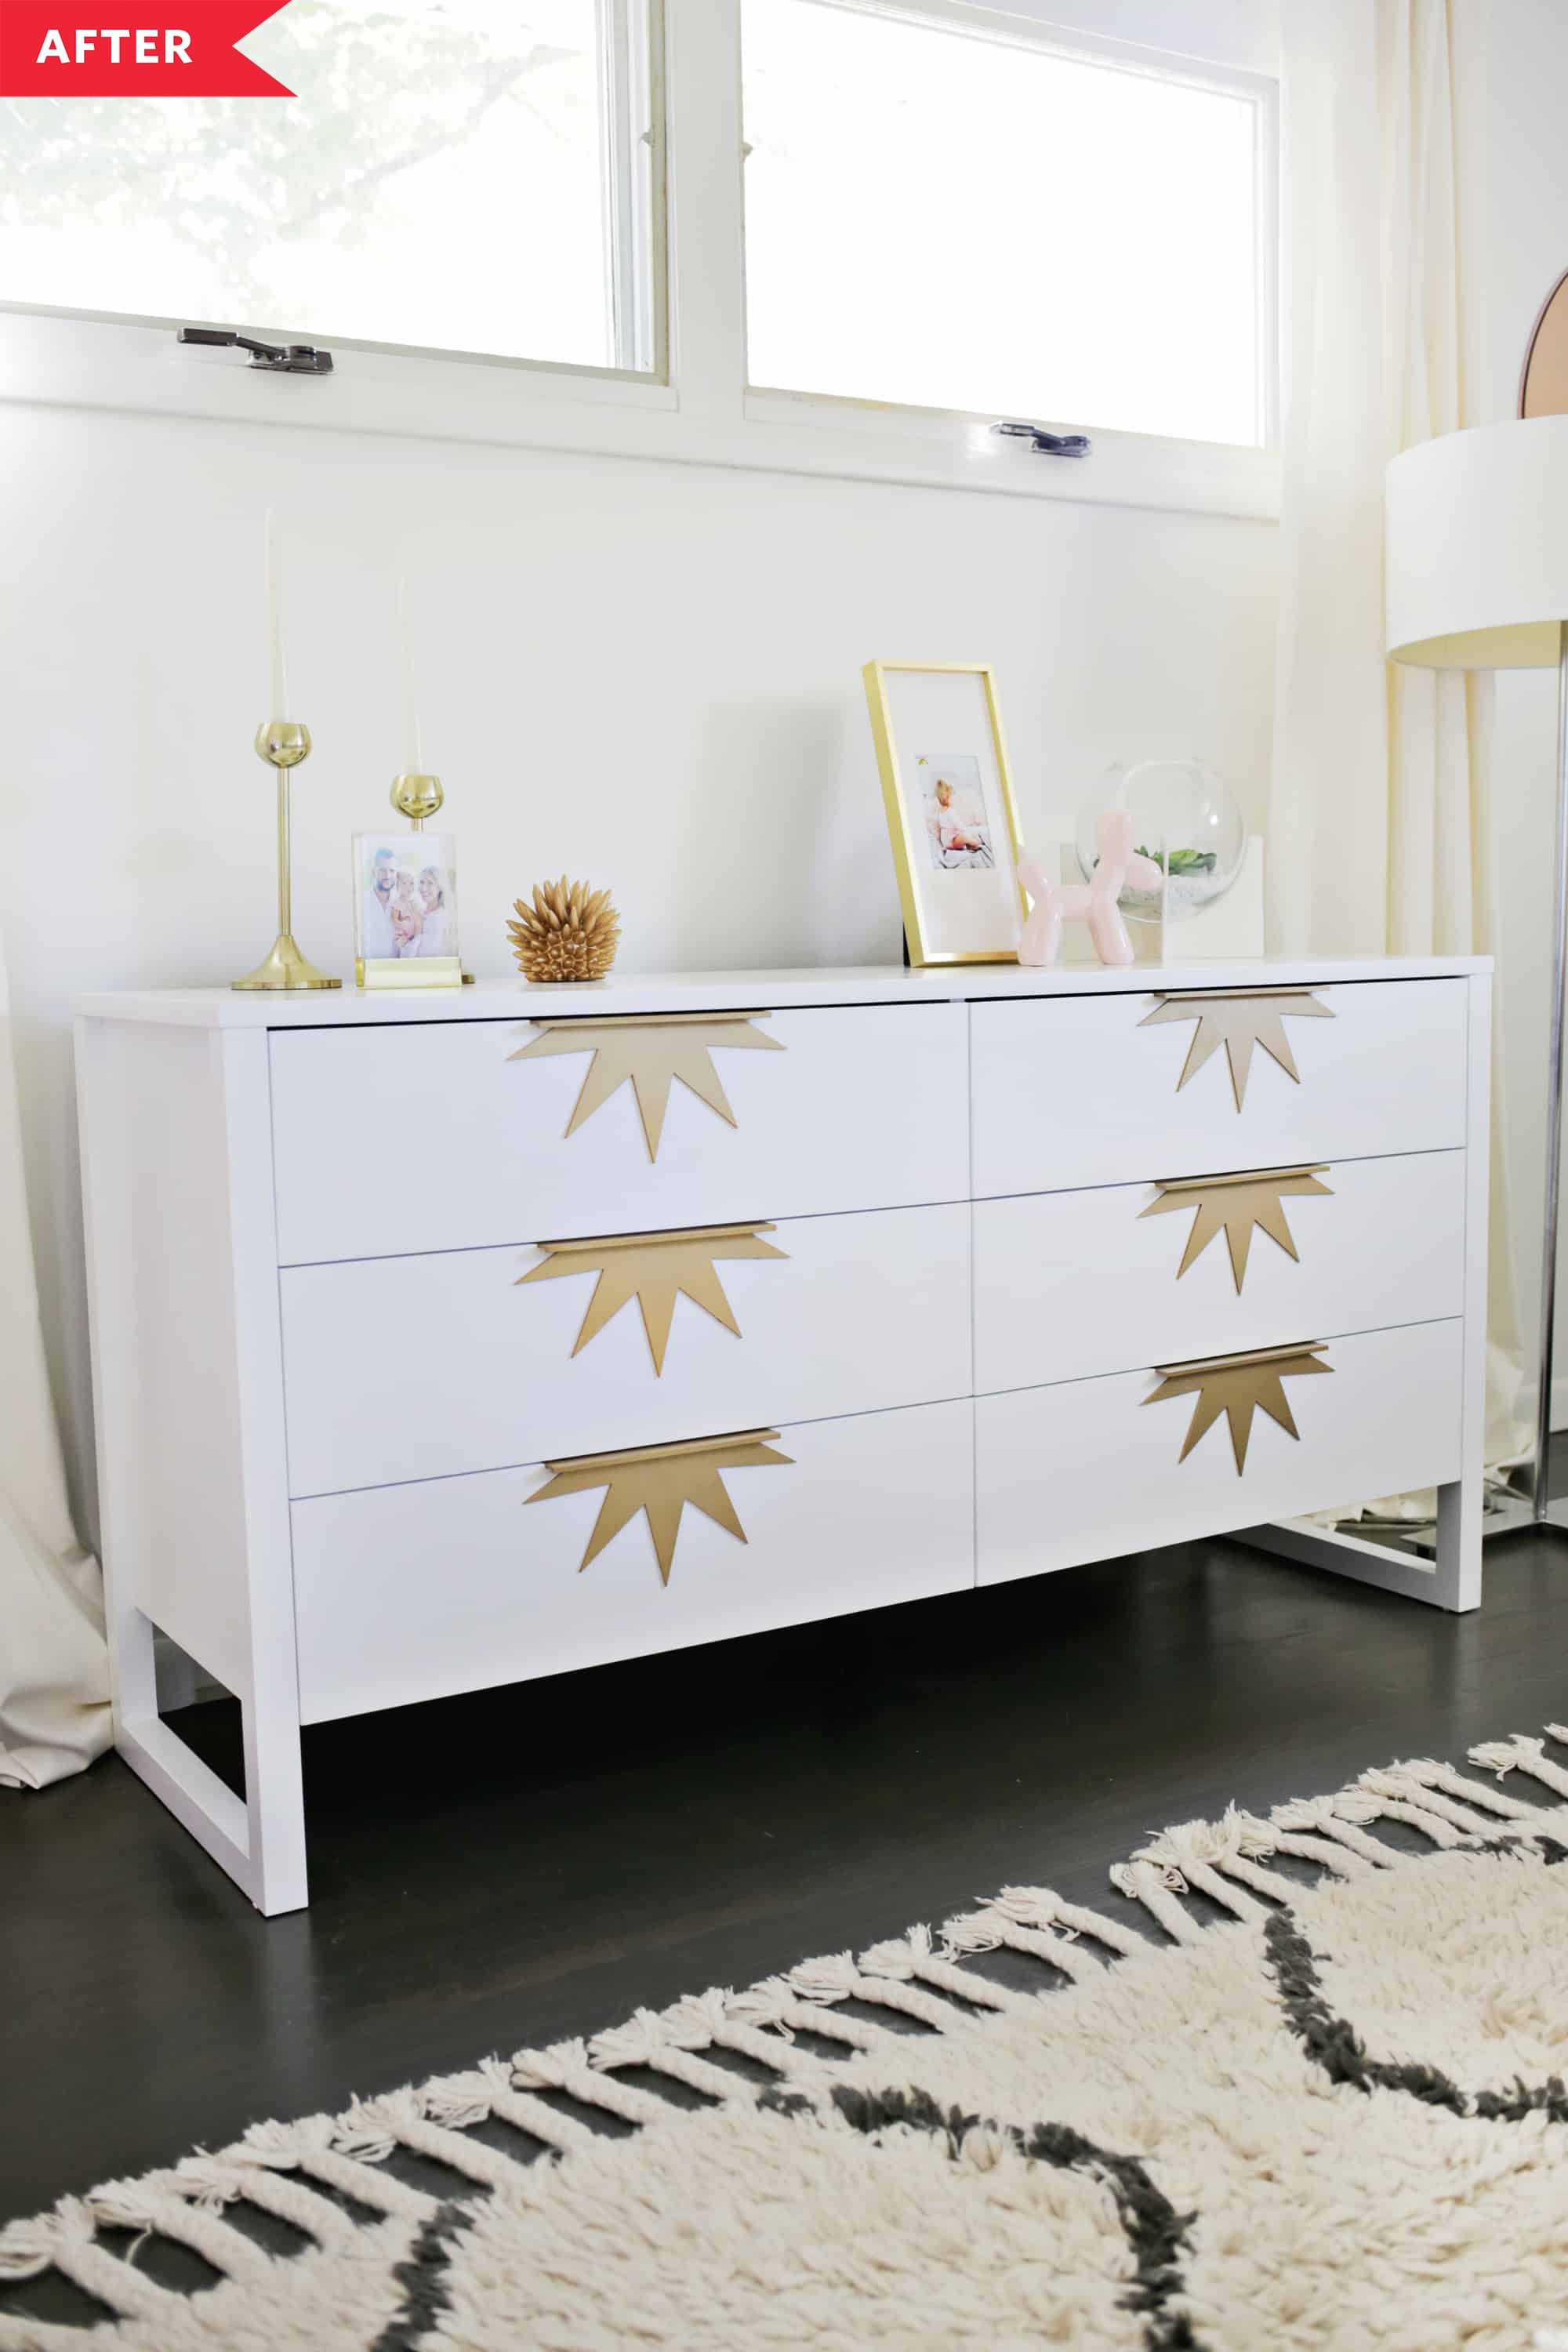
4. Paint it, then add extra sparkle to the drawers
Laura atA Beautiful Messwas tired of the big, black dresser in her bedroom bringing down the whole space and thought eight years of not loving it was finally enough.Besides painting the body white and hardware gold, she made custom sunburst medallions to spruce up the drawer fronts.现在,回声的棕榈泉的氛围rest of her home.
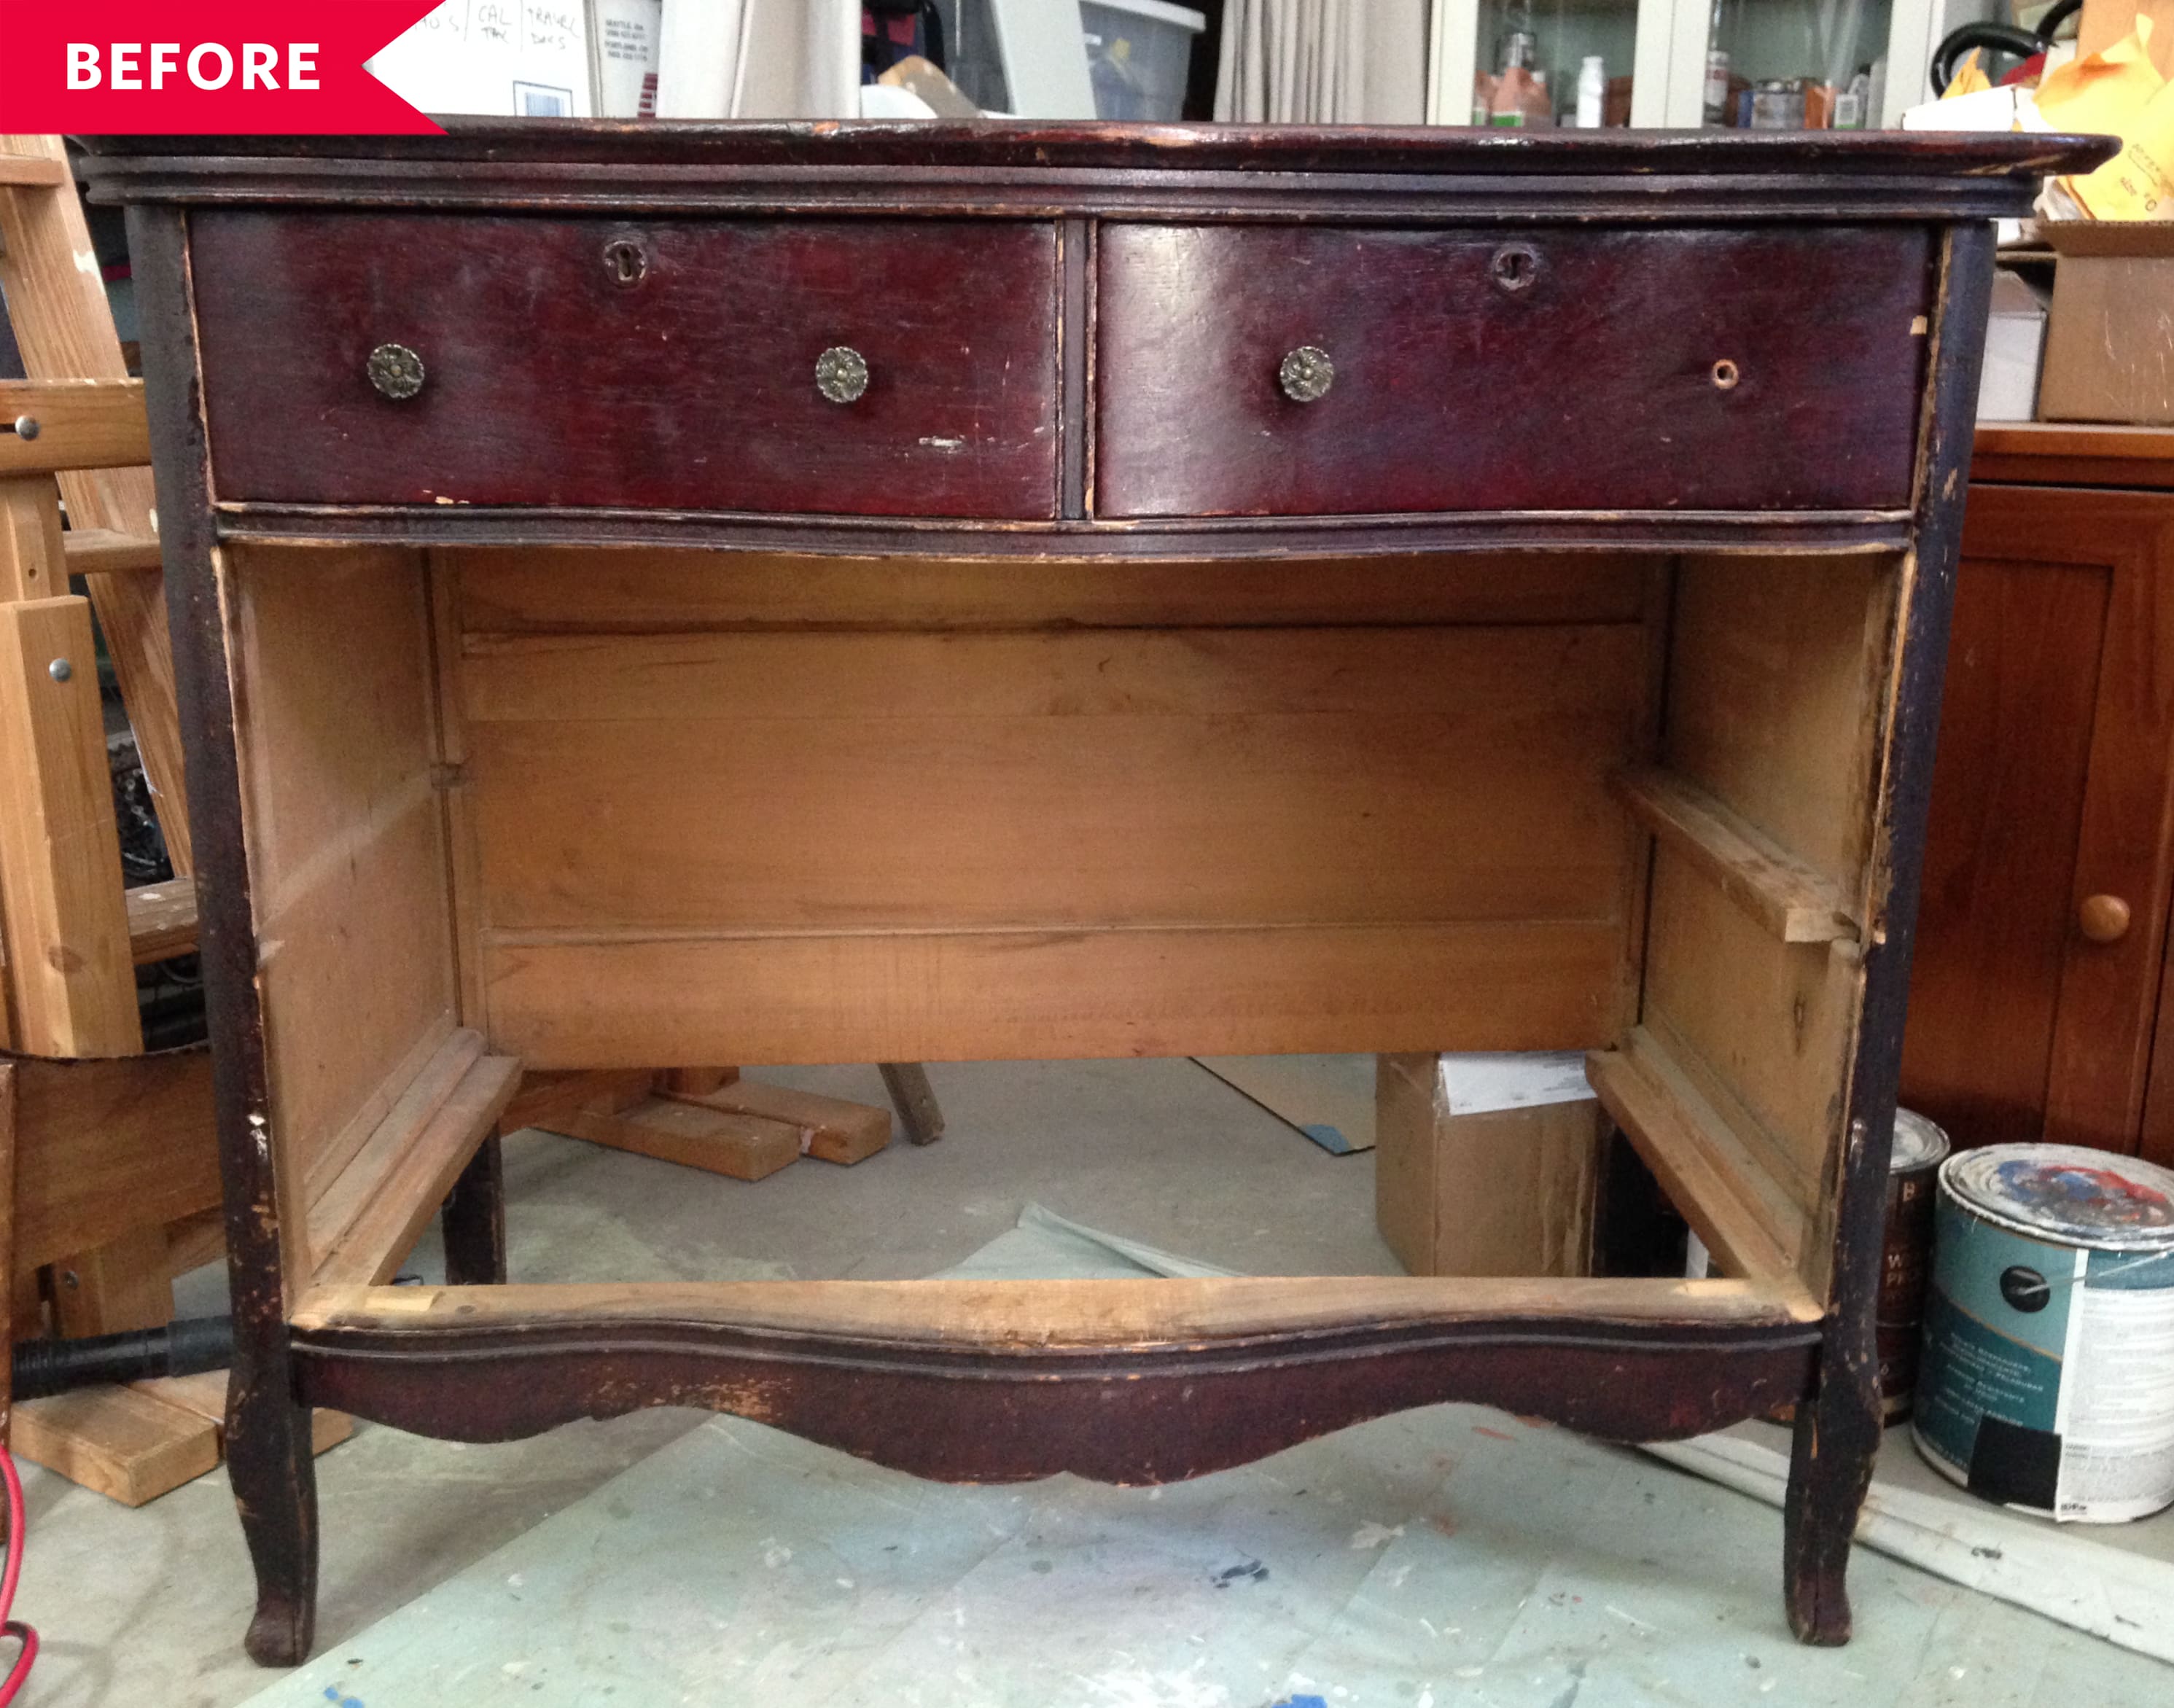
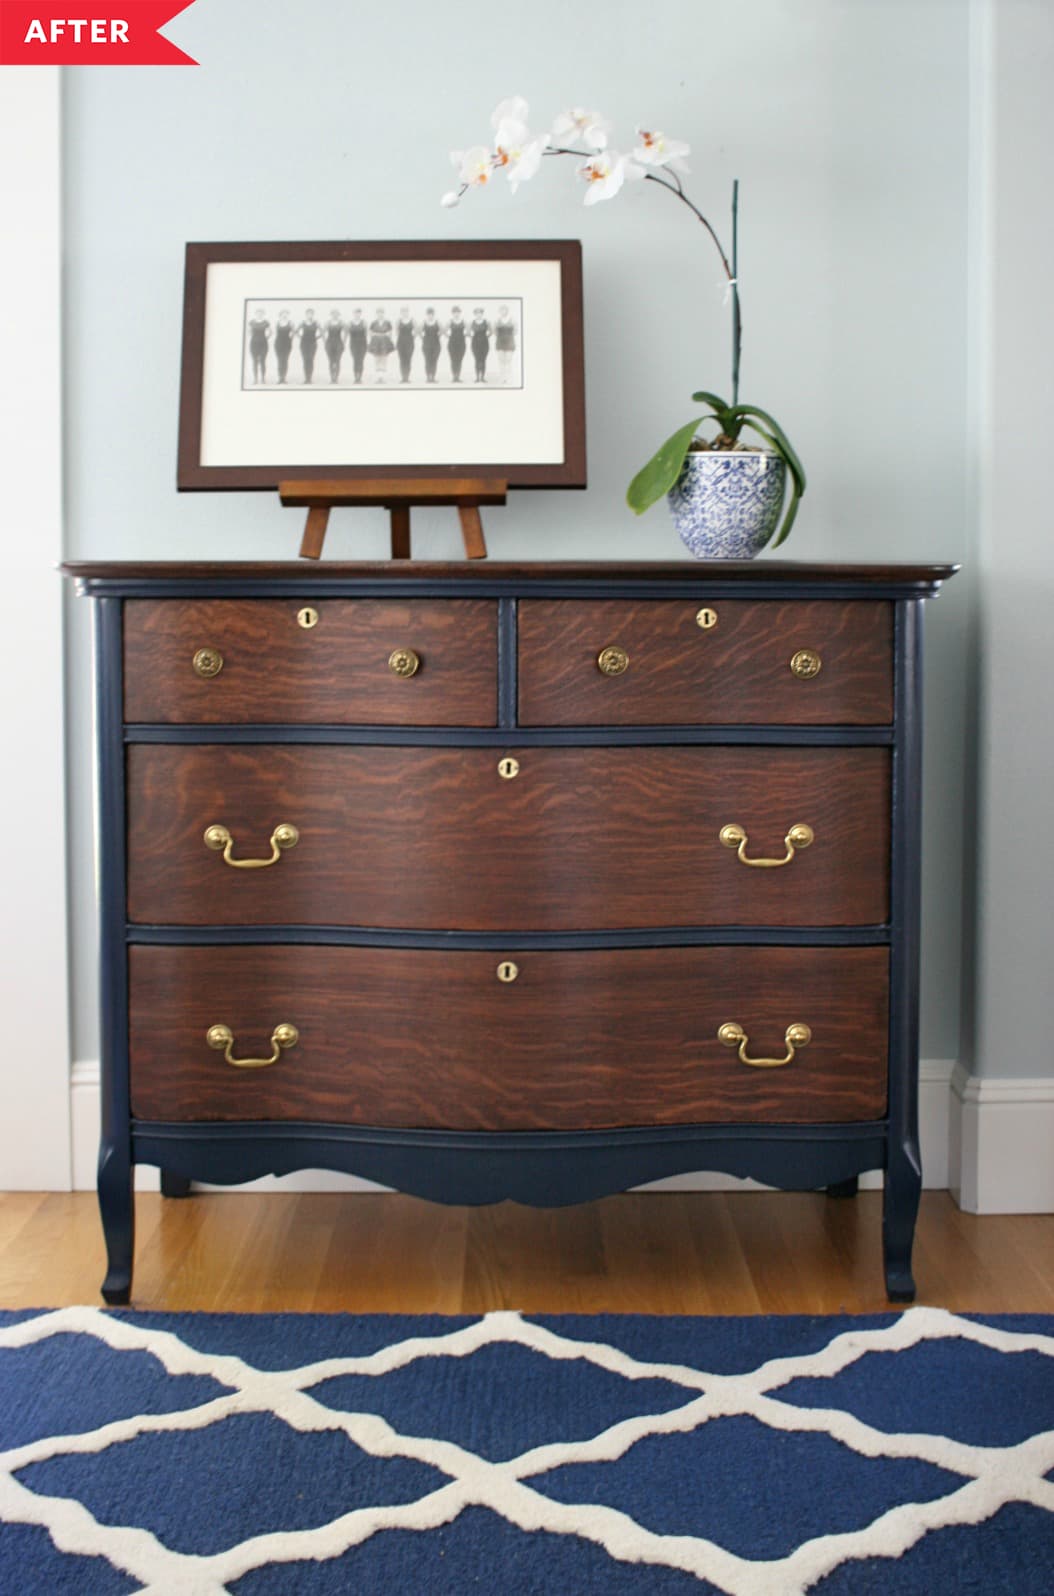
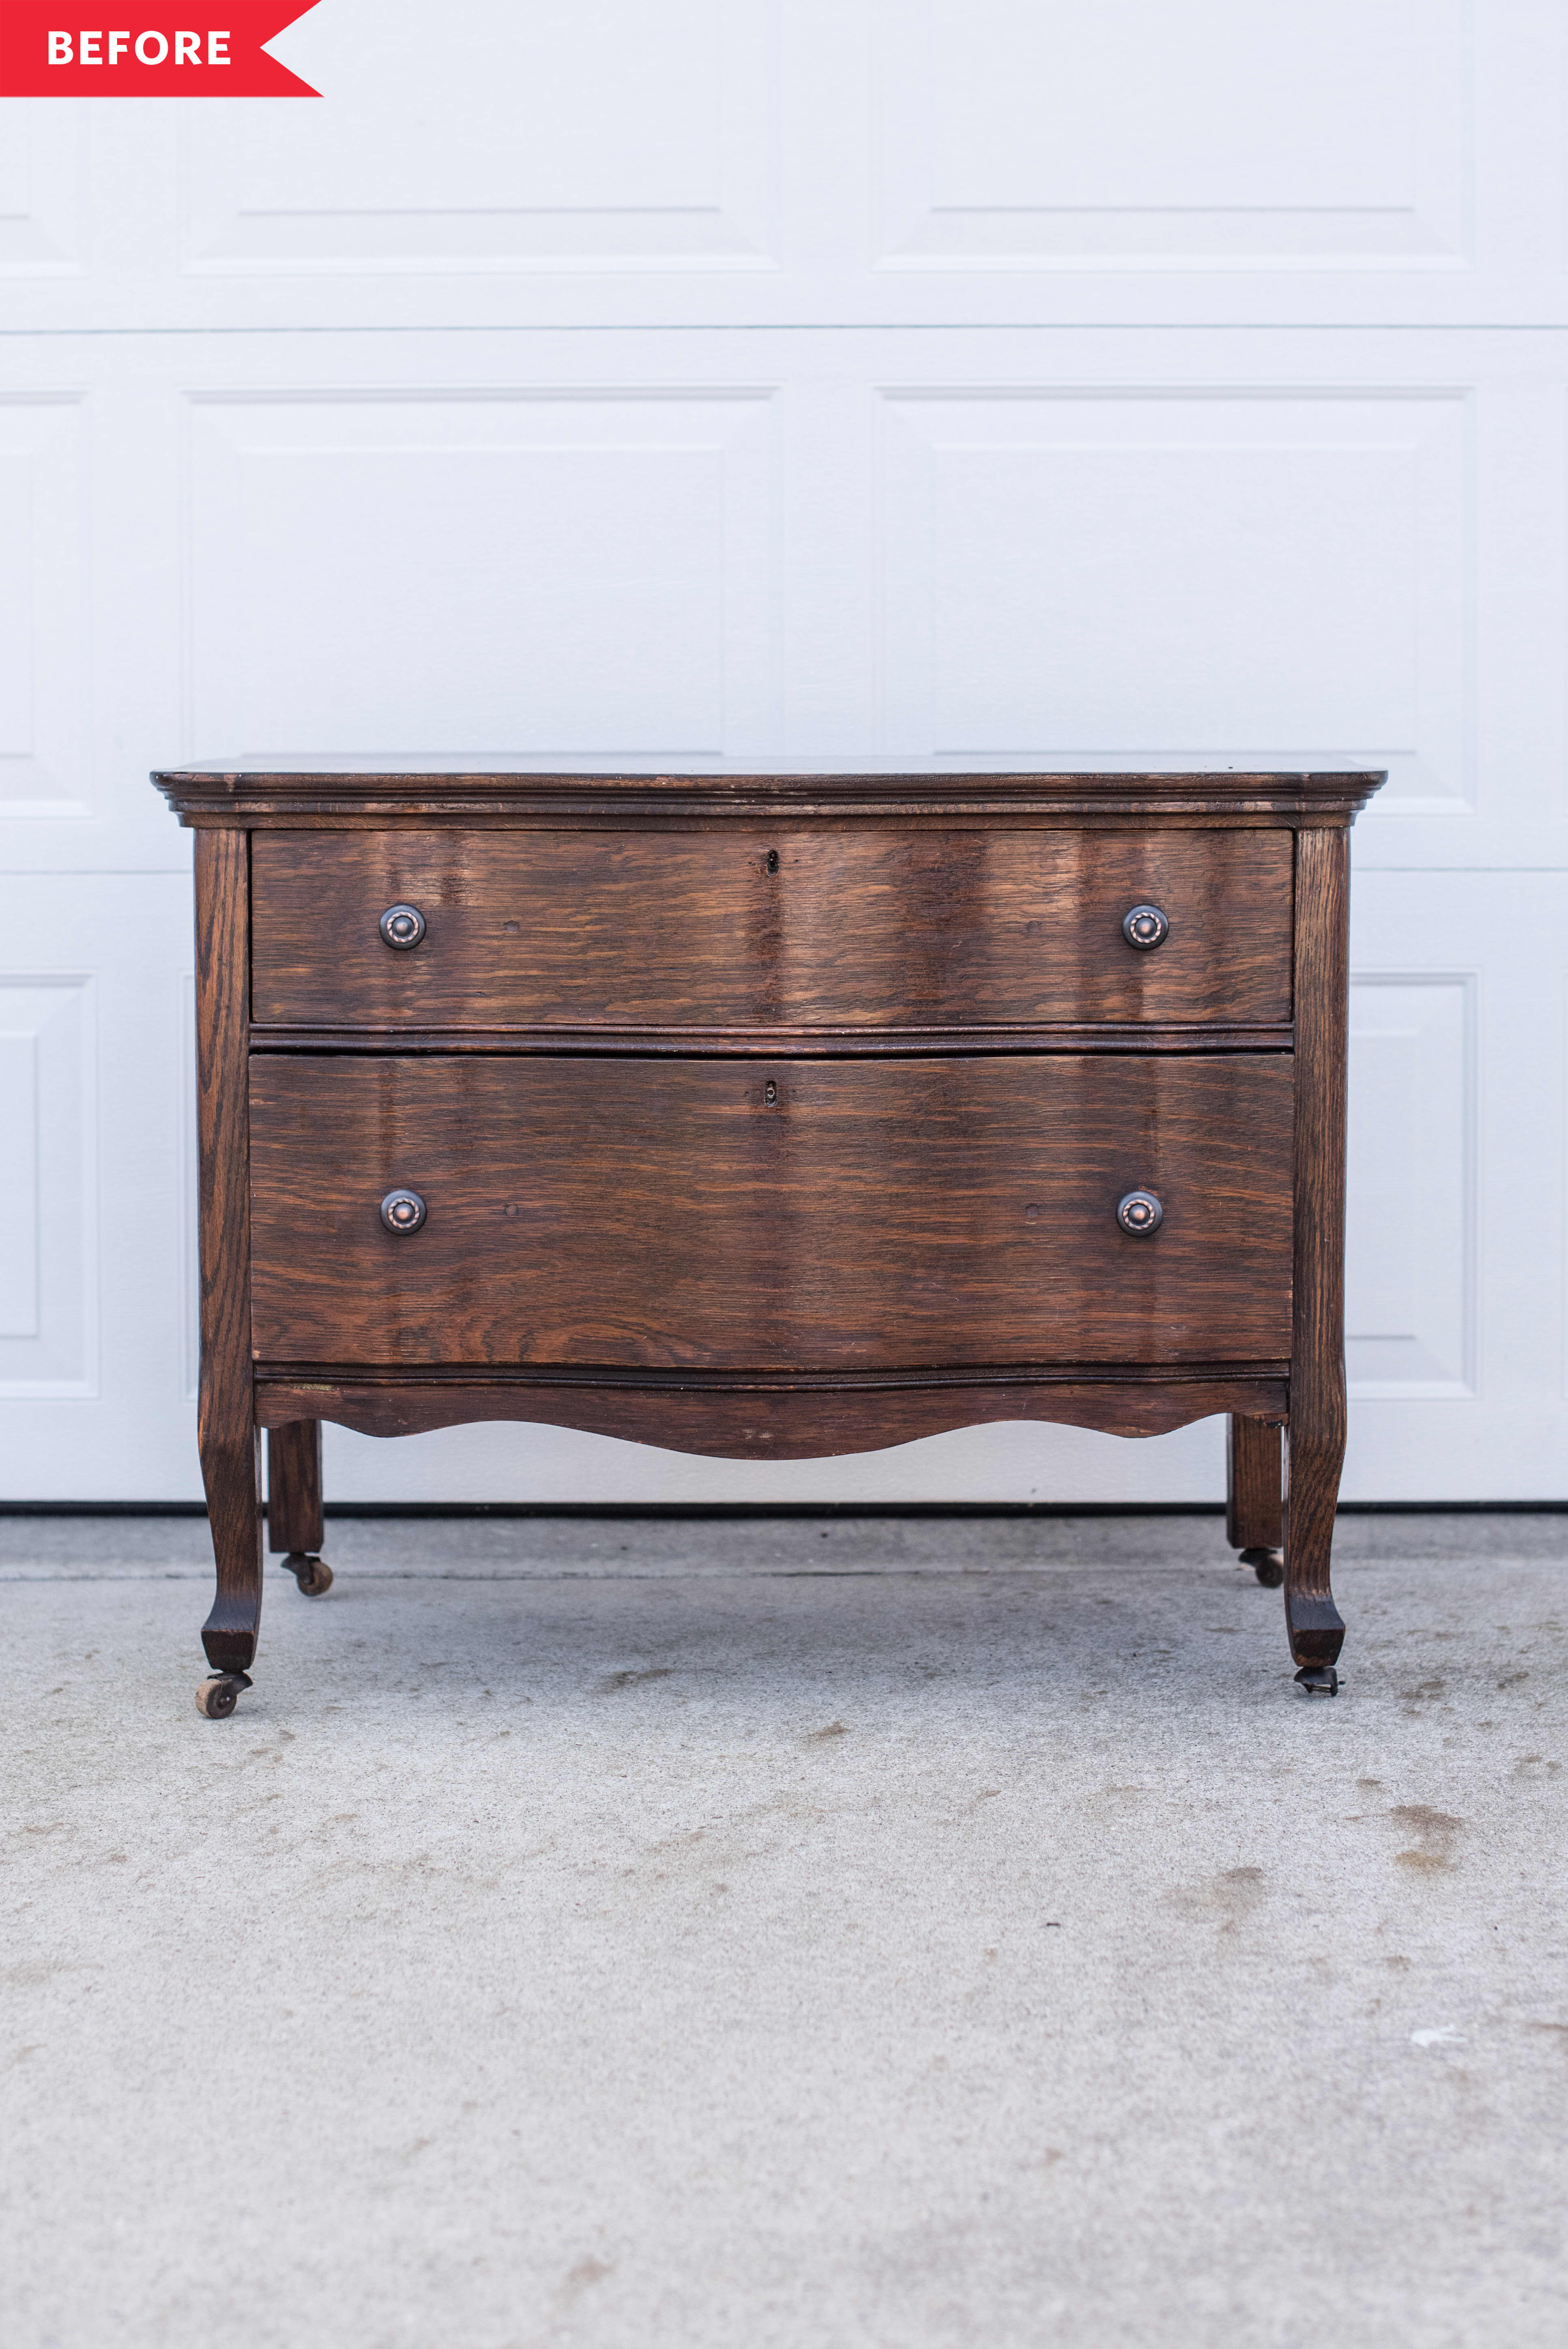
5. Do a “make-under” by removing shiny varnish and re-staining natural wood grain
Susan ofSaw Nail and Painttook on this restoration project knowing that the bones were worth saving. Just look at the beautiful grain and brass keyholes that were hiding under all that cherry varnish!After staining the drawer fronts and painting the sides, all the original details get a second life with a more classic color palette.
6. Combine a bold color with natural wood
Love big colors but also love the look of natural wood? You can have both!Choose a punchy color for the main body and leave the top natural for another great take on the paint and wood grain combo.This transformation comes fromFusion Mineral Paint.
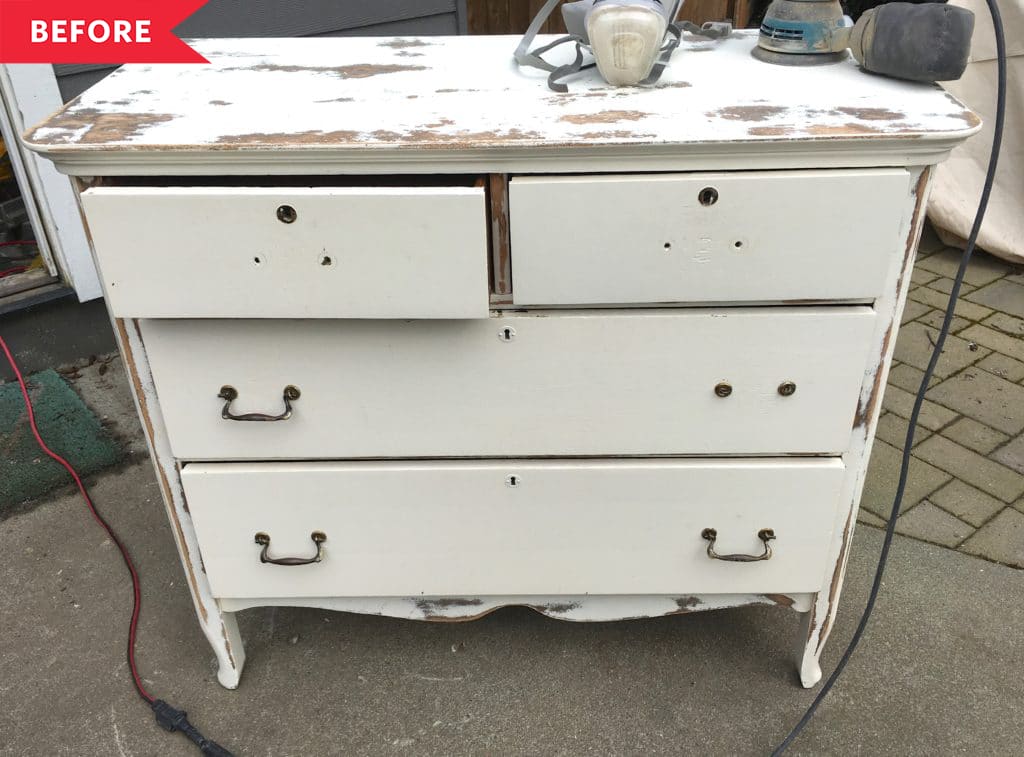
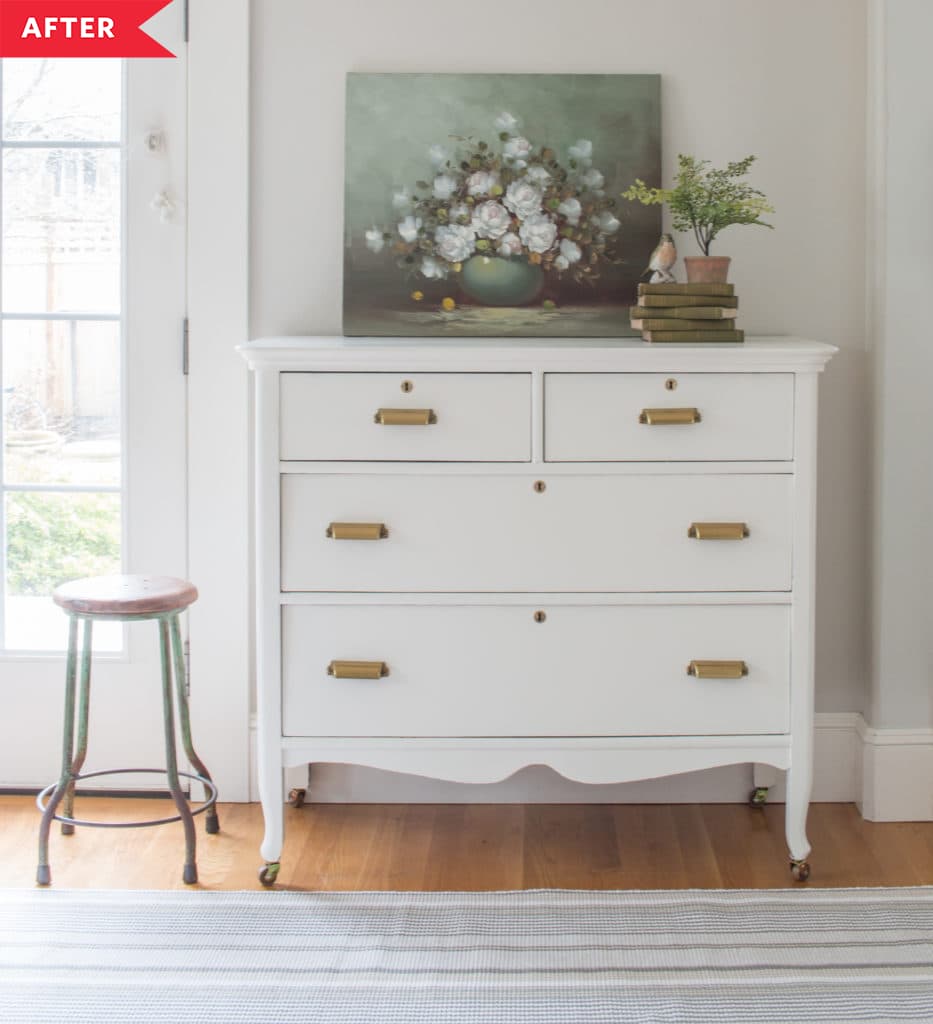
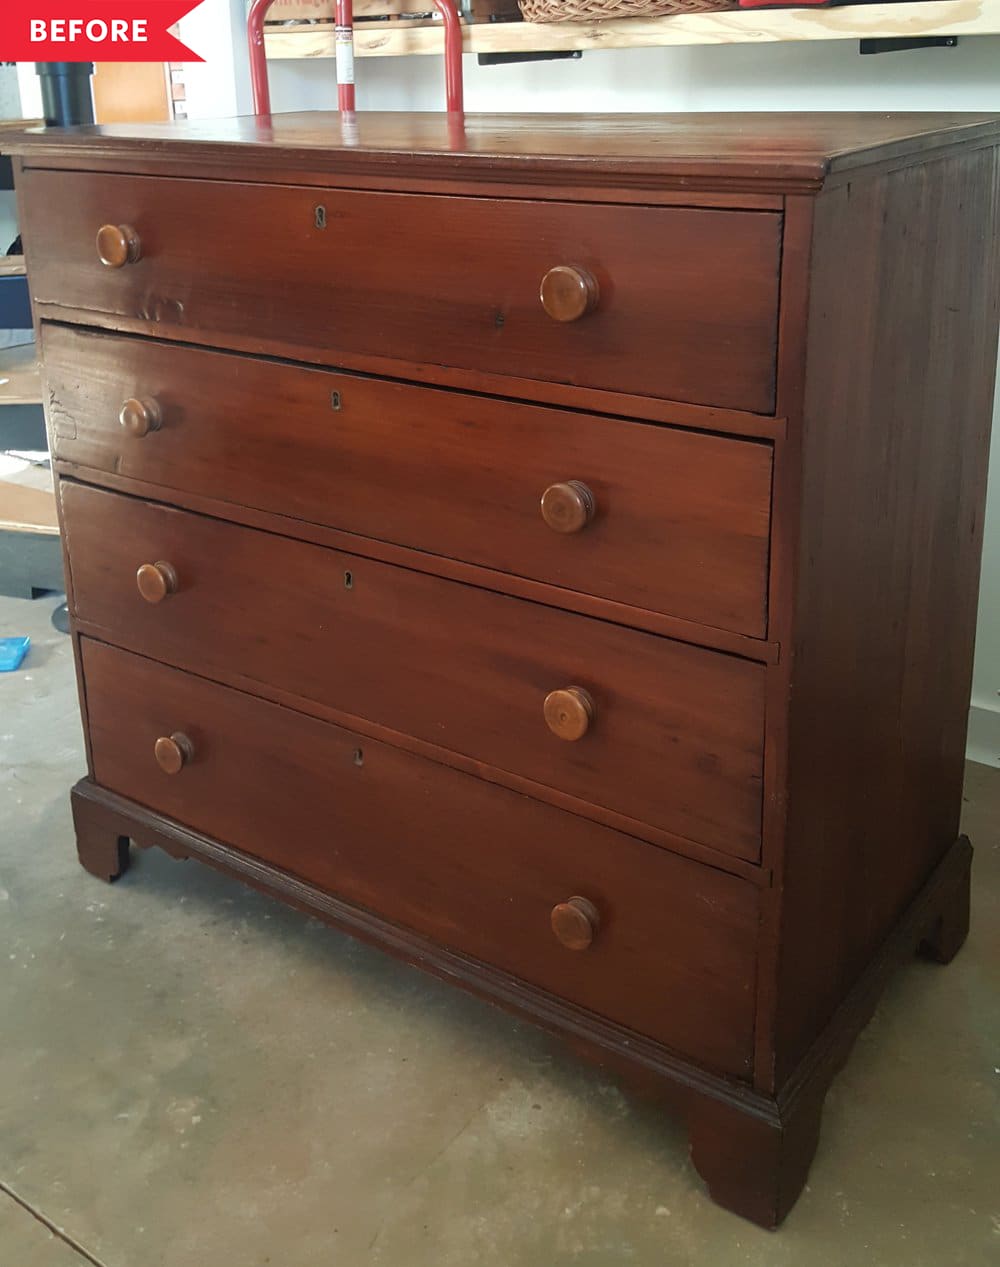
7. Keep the color classic, and update the hardware
You don’t always have to make a drastic change. For this peeling piece, Susan ofSaw Nail and Paintsanded away the rough parts and repainted it to give it a smooth white finish.This dresser shows how far a simple clean coat of paint and new hardware can go, even when the color stays the same.

8. Remove shiny varnish and expose the bare wood underneath
Fallon ofMarket House Restorationsshows the power in not puttinganythingon a dresser. Instead, sheremoved the dark, shiny cherry varnish and left the wood underneath bare.Shiny wood dressers like this one are easy to find at thrift stores; the make-under is a seriously stylish upgrade. You might not even have to visit a thrift store—there are plenty of places tofind used furniture online.
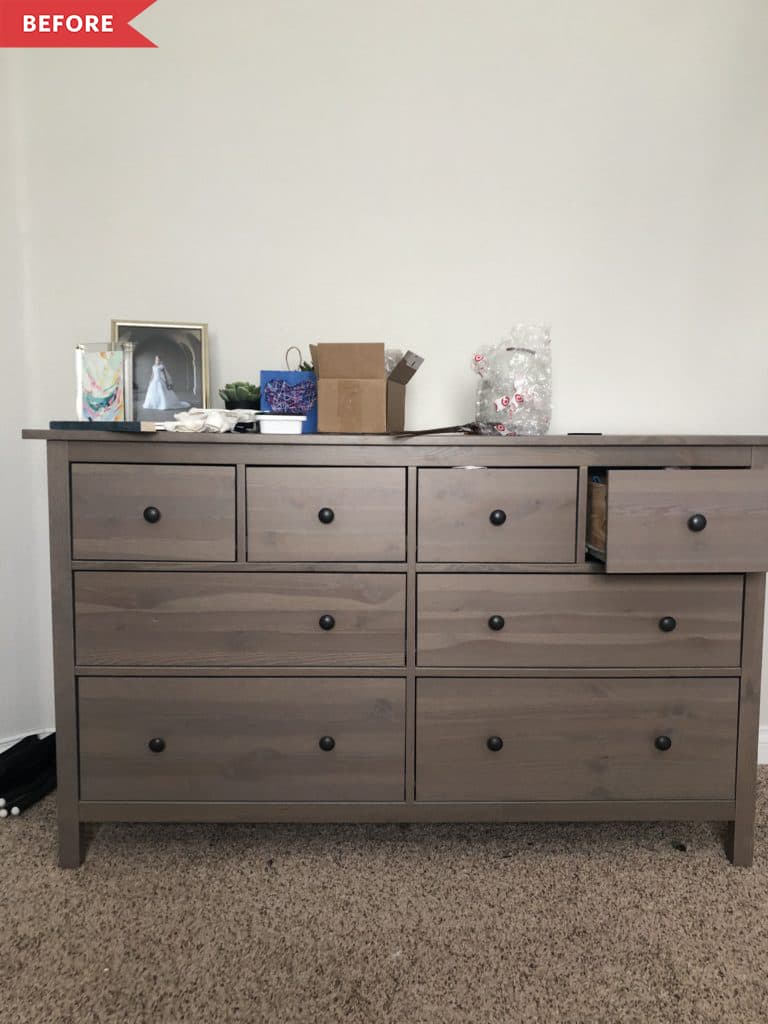
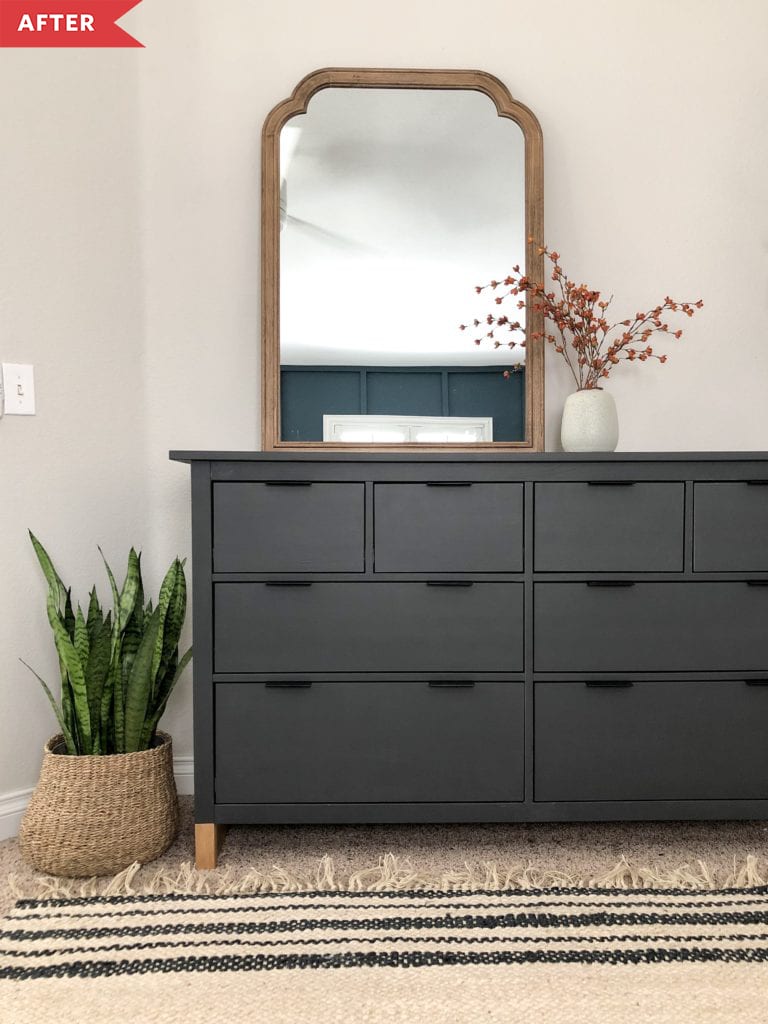
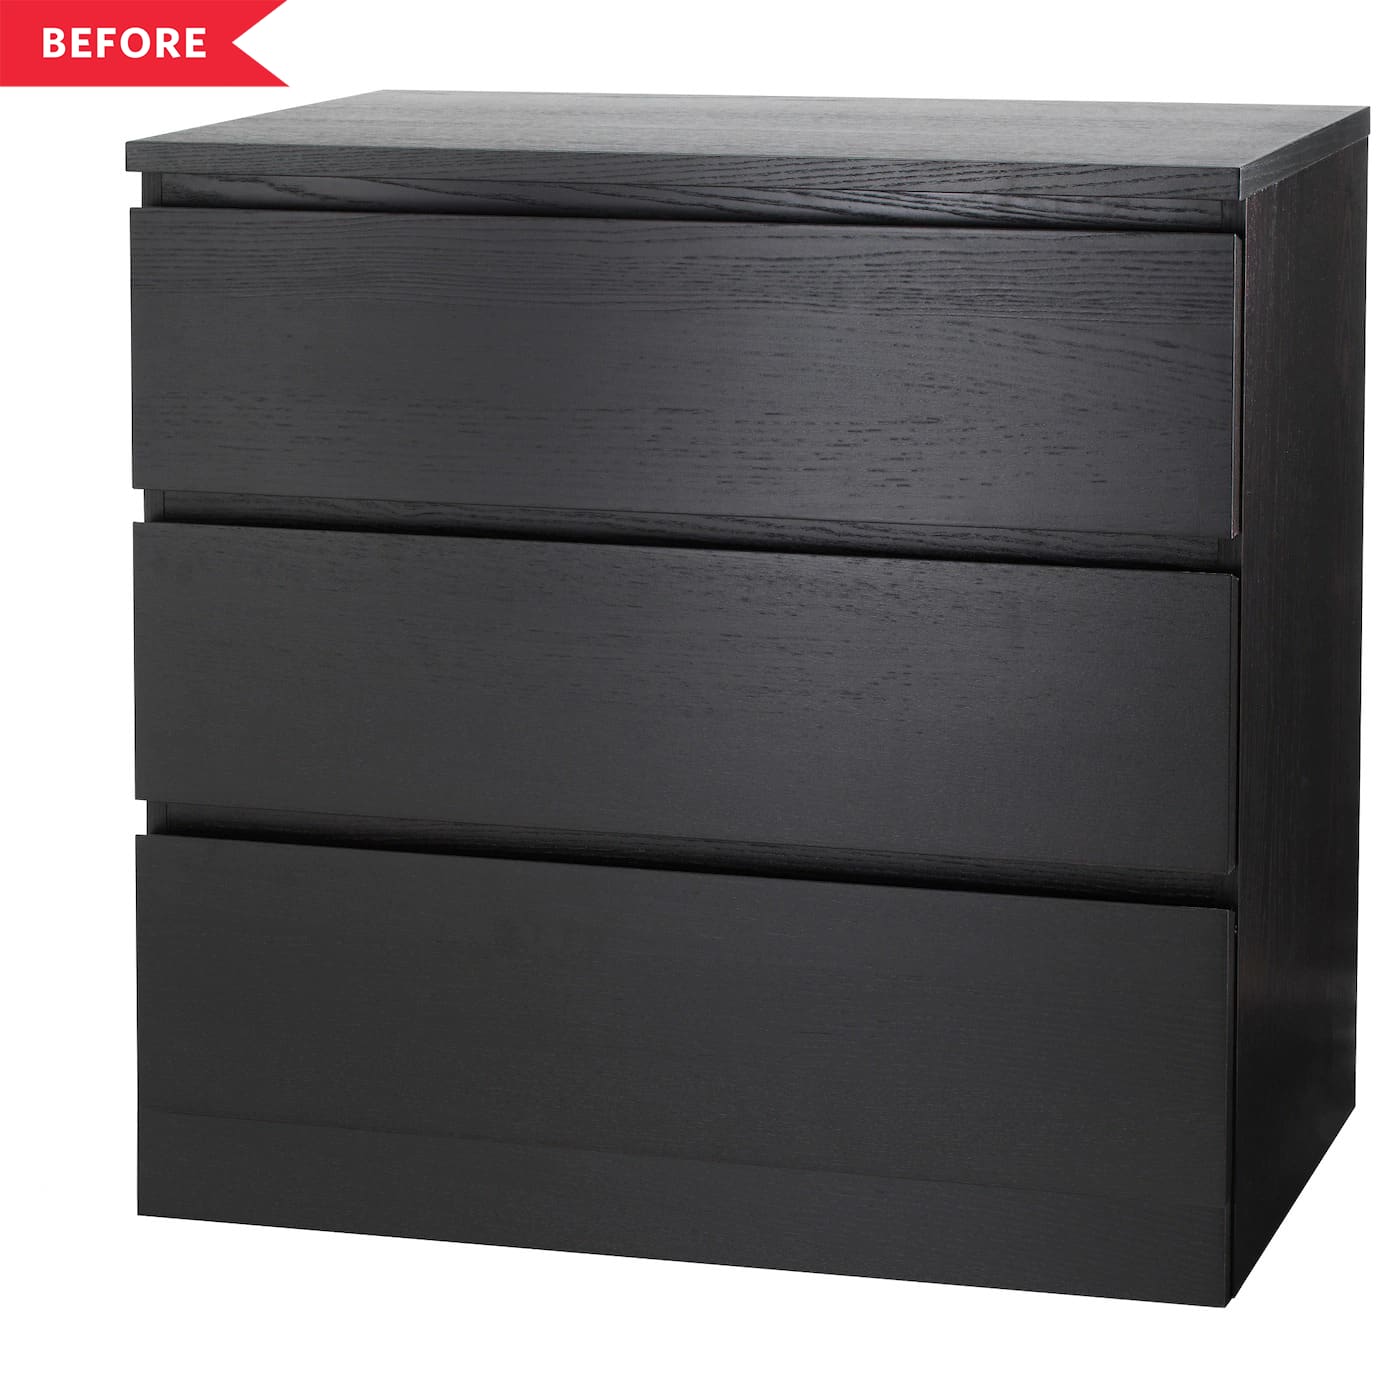
9. Give an IKEA dresser a darker color and modern pulls
Bring the drama with a deep charcoal and modern finishes.Angela Rosetook her perfectly usable, though basic, IKEAHEMNES dresserand added new pulls, a richer color, and built open “frame legs” around the existing base.
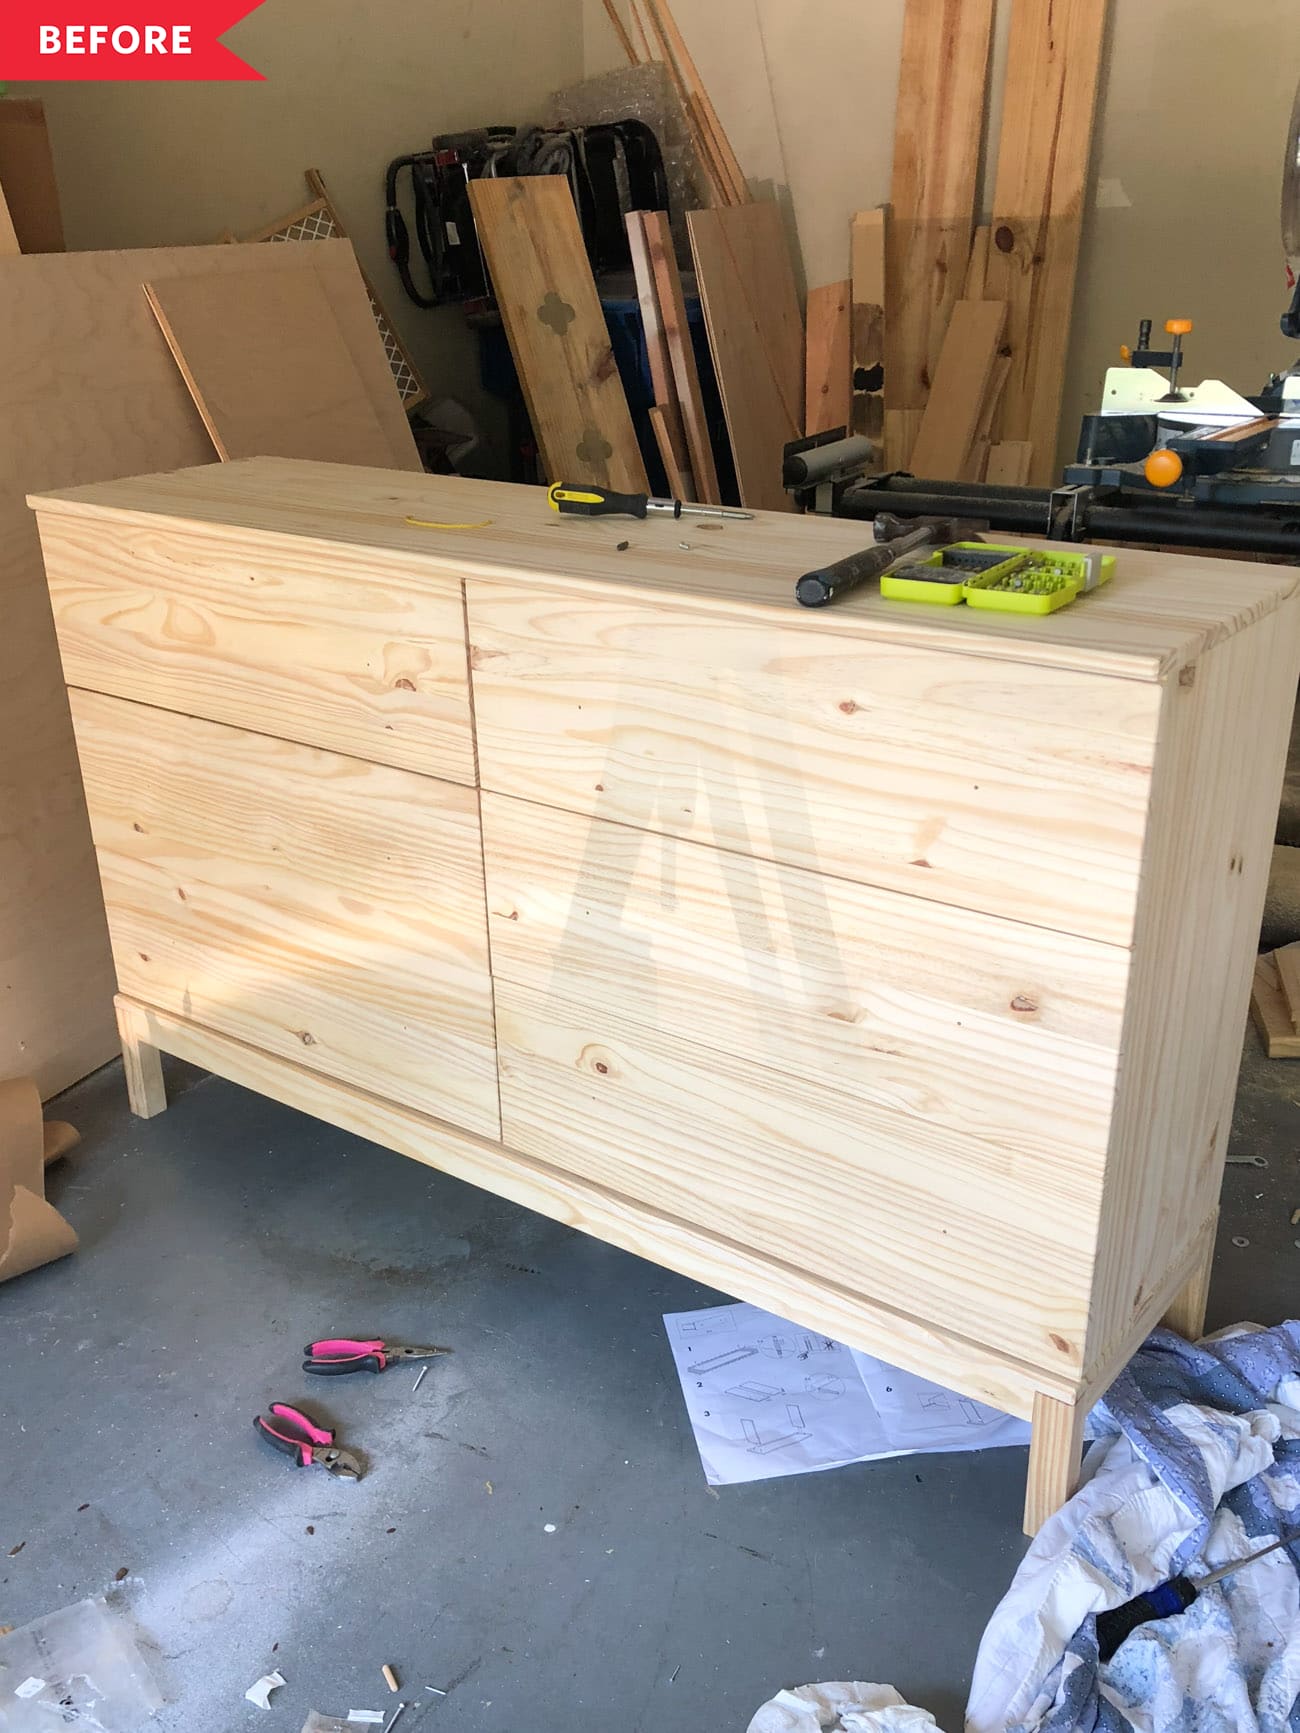
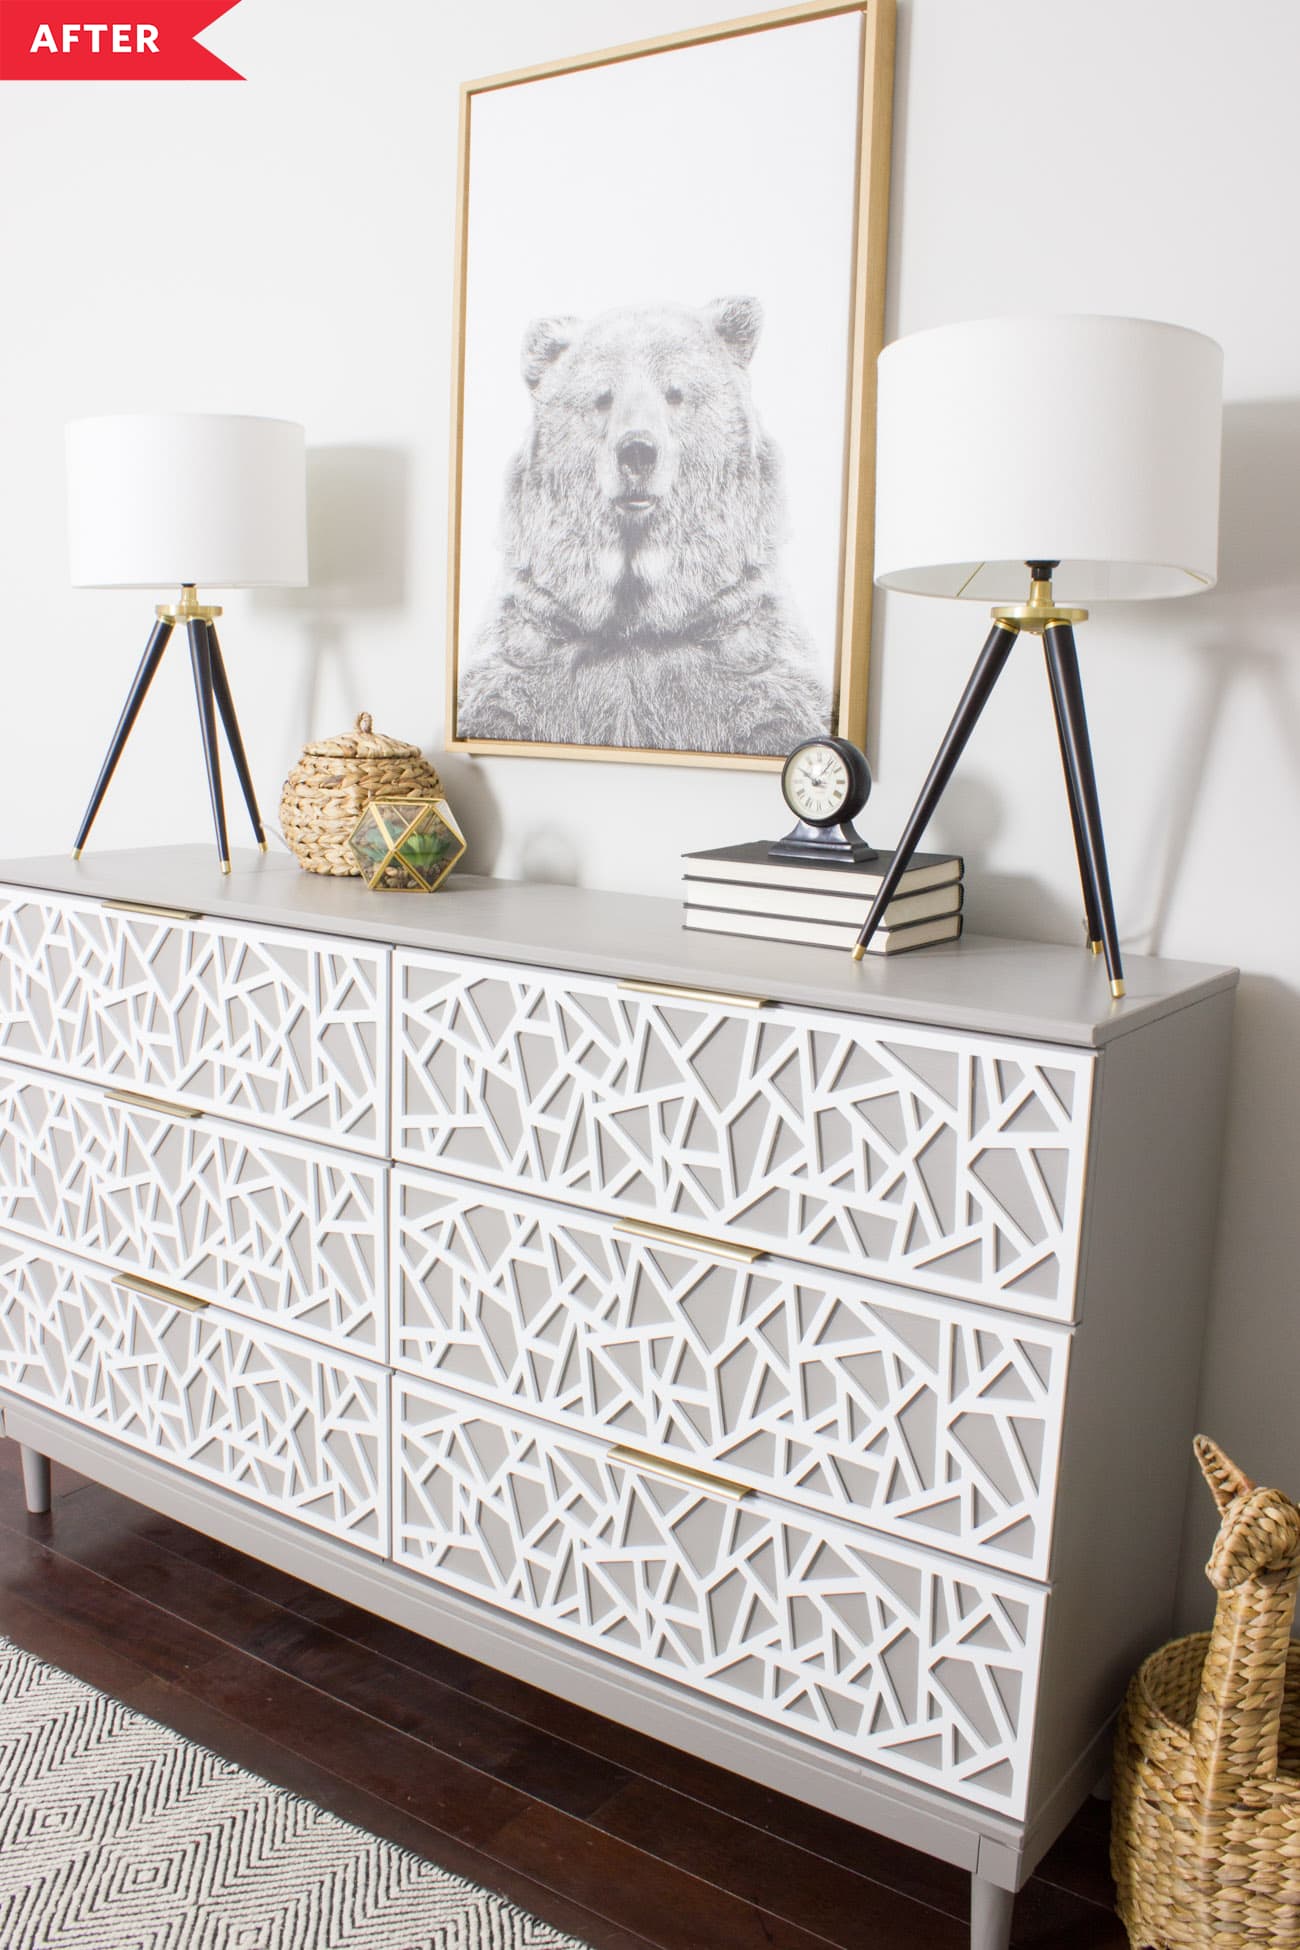
10. Hack an IKEA dresser with textured overlays and mid-century-style legs
Paint a dresser a medium gray, likeErin Spaindid with her IKEATARVA dresser, and thenadd dimension with contrasting drawer overlays.Erin chose a playful pattern that fits perfectly in her children’s room. Mid-century modern legs add a sophisticated touch. Looking for the perfect gray for your dresser? Here are 15 of our favoritegray paint colors.

11. Make the base of the dresser the focal point with new legs
When this thrifted find was missing its original legs, Sarah Dorsey ofDorsey Designssaw that as an opportunity to make her own. She and her husband carved a new set out of wood, but you can get a similar look with pre-fab legs.Remove the old ones and replace with a stylish new set, keeping the rest of the look minimalist.The new legs will help bring your dresser up a level.
12. Add an artistic touch with oversized furniture stickers
A transformative makeover is as easy as applying a sticker to the drawer fronts.These adjustable dresser decals, fromStickers Coloray, are a cinch to apply and come in multiple styles.
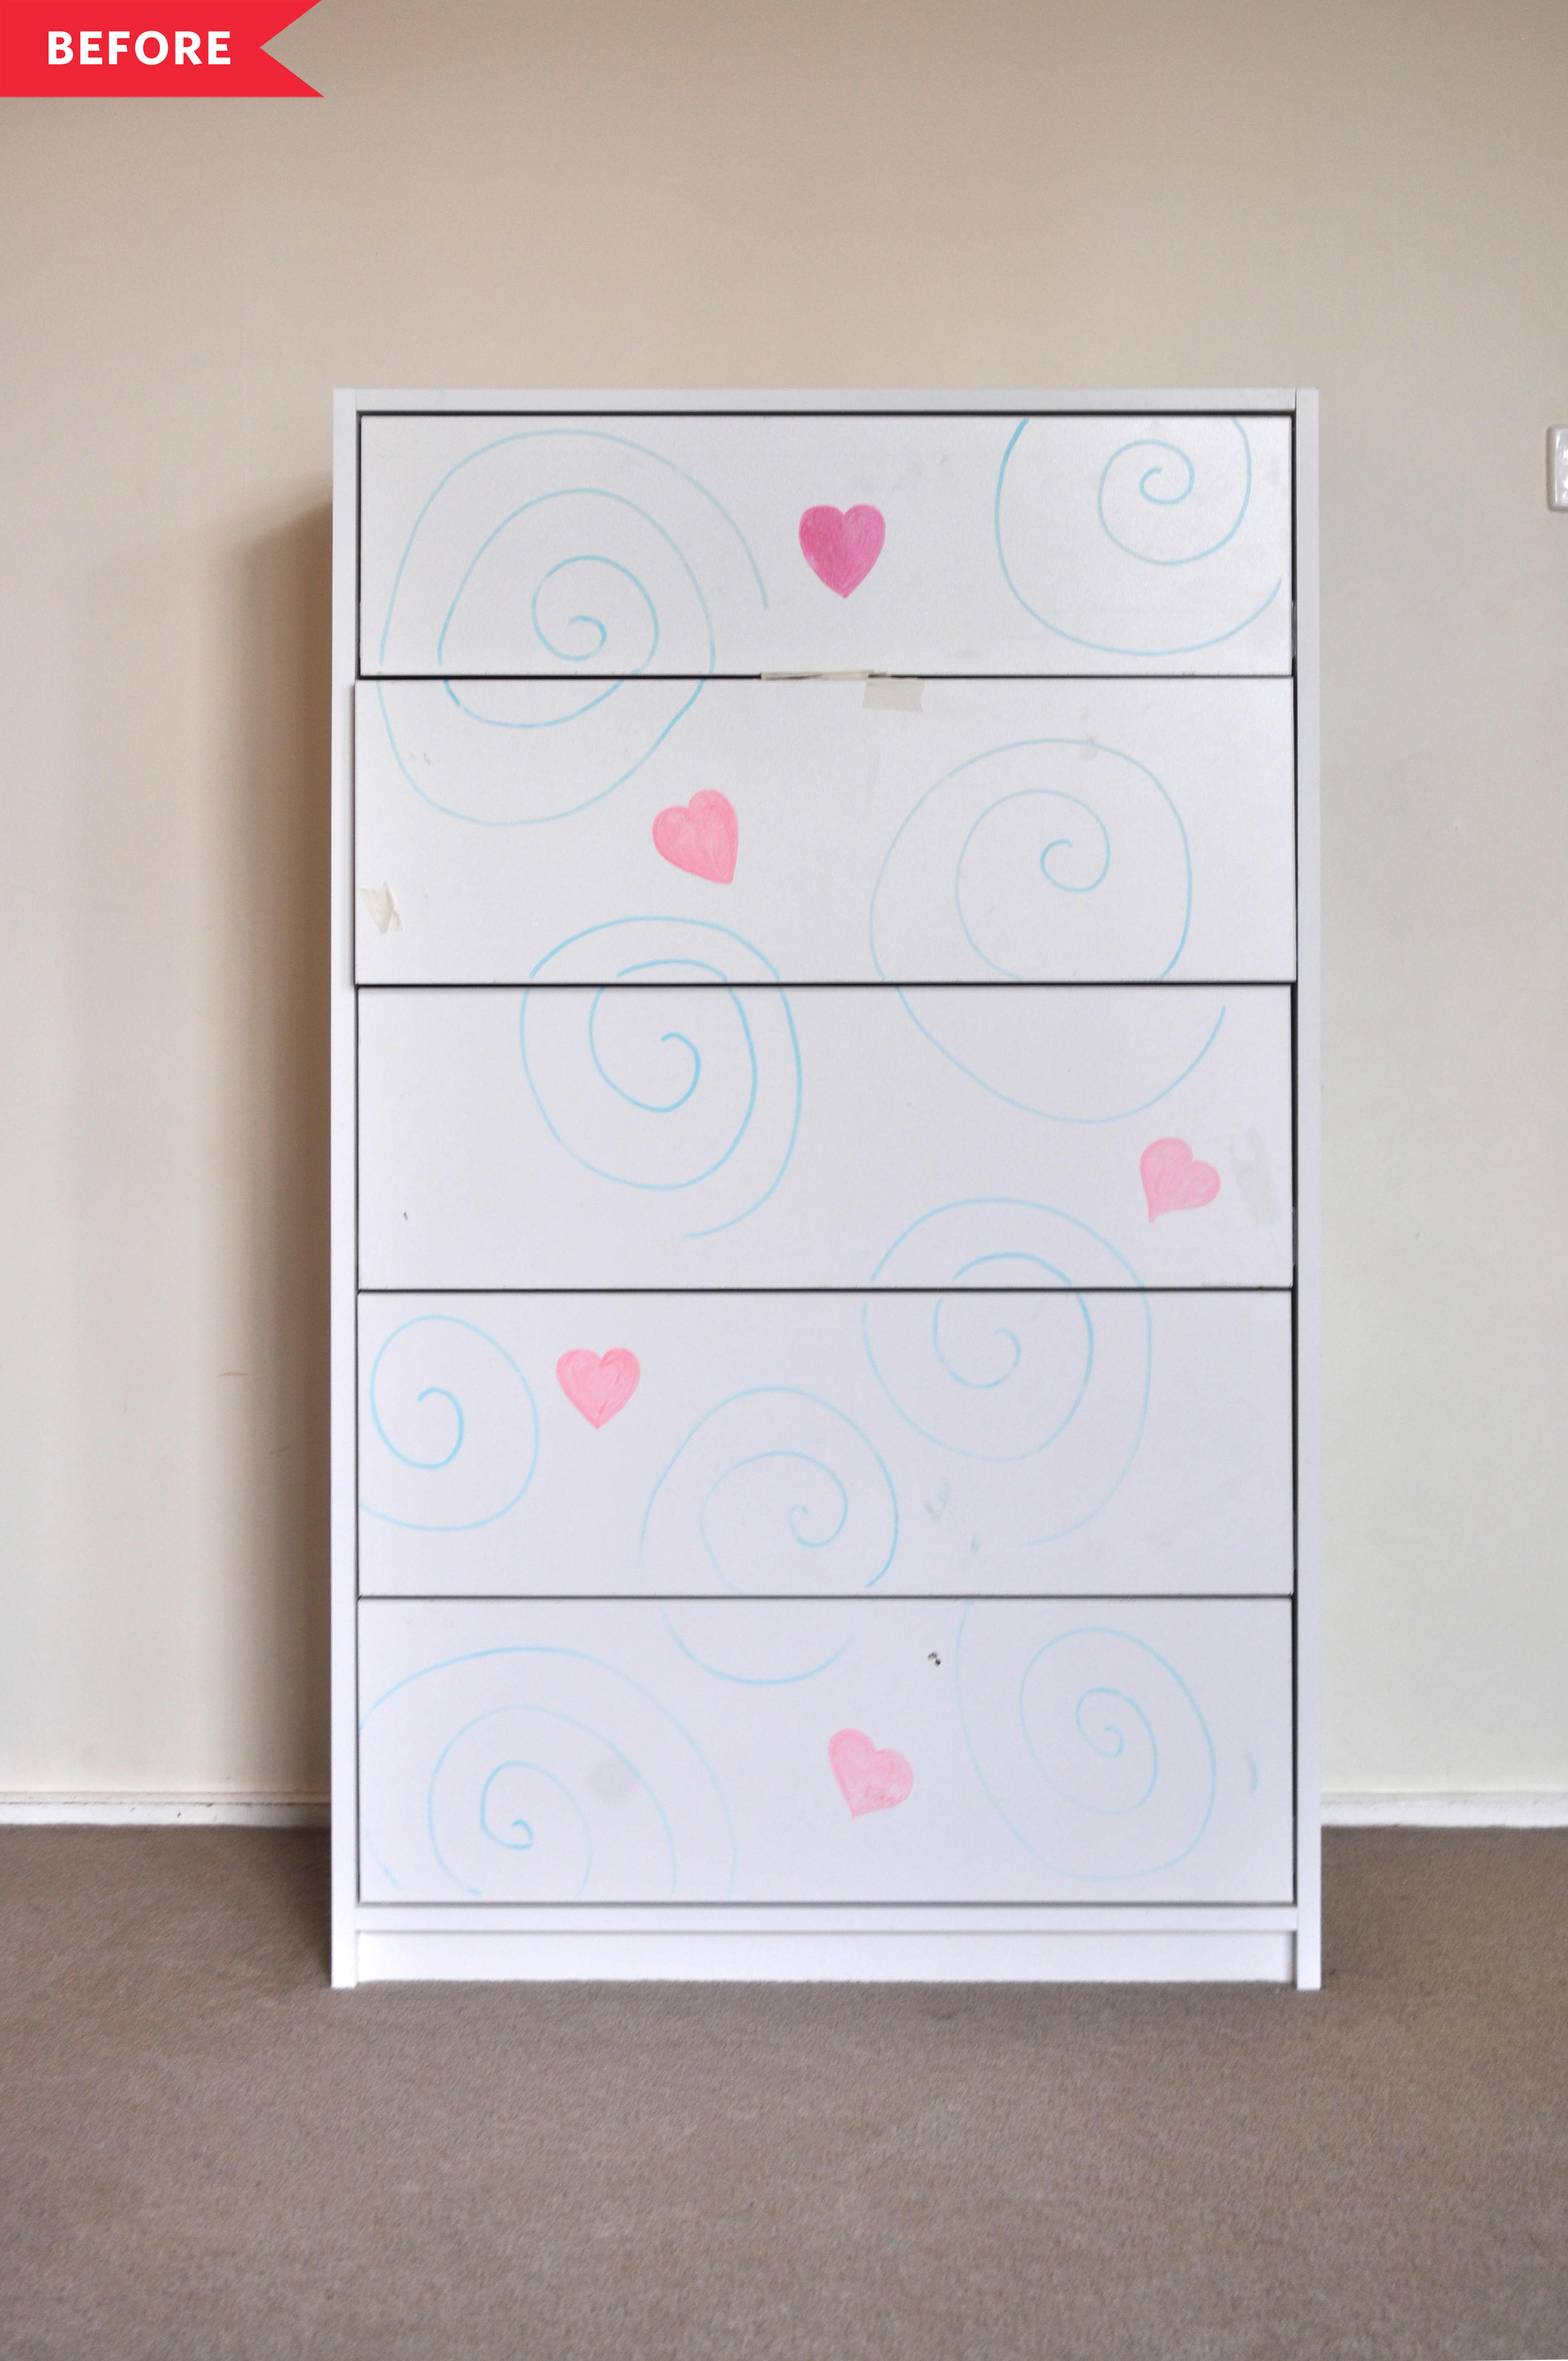
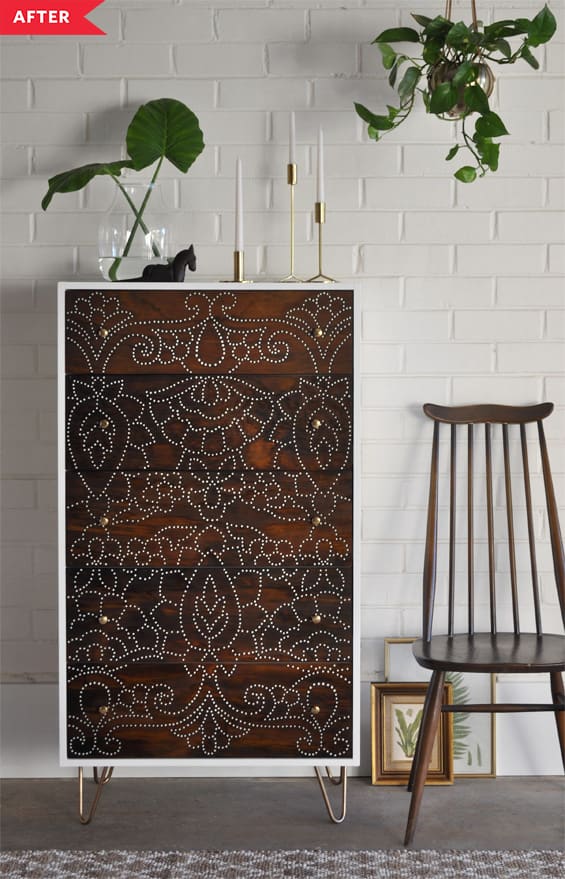
13. Use a drill to create a perforated pattern on the drawer fronts
Kristine ofThe Painted Hiveraised the overlay bar by DIYing her own custom fronts with just a drill and plywood. That entire pattern isa perforation technique that you can do for any design.
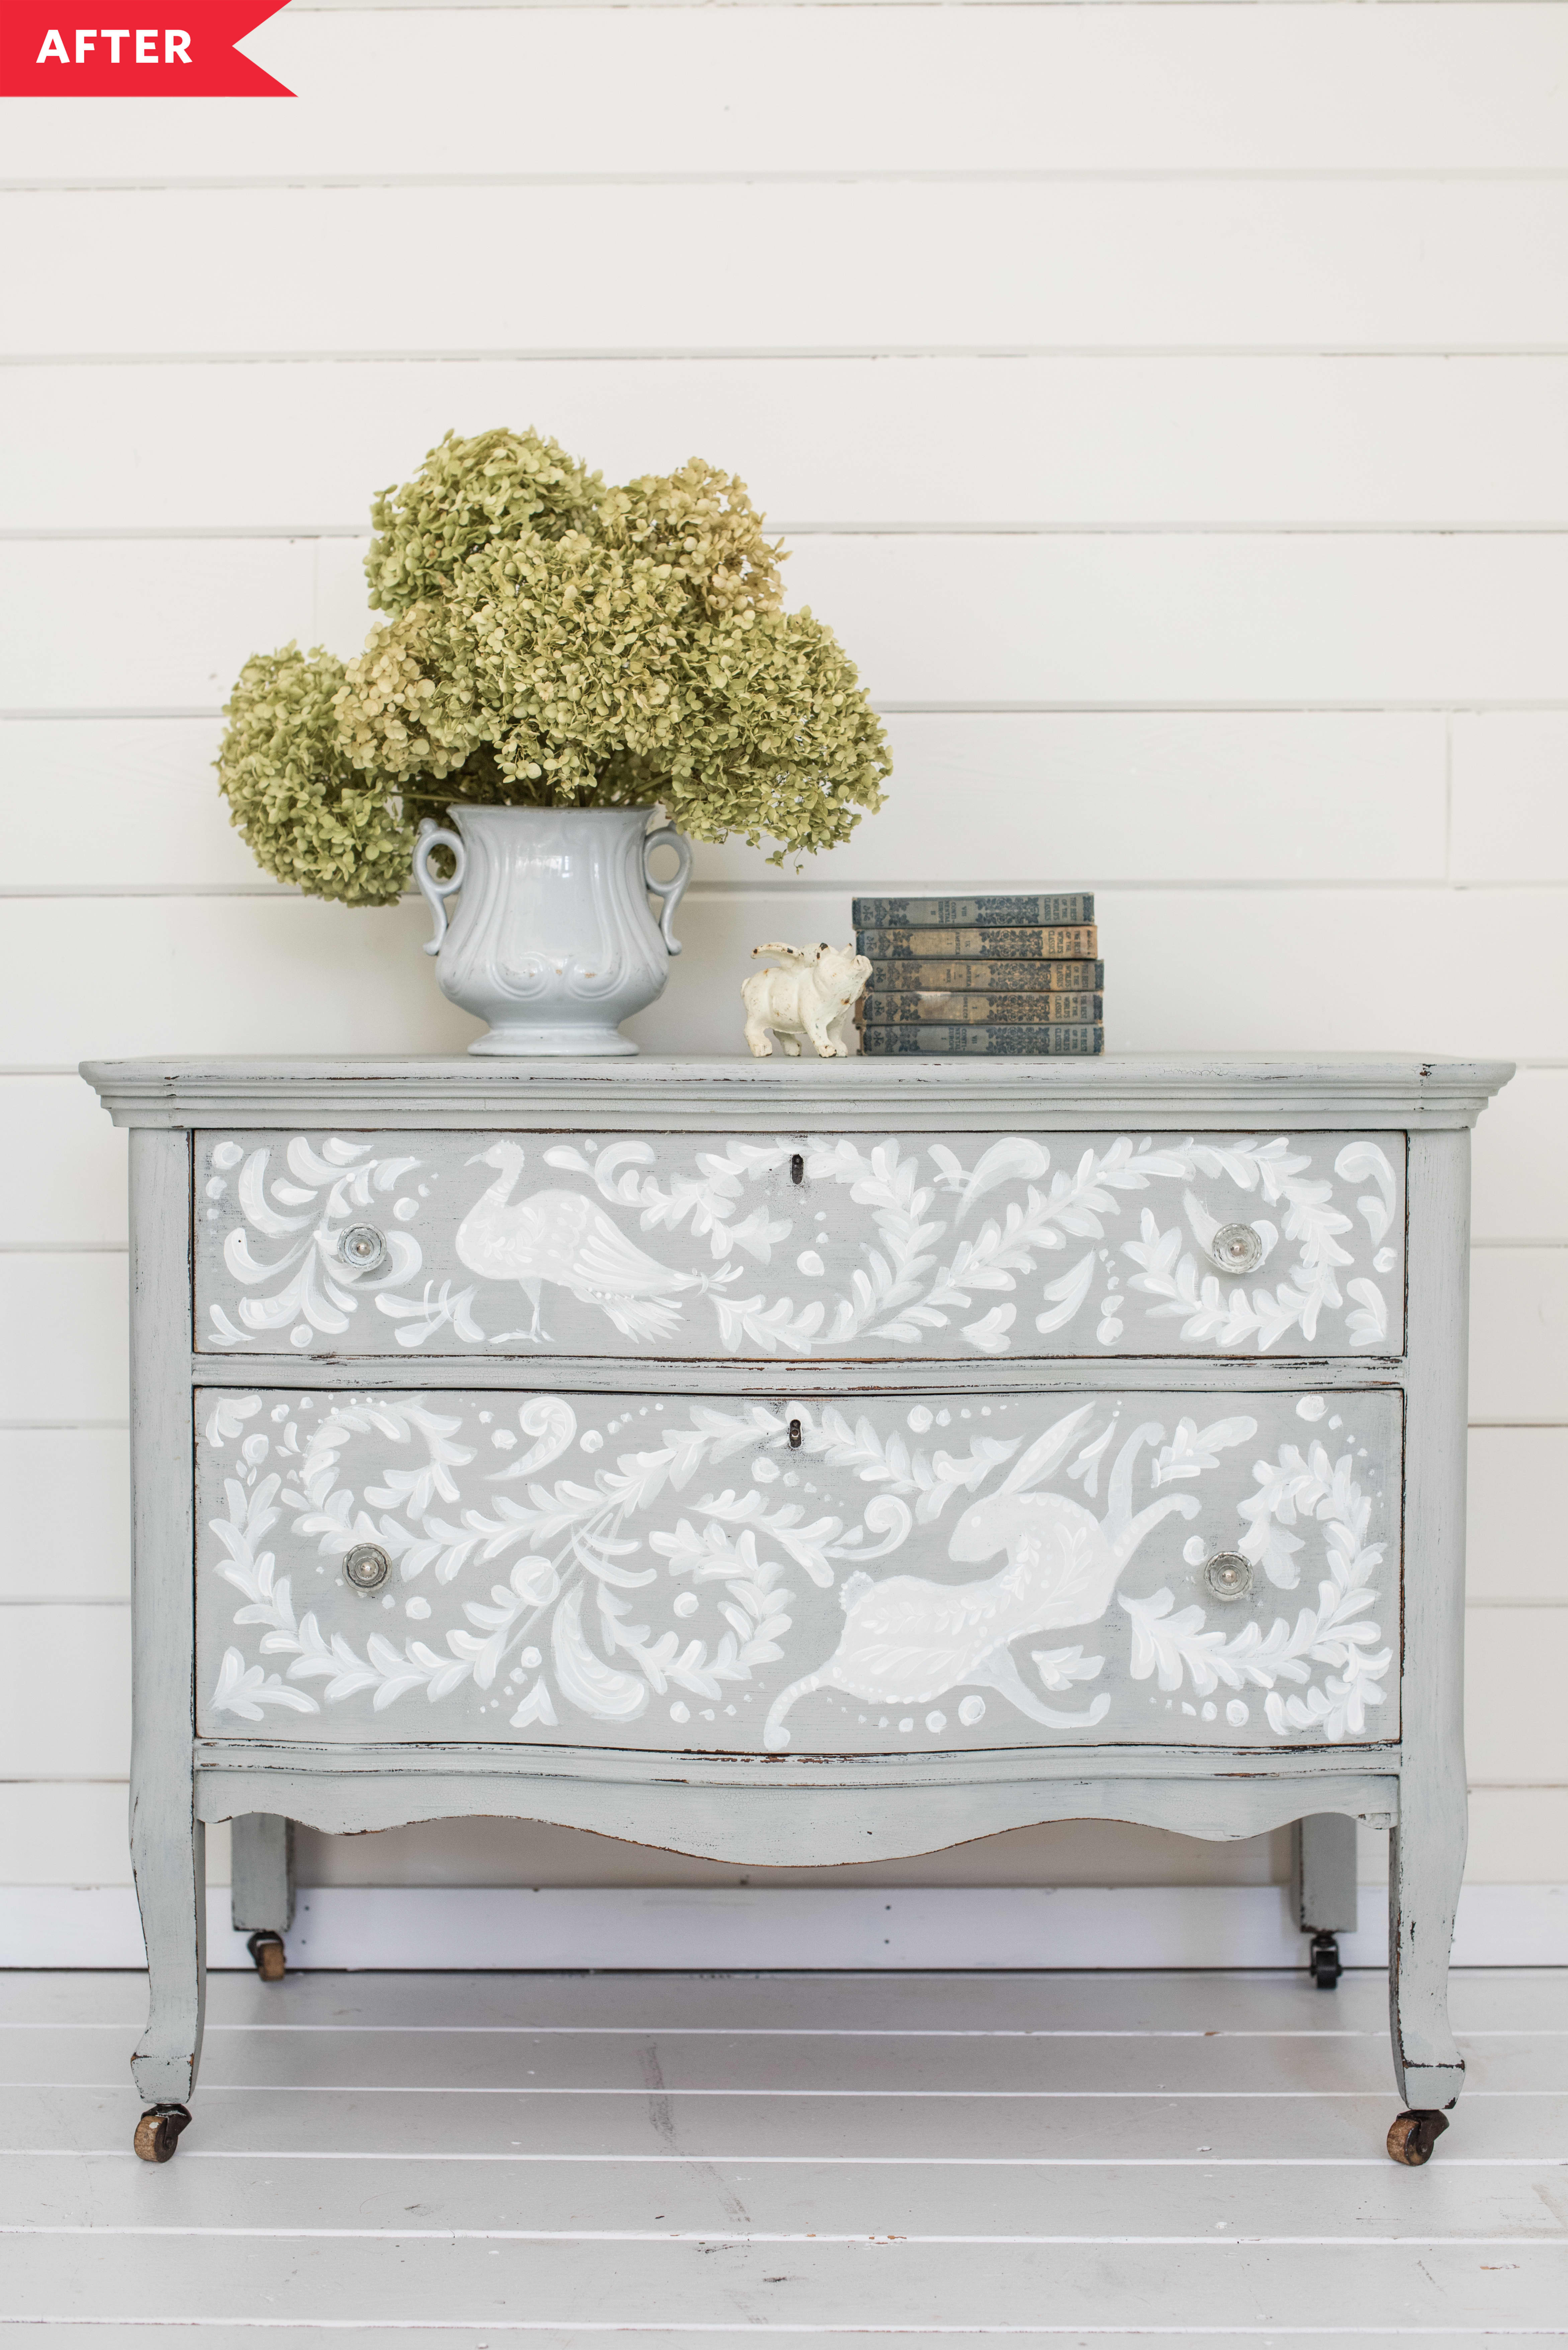
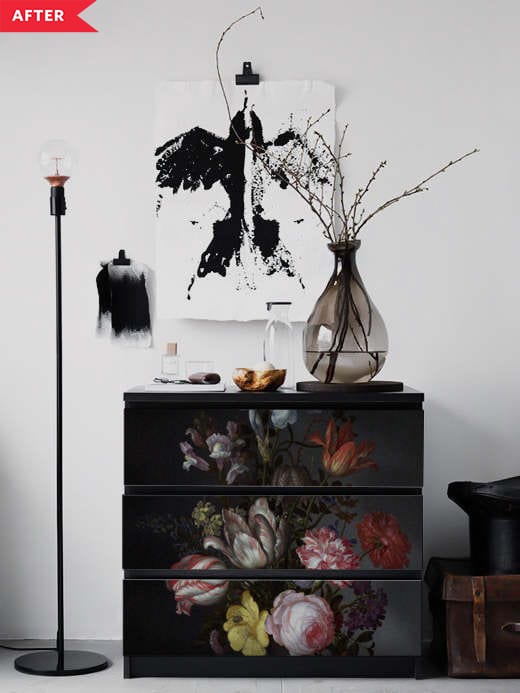
14. Hand-paint a unique pattern
Marian ofMiss Mustard Seedtook inspiration from a book of classic motifs andhand-painted her drawer fronts for a truly one-of-a-kind dresser.The new colors and patterns make the original curves feel intentionally whimsical.

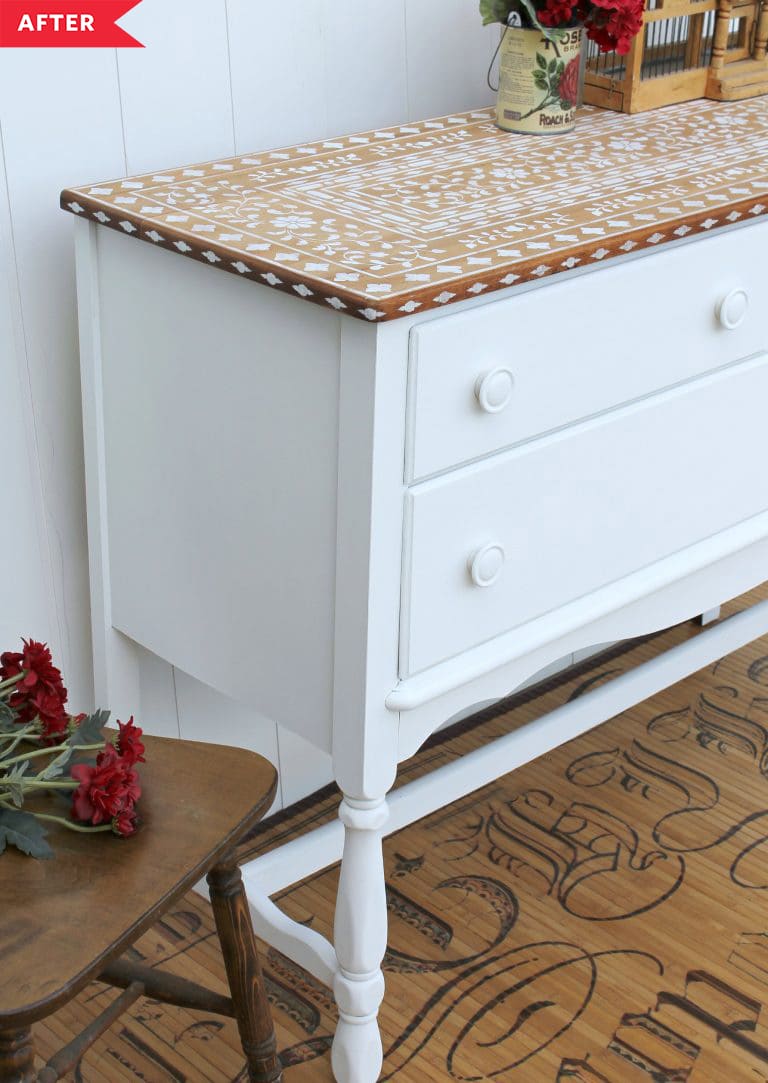
15. Paint the bottom, but give the top a stenciled faux bone-inlay design
We’rebig stencil fansover here, and love when someone uses a kit in a new way. Jen ofGirl in the Garagestained the top of her dresser, using a stencil to get the look of bone inlay on the top.Painting the bottom in the same color helps coordinate the faux bone inlay.This would look great in a bedroom, and could also make for a stylishliving room upgrade.