

12 of the Best Kitchen Cabinet Redo Ideas of All Time


Kitchens are one of the more daunting areas of the home to renovate, in large part because the project can easily getso expensive. But if you’re looking torevamp your kitchenon a budget, there’s one sure way to inject some fresh style without spending a fortune: Give your existing cabinets a redo.
While replacing cabinets is costly (and tricky, if you’re DIYing), simply resurfacing the cabinets you’ve got — with a new coat of paint, or glammed up hardware — is wallet-friendly and easy to do.
Read on for some of the best kitchen cabinet redo ideas of all time, from homeowners and renters alike who have made their kitchen cabinets look good as new with affordable updates. You’ll never believe some of these cabinets have been around since as far back as the ‘80s!
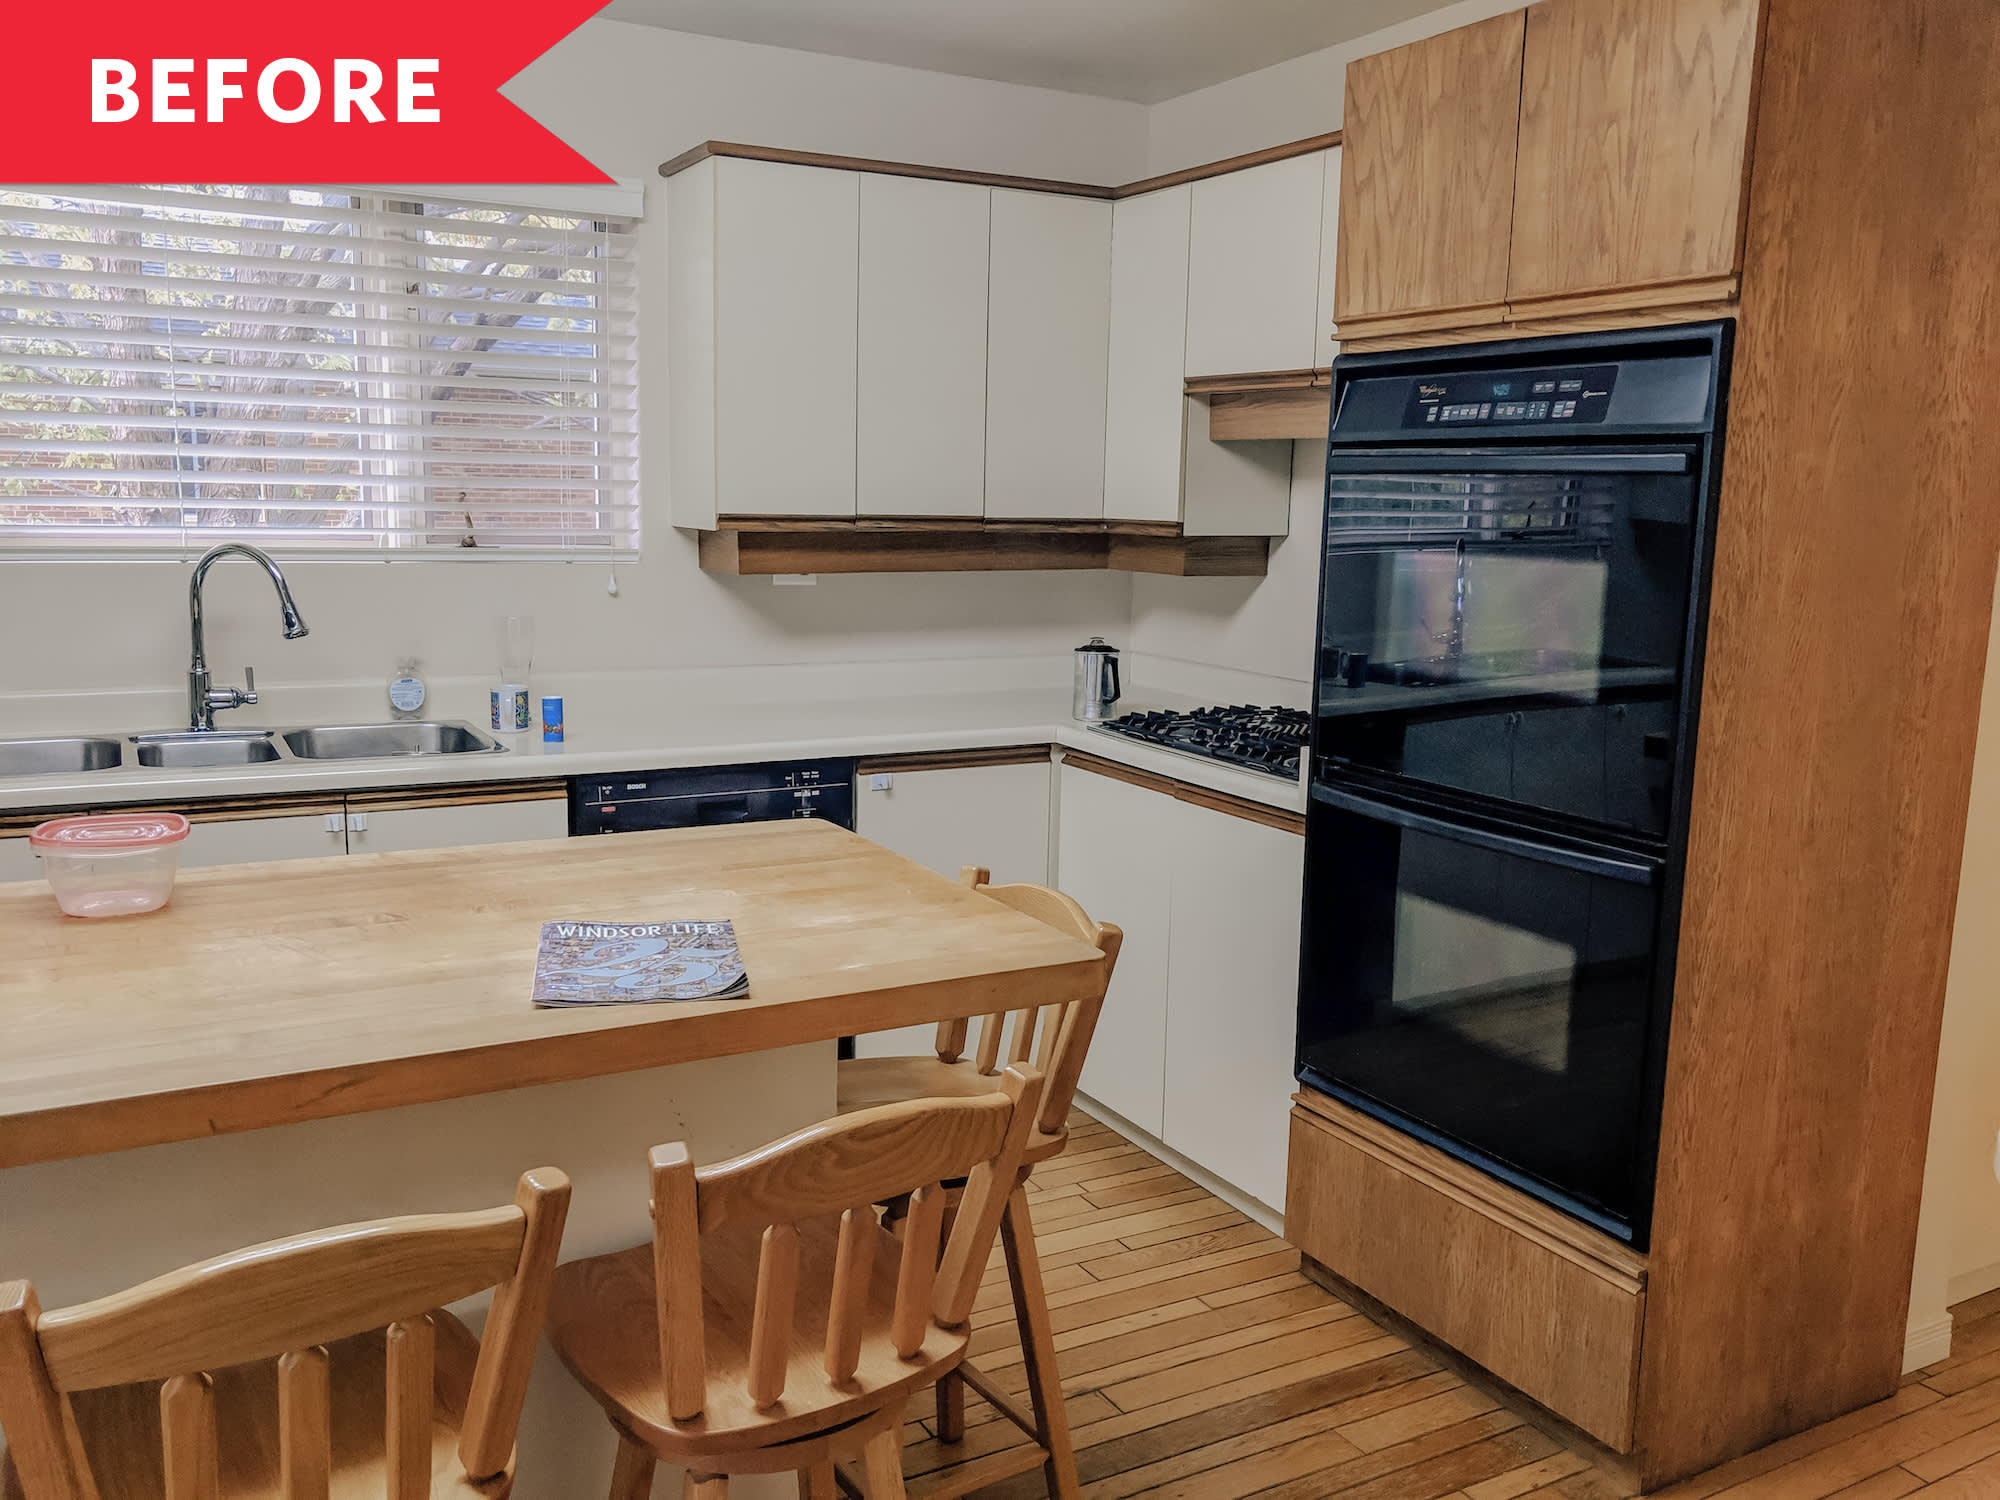
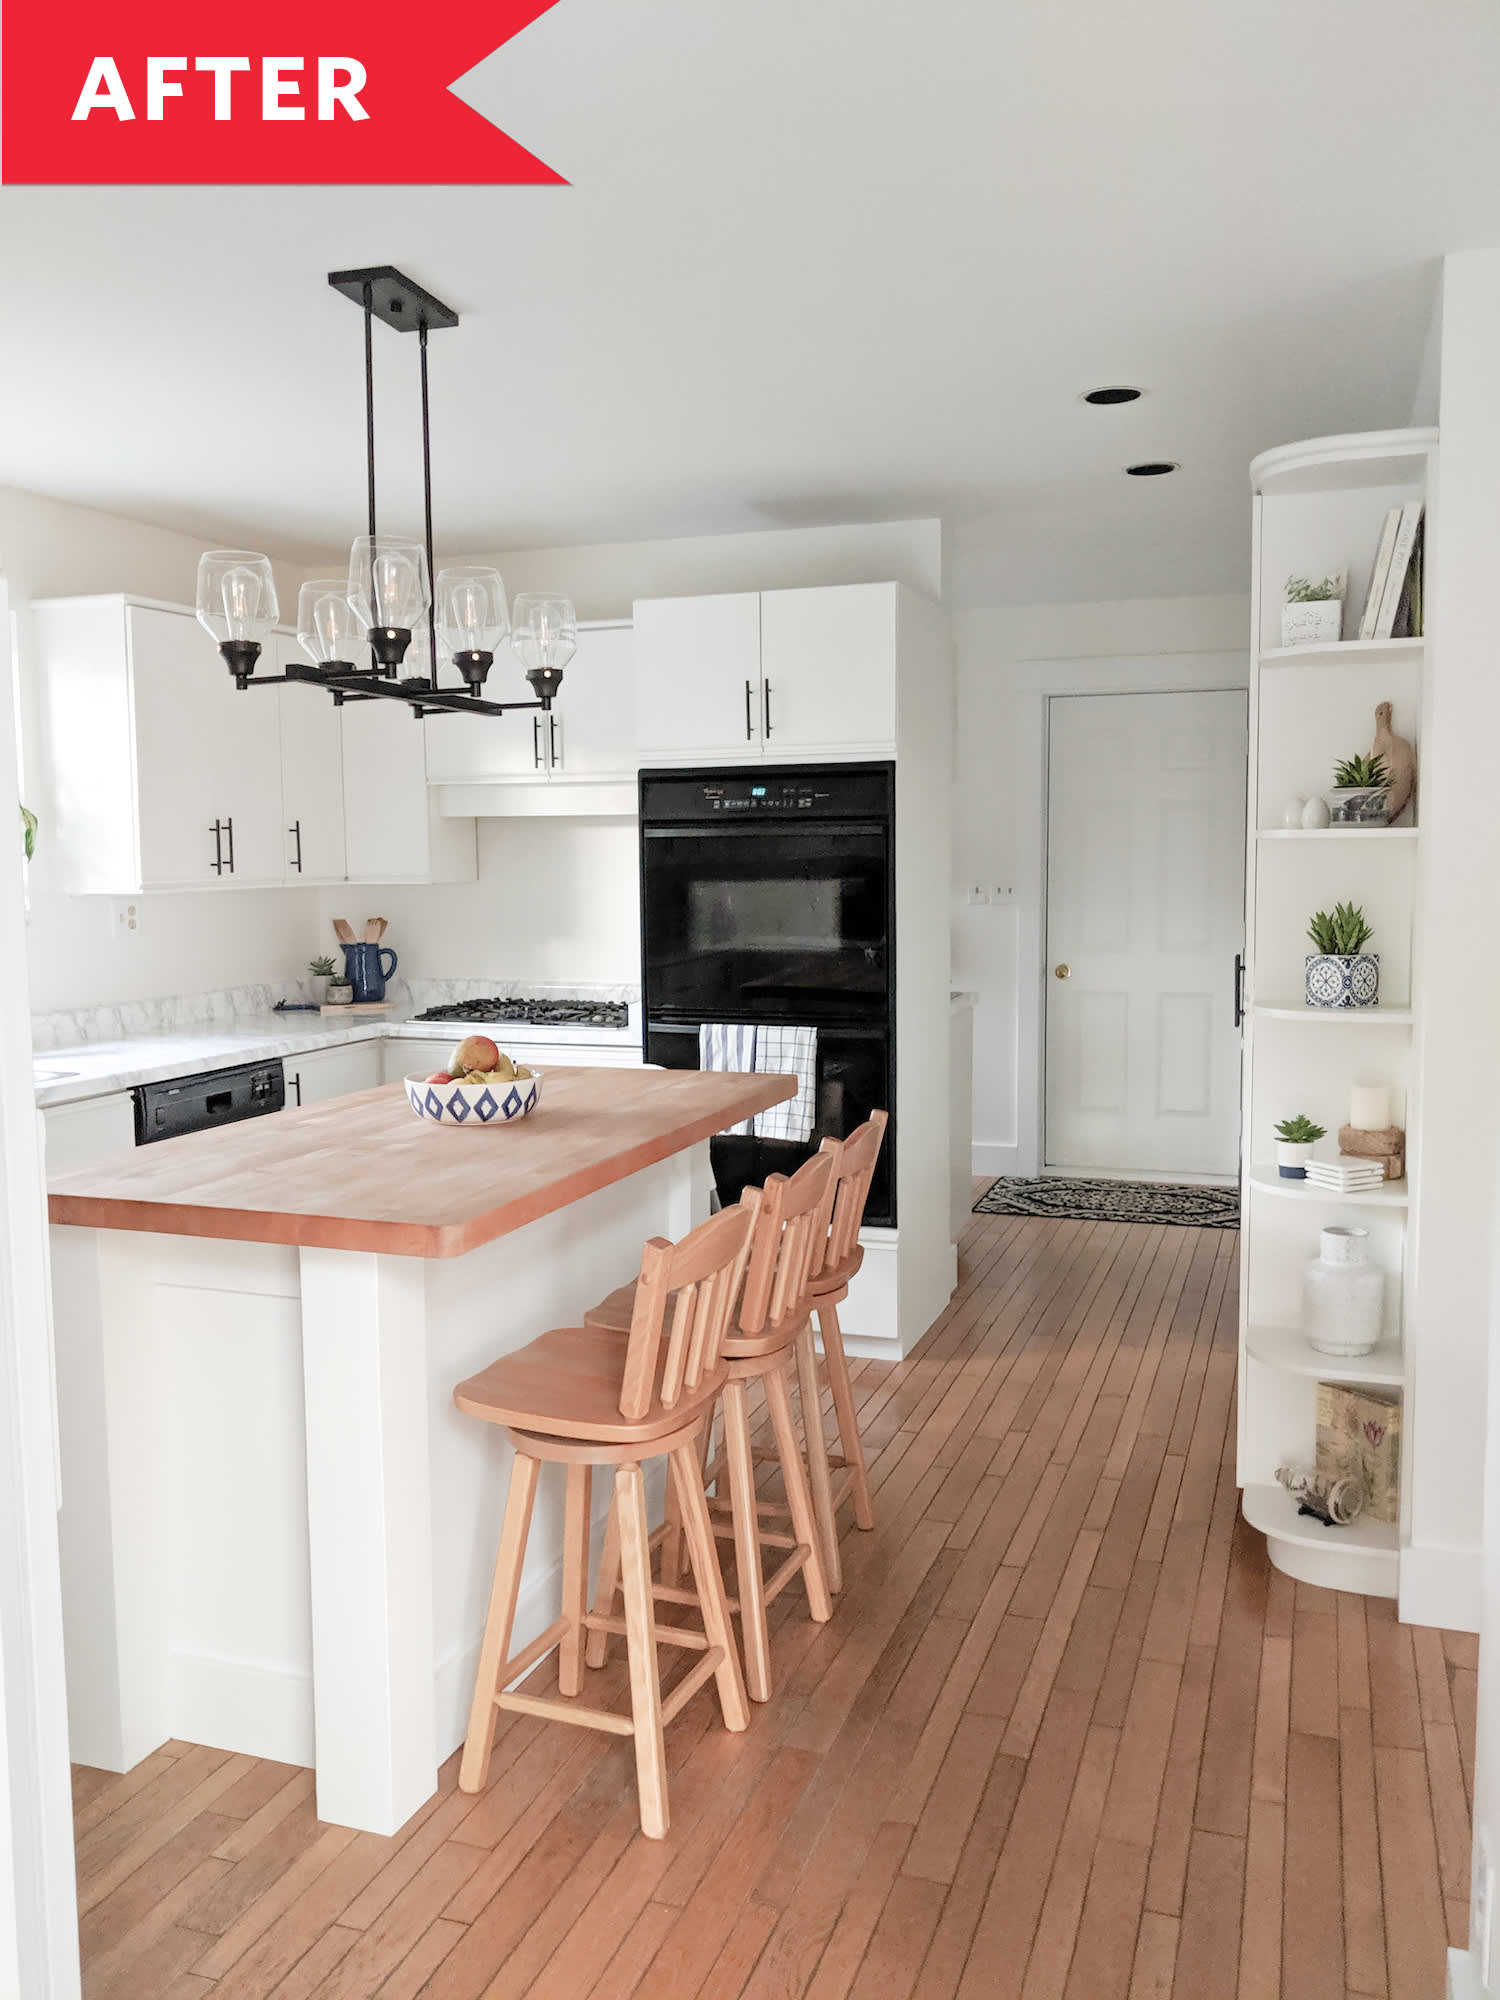
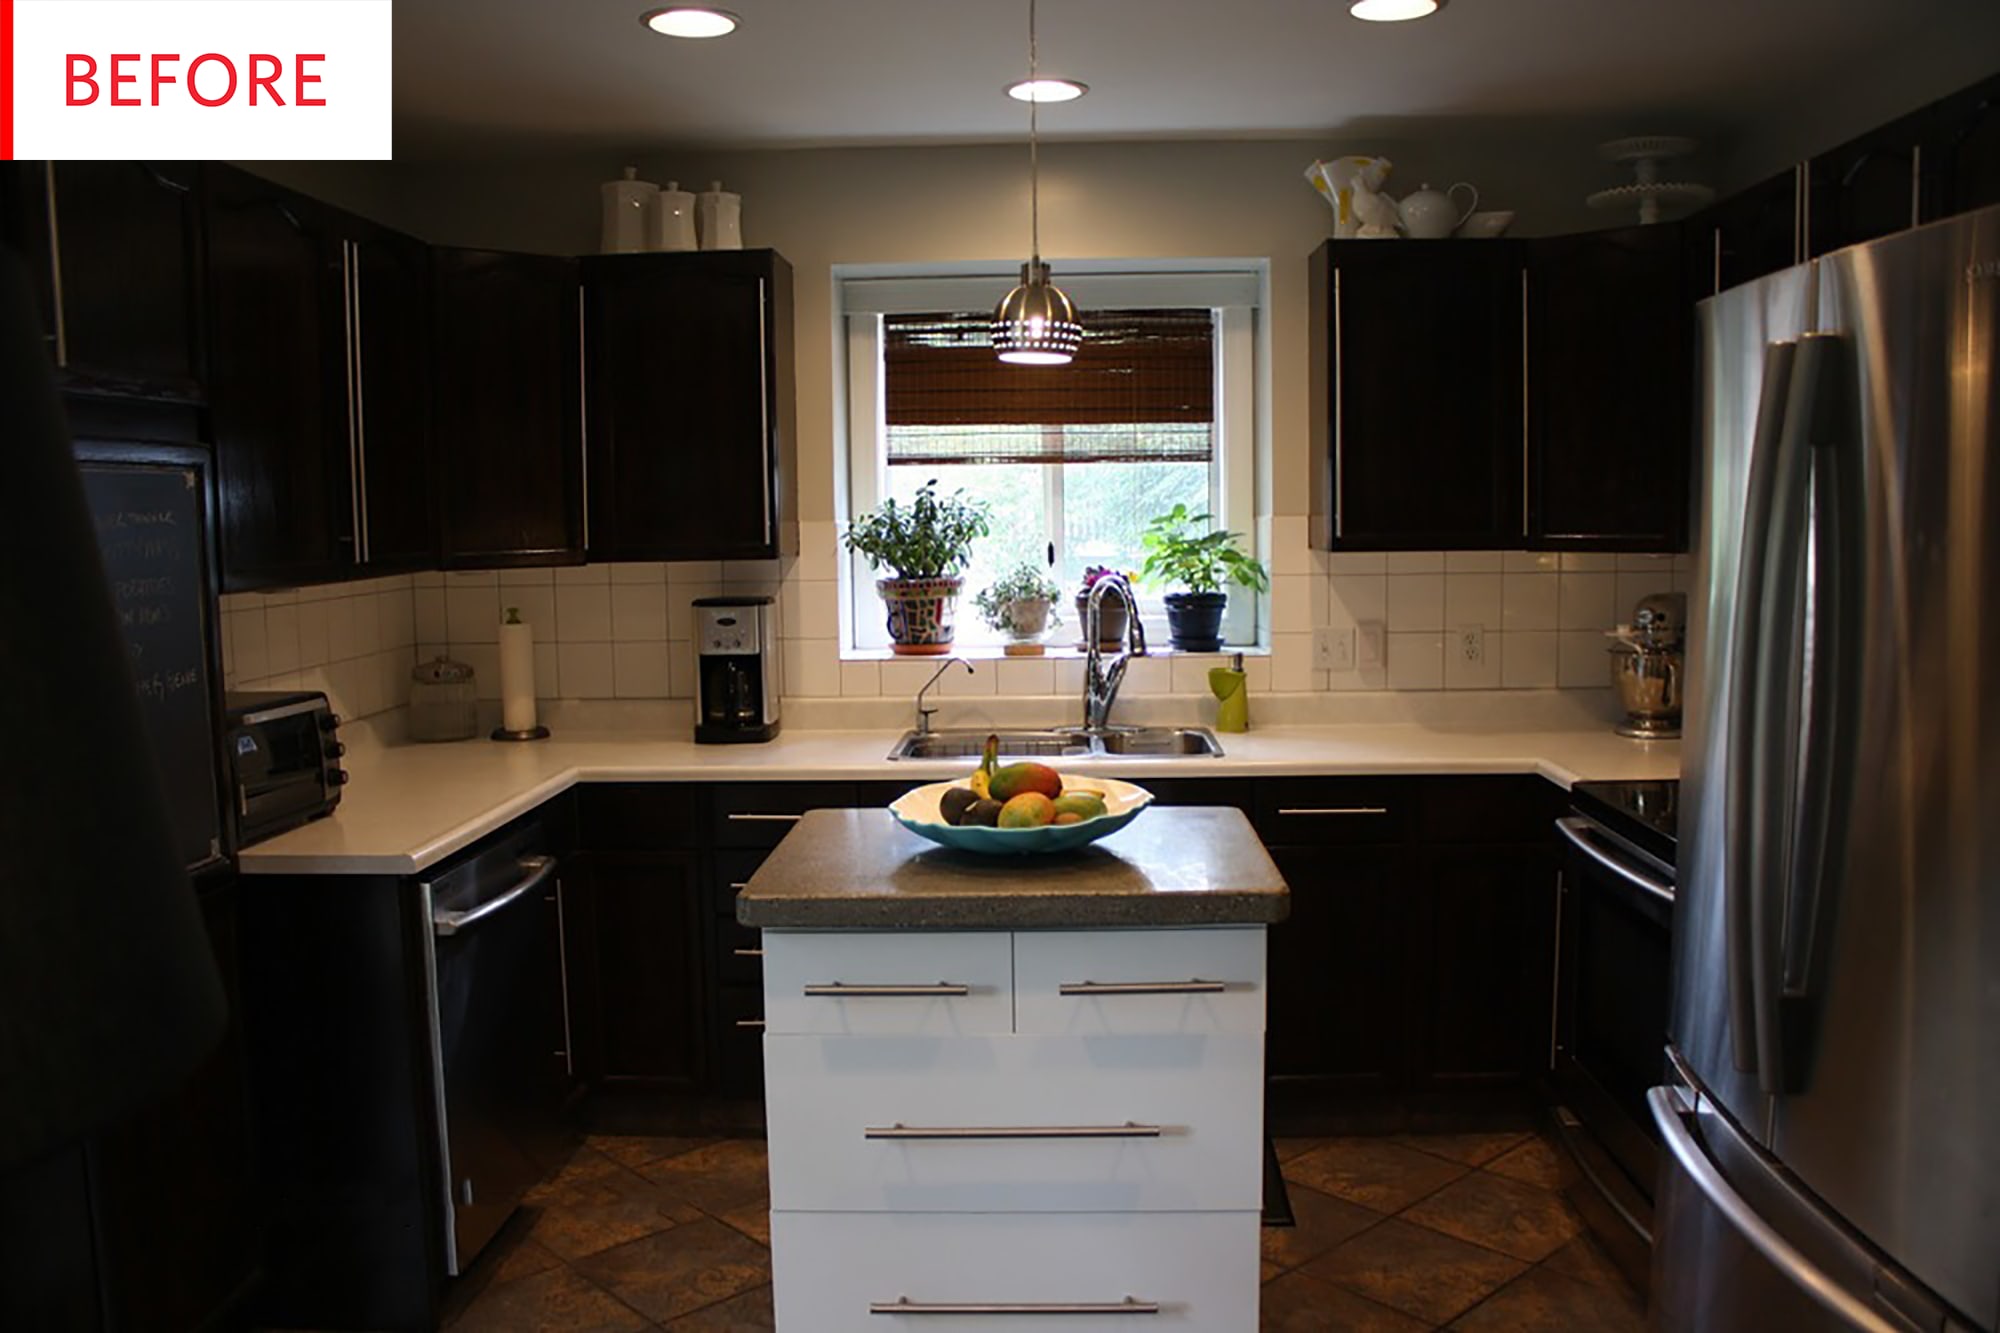
1. Paint everything white.
It’s a classic for a reason. When in doubt, paint your cabinets white for a clean look that’s timeless, too. That’s whatJudy and her husband didwith their ’80s melamine cabinets, which brought their kitchen right back to the 21st century.
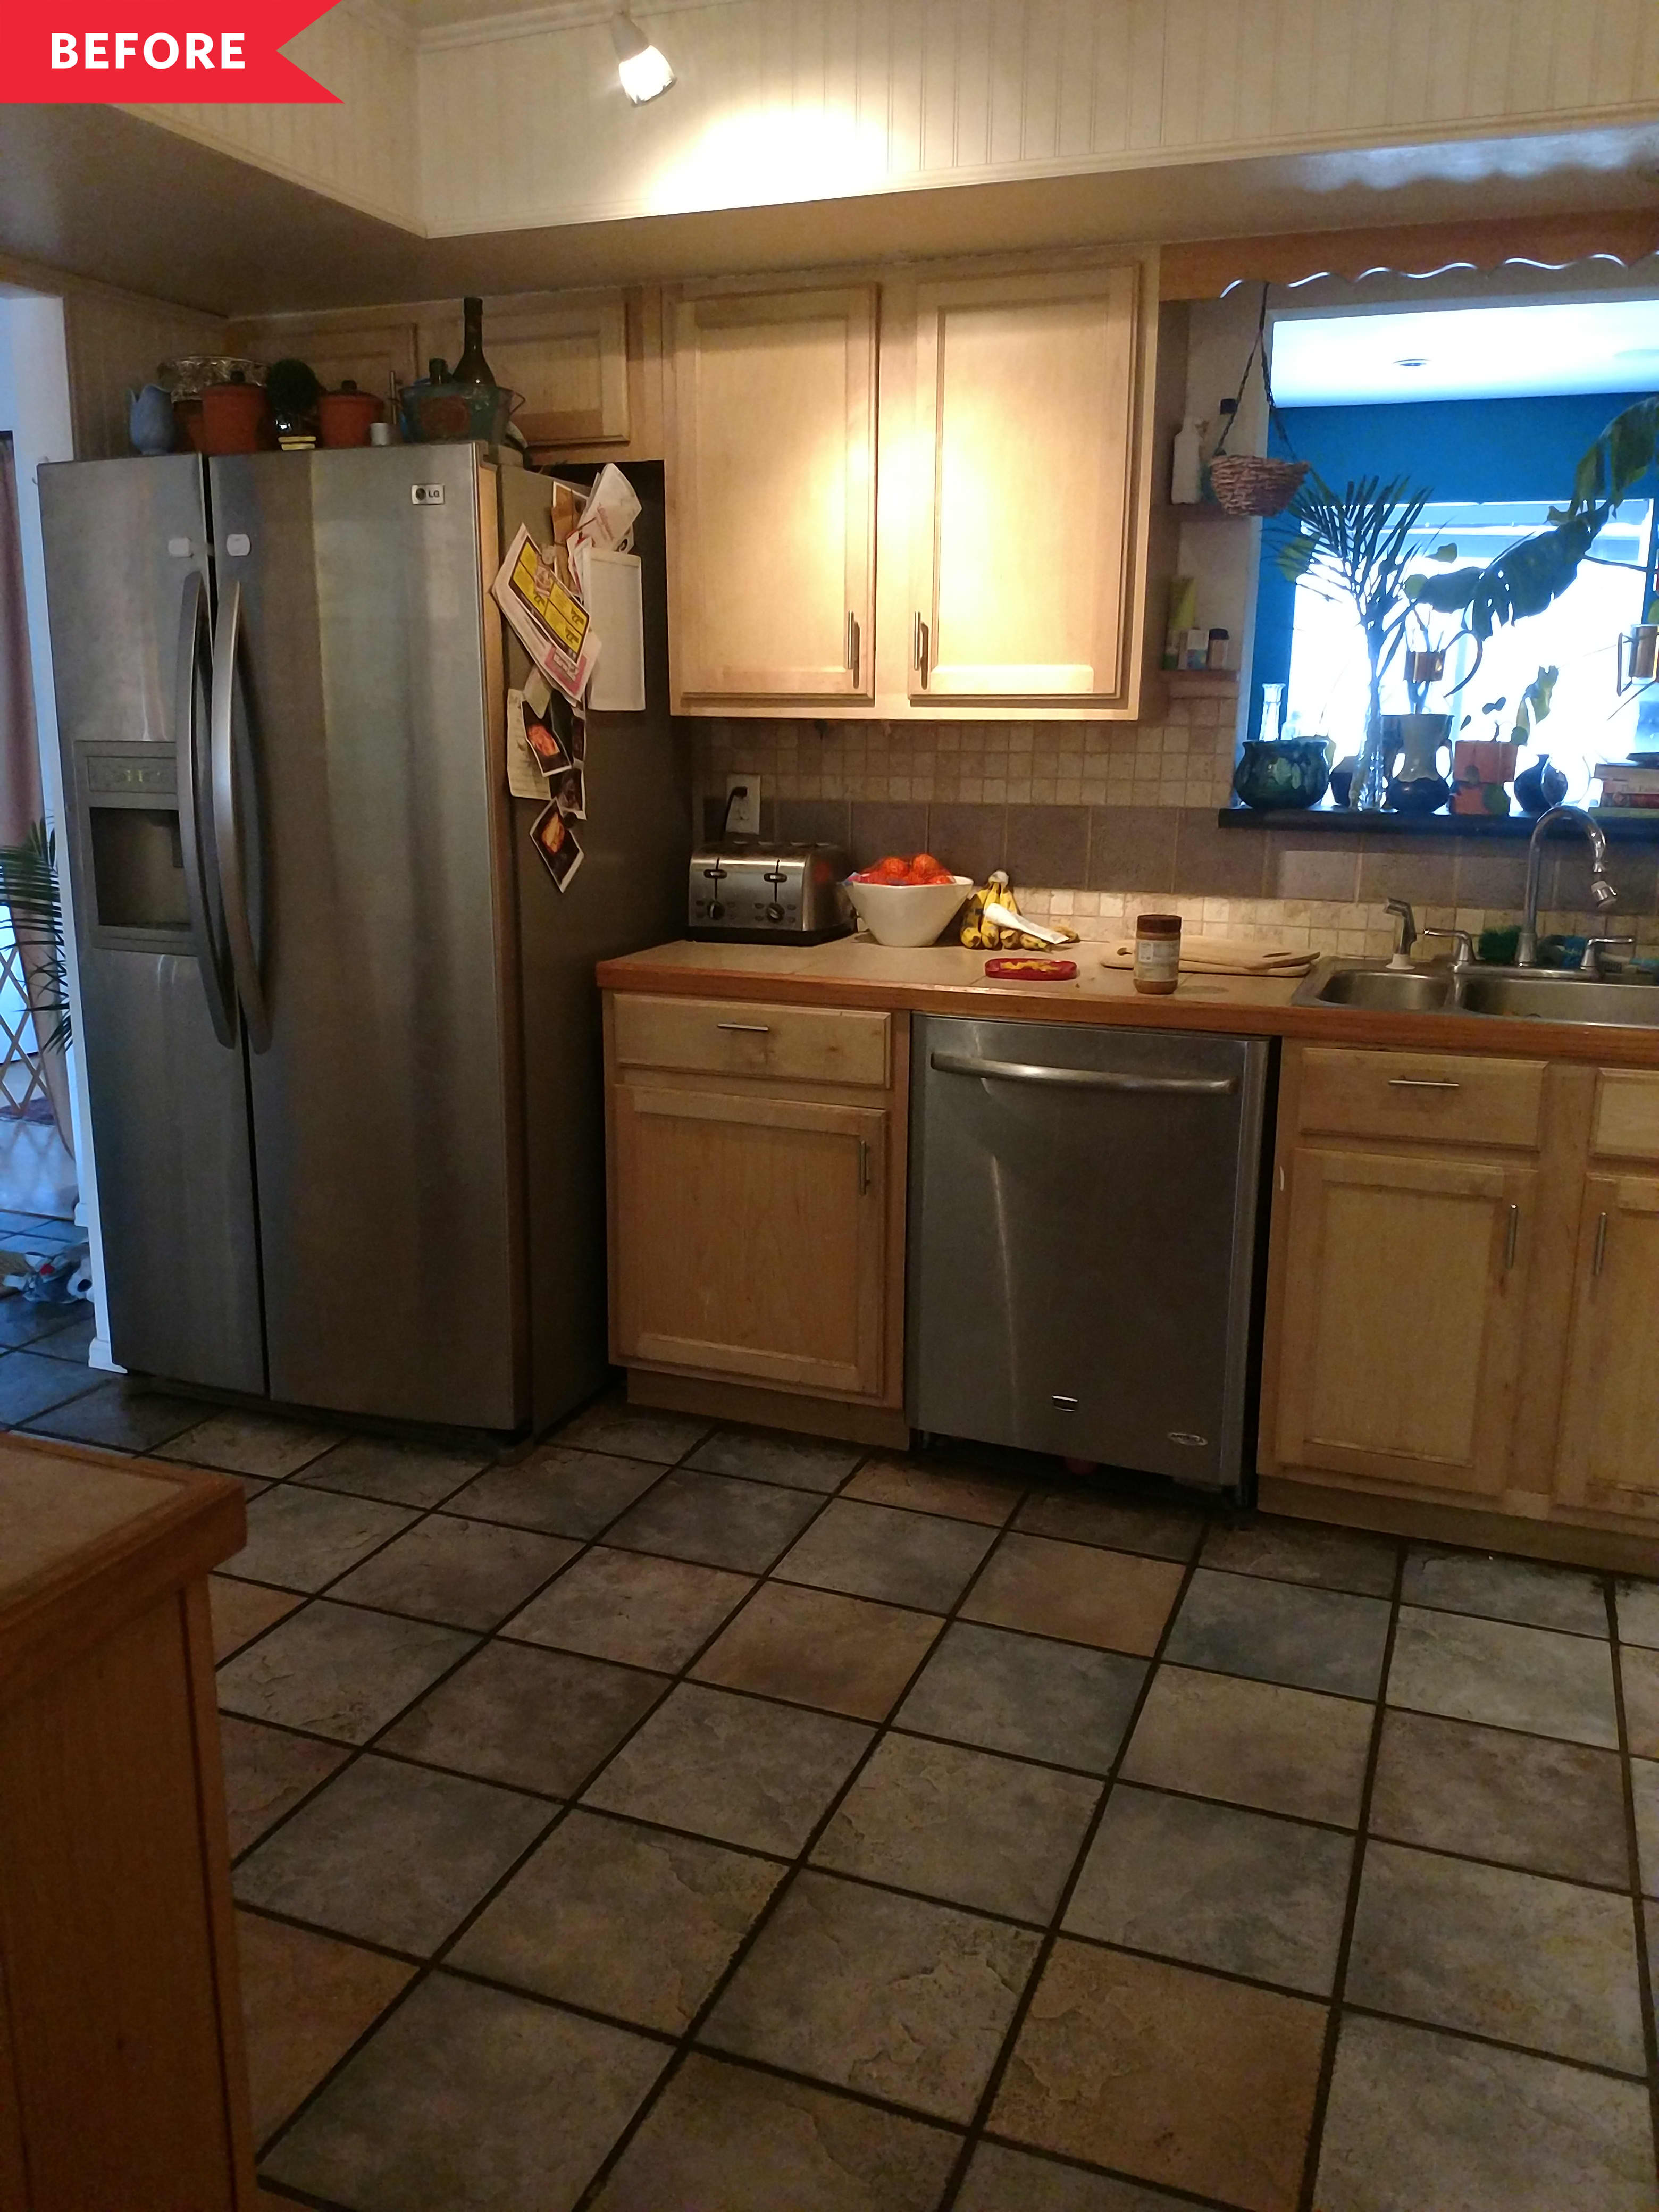
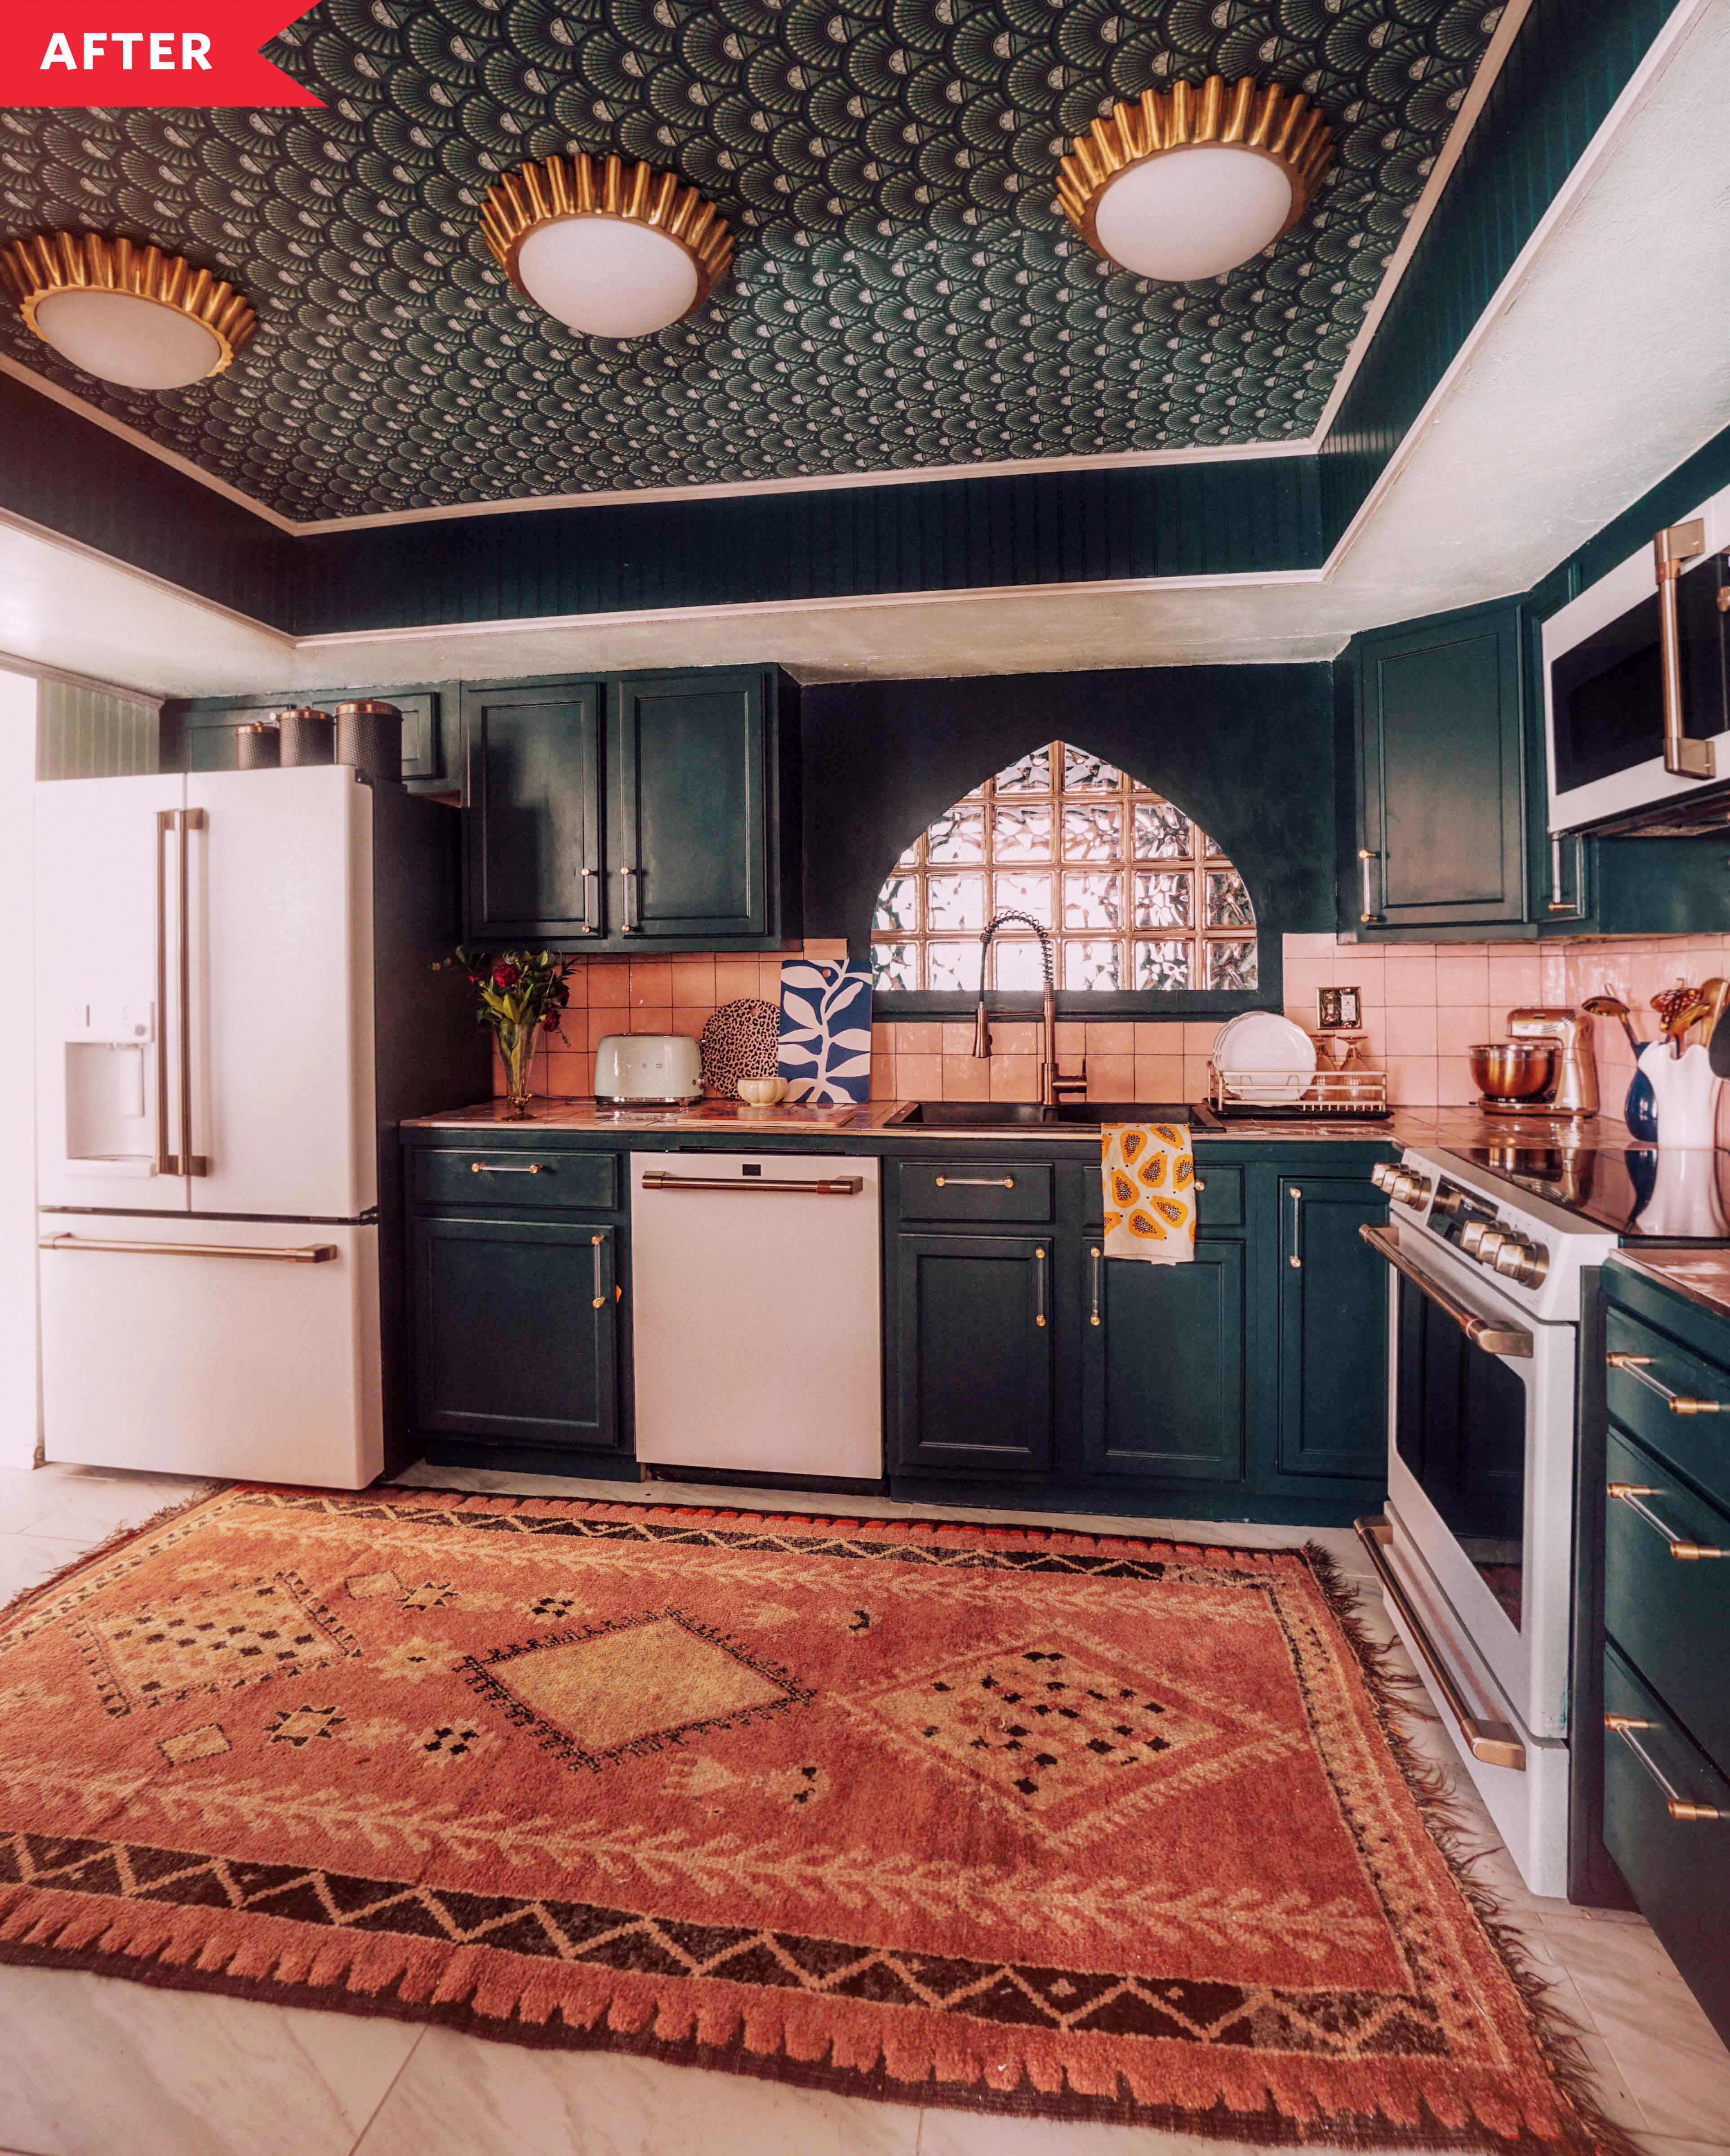
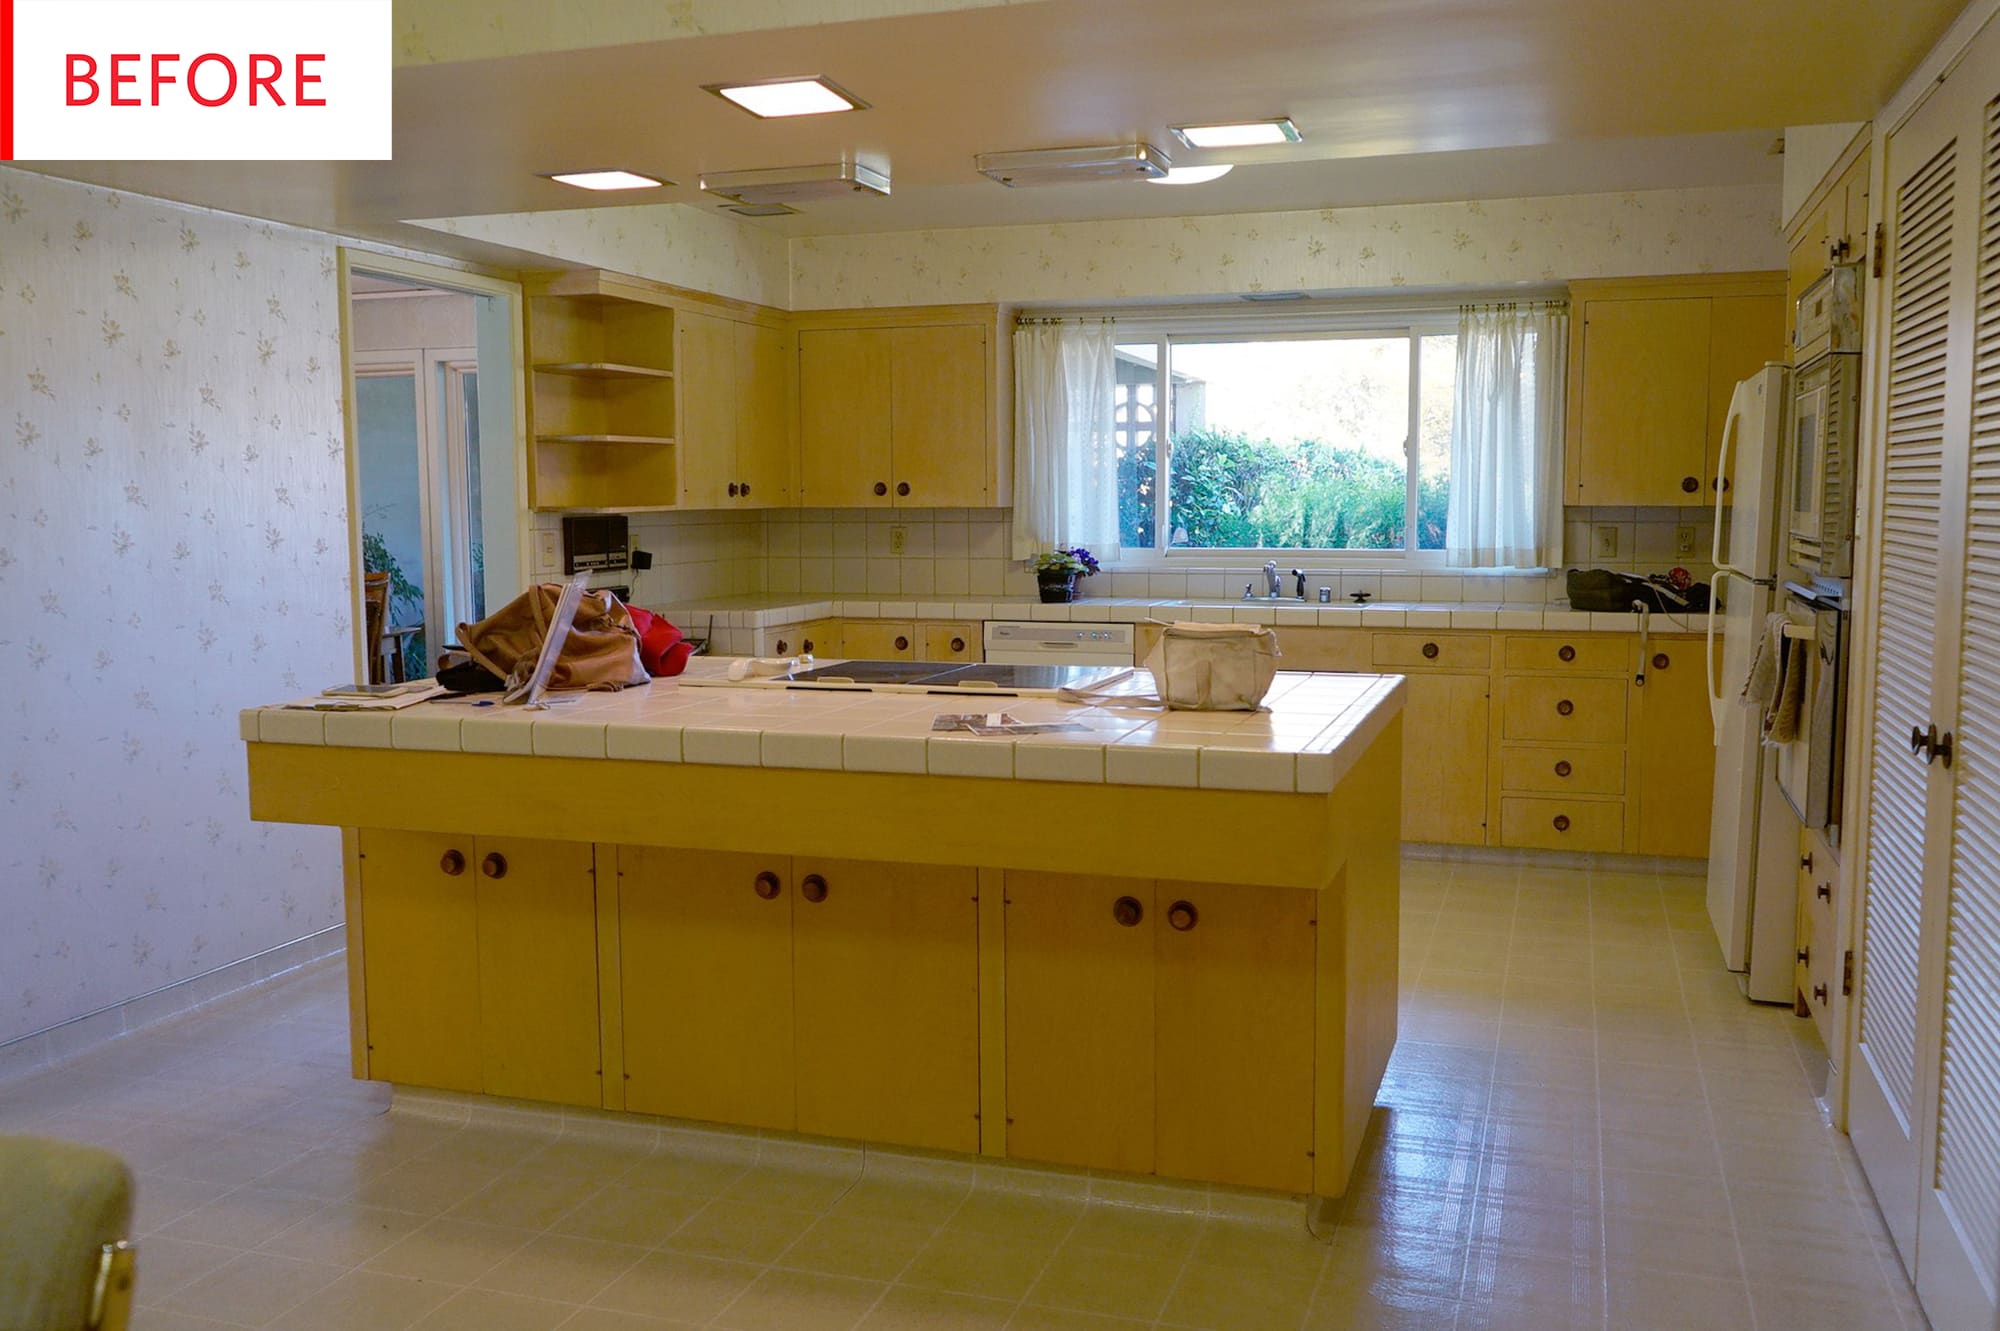
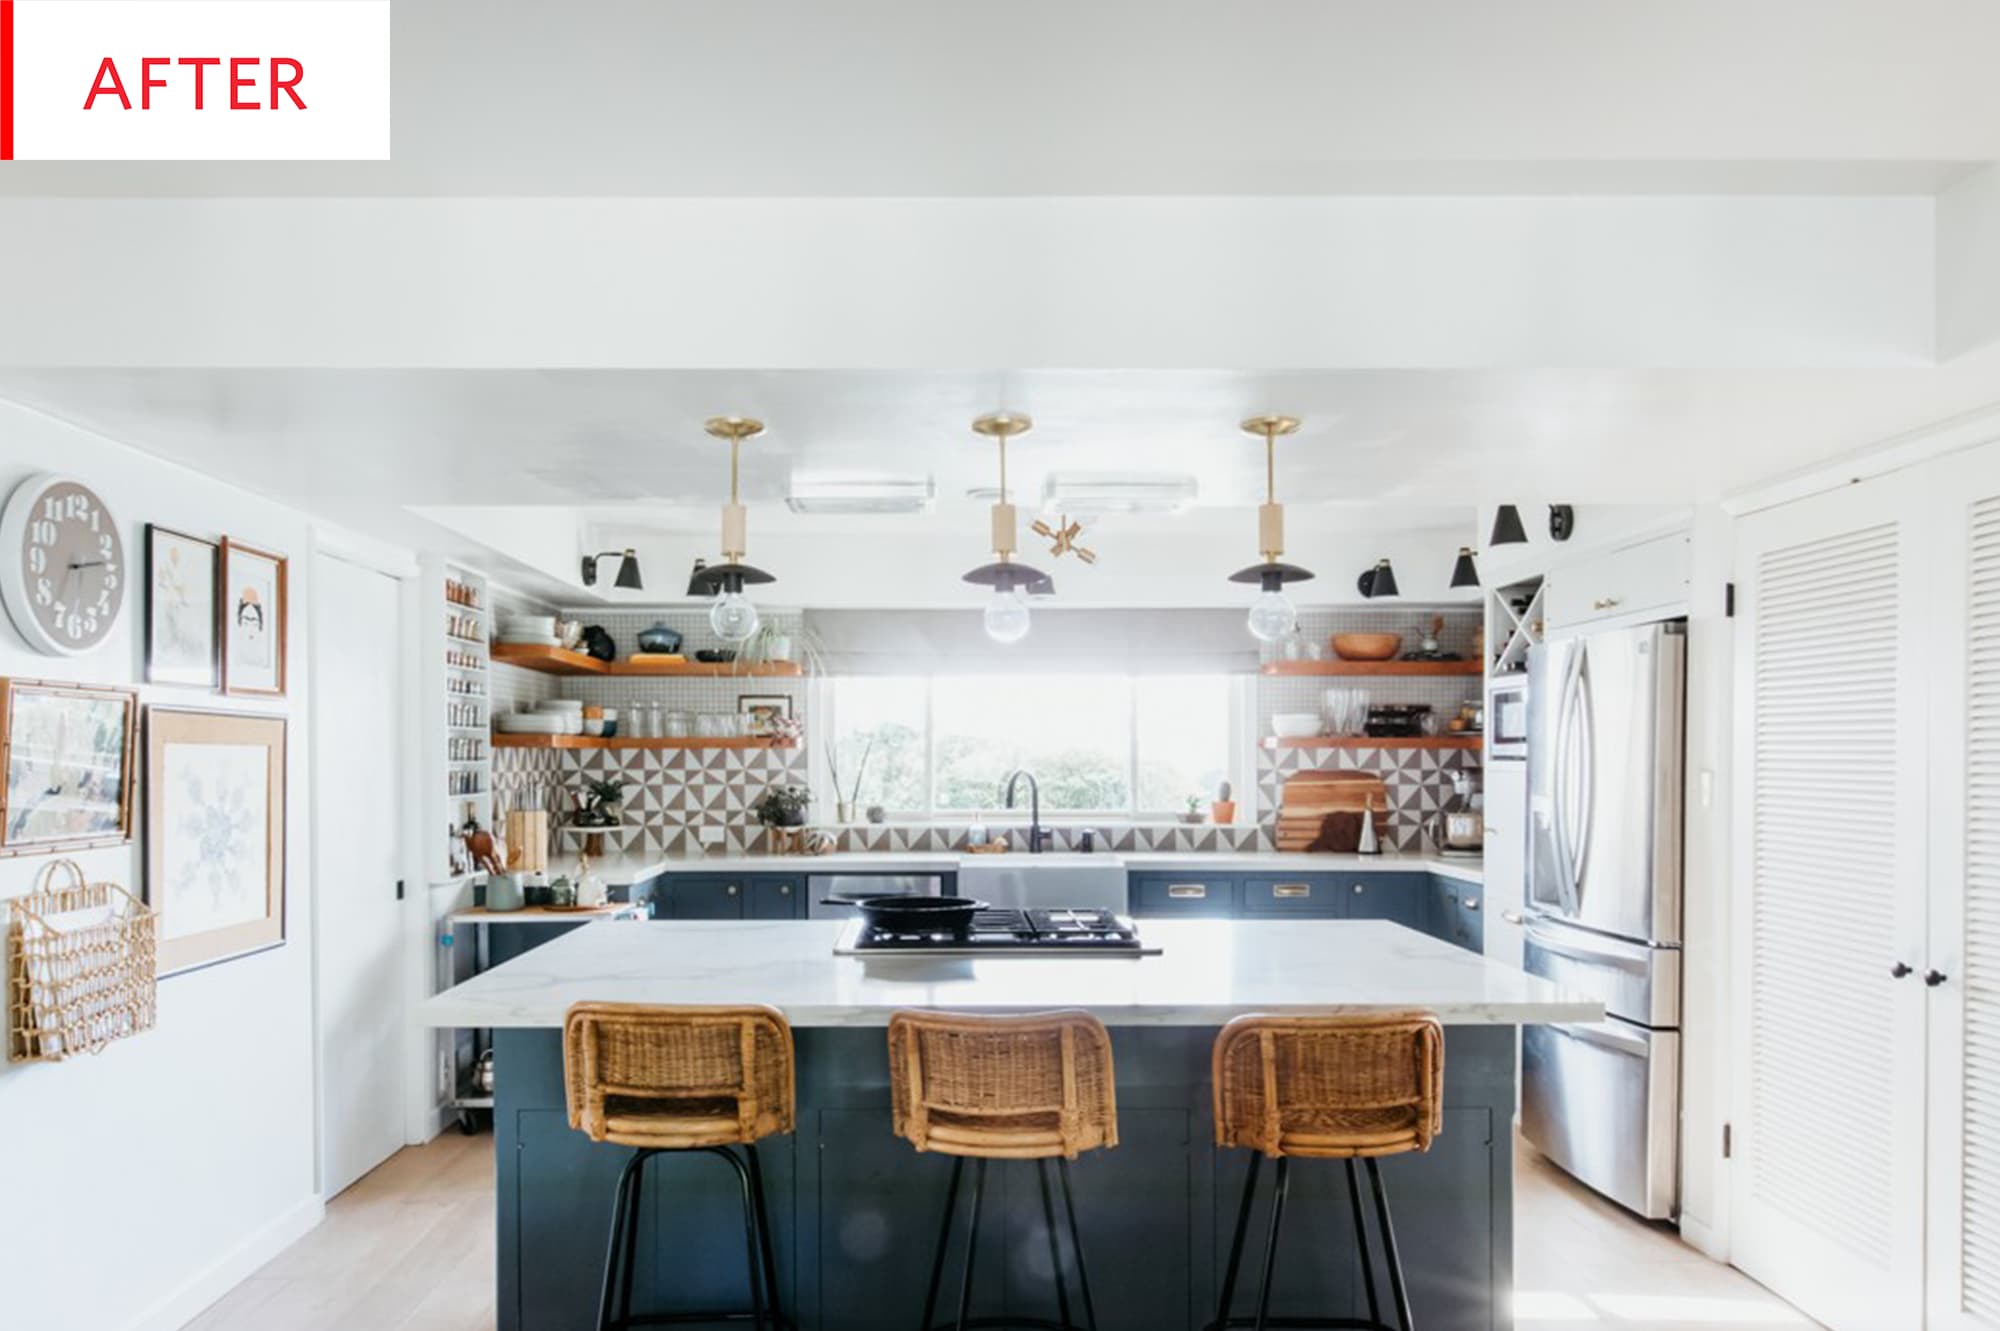
2. Go bold with a dramatic all-over color.
The light wood cabinets inthis kitchenwere in great shape and just needed some oomph. A bold paint color makes a dramatic statement, and ties in perfectly with the Art Deco-style wallpaper on the ceiling to give the room an all-over wash of color.
3. Mix and match hardware.
This one’s renter-friendly: The cabinets inthis kitchenwere updated simply by switching out the drawer and door pulls (plus removing the dated bottom flange). The mix of shapes in the same gold color adds a modern touch to the space.
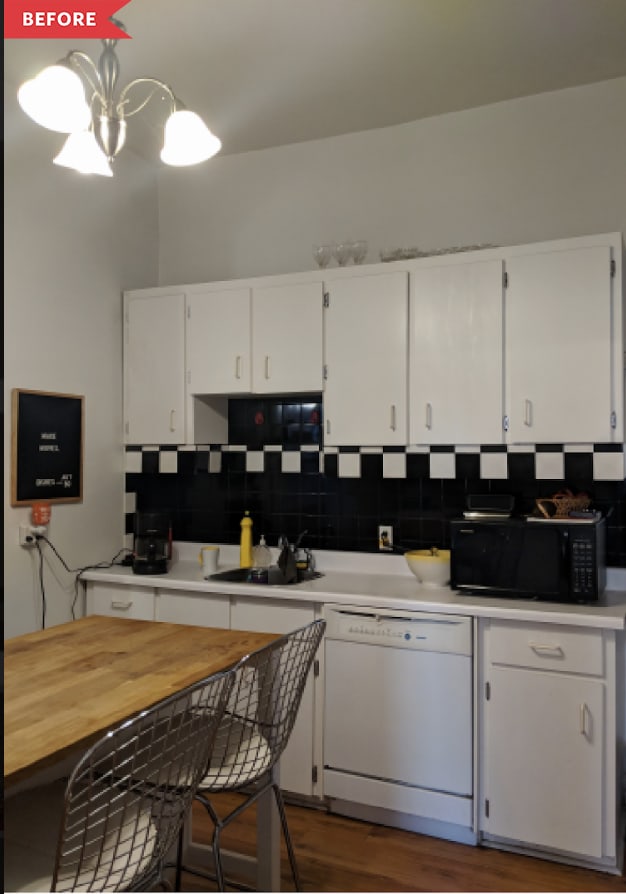
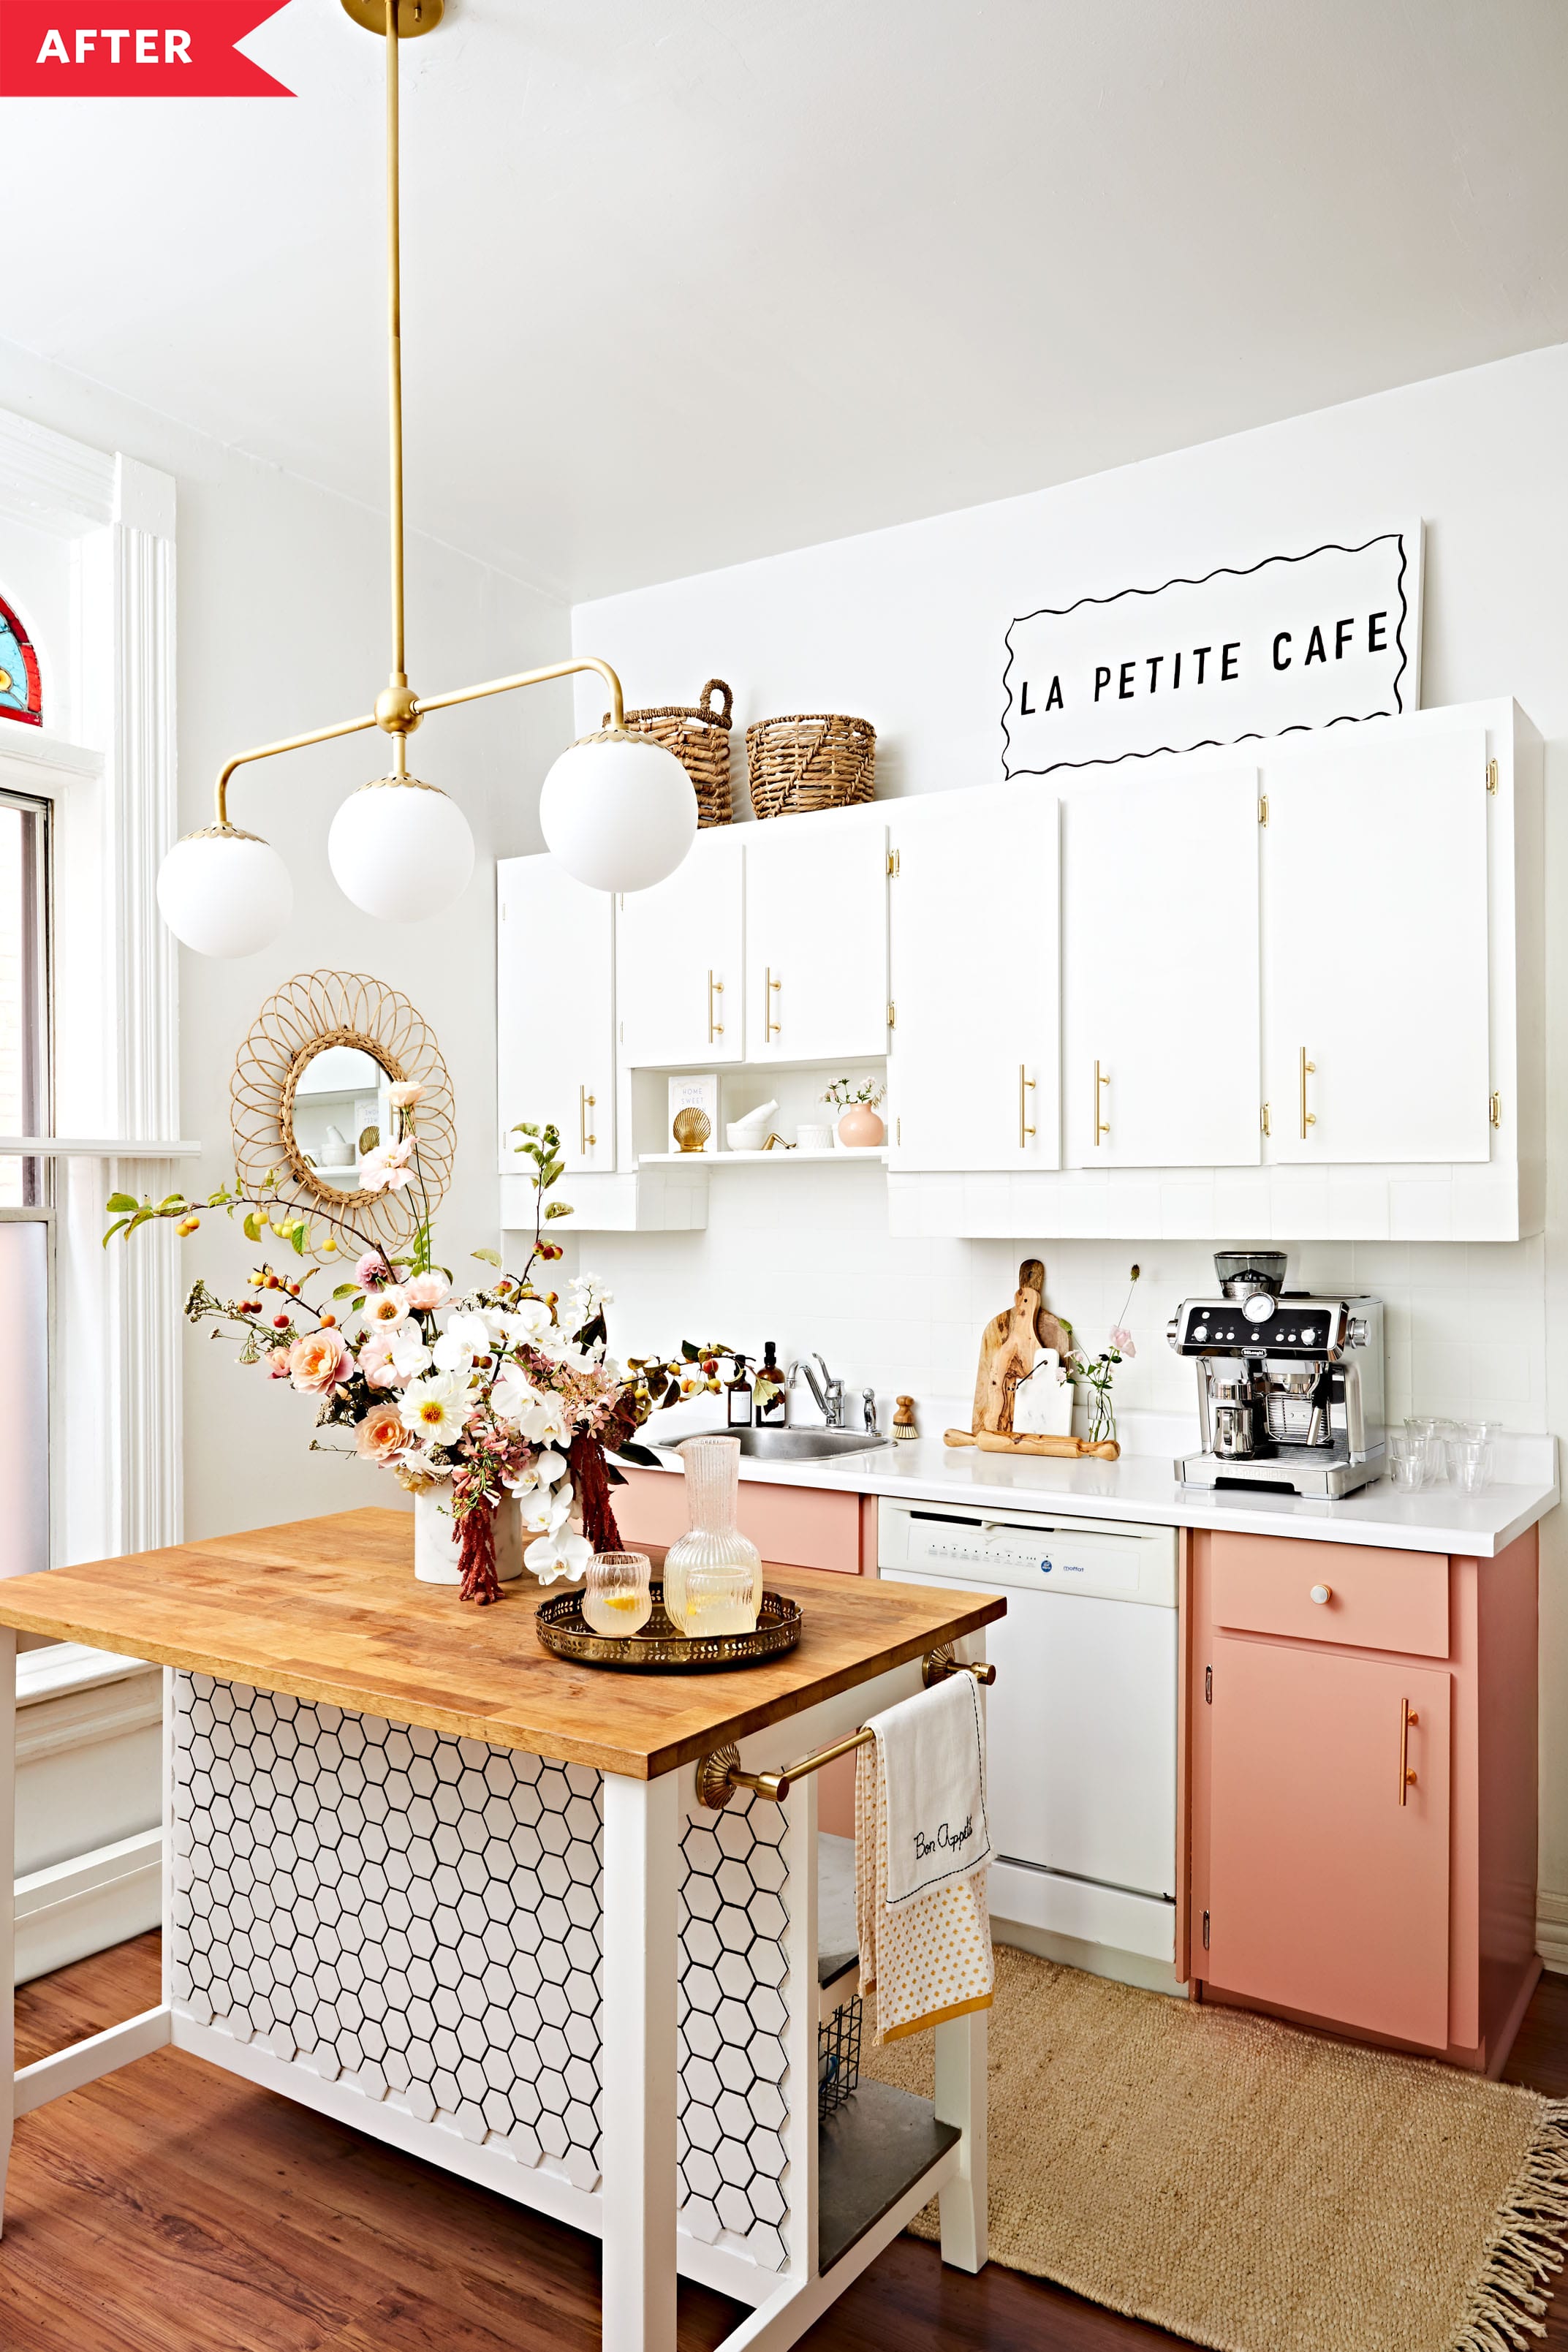
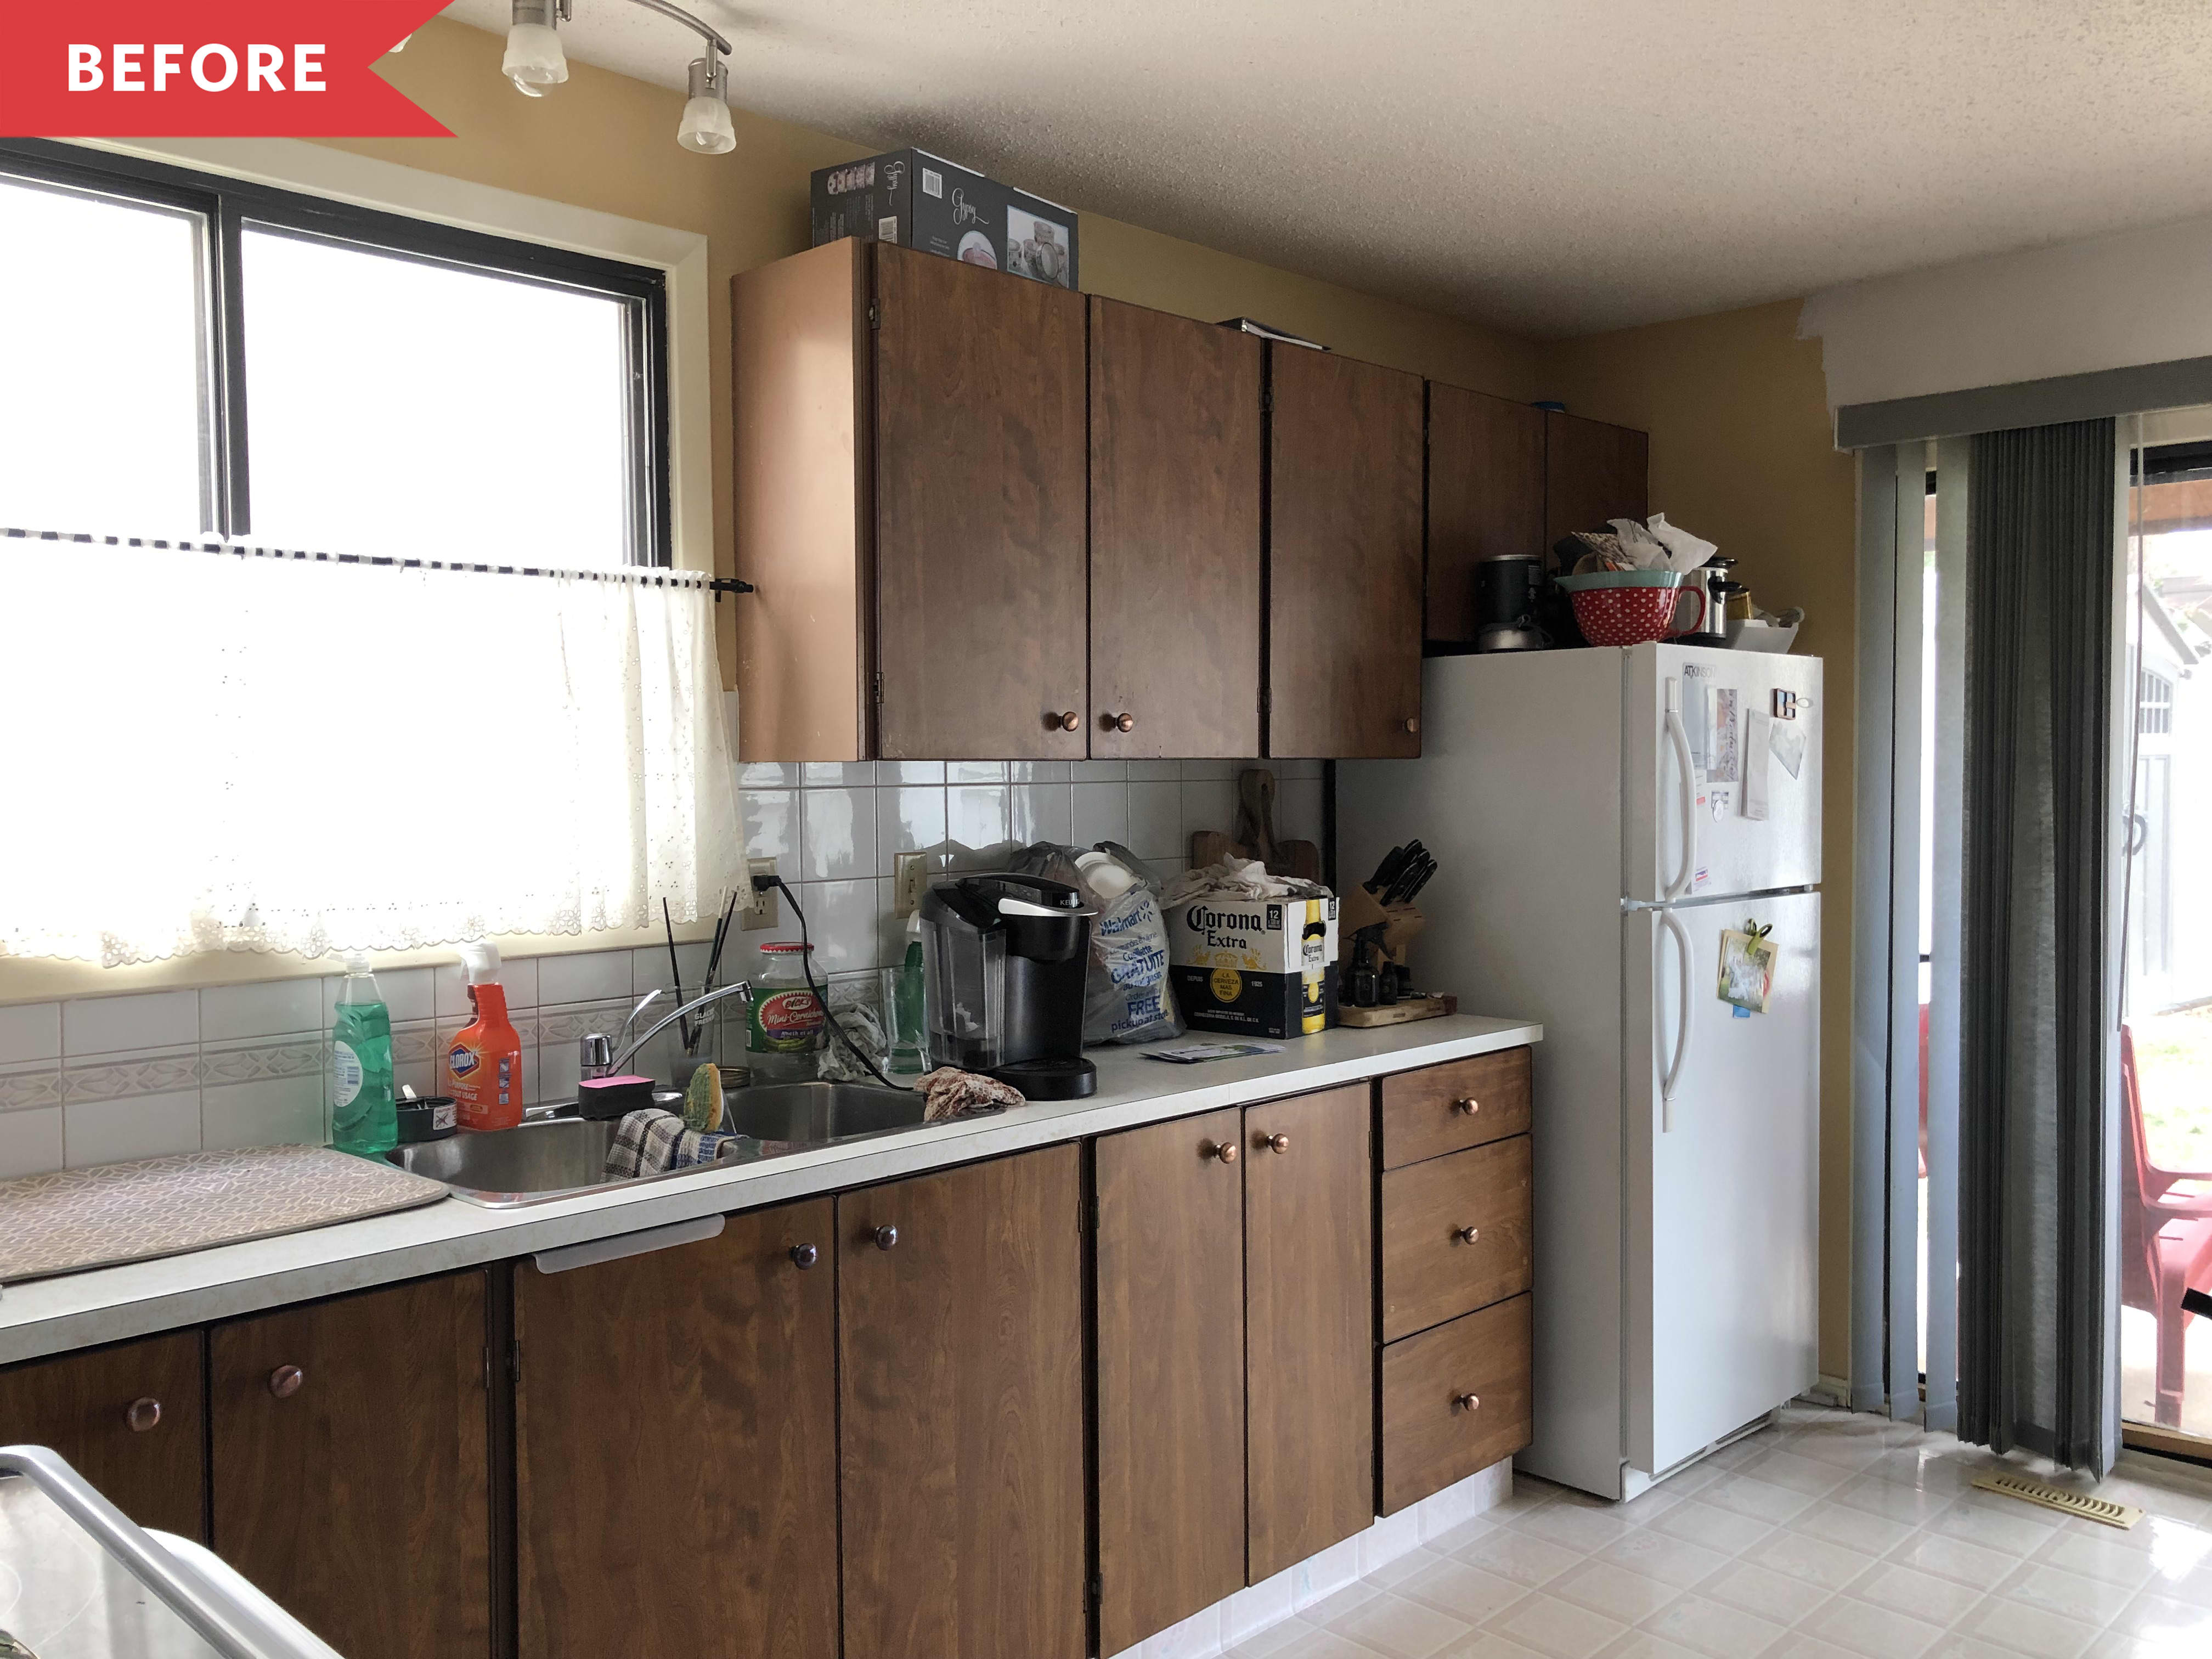
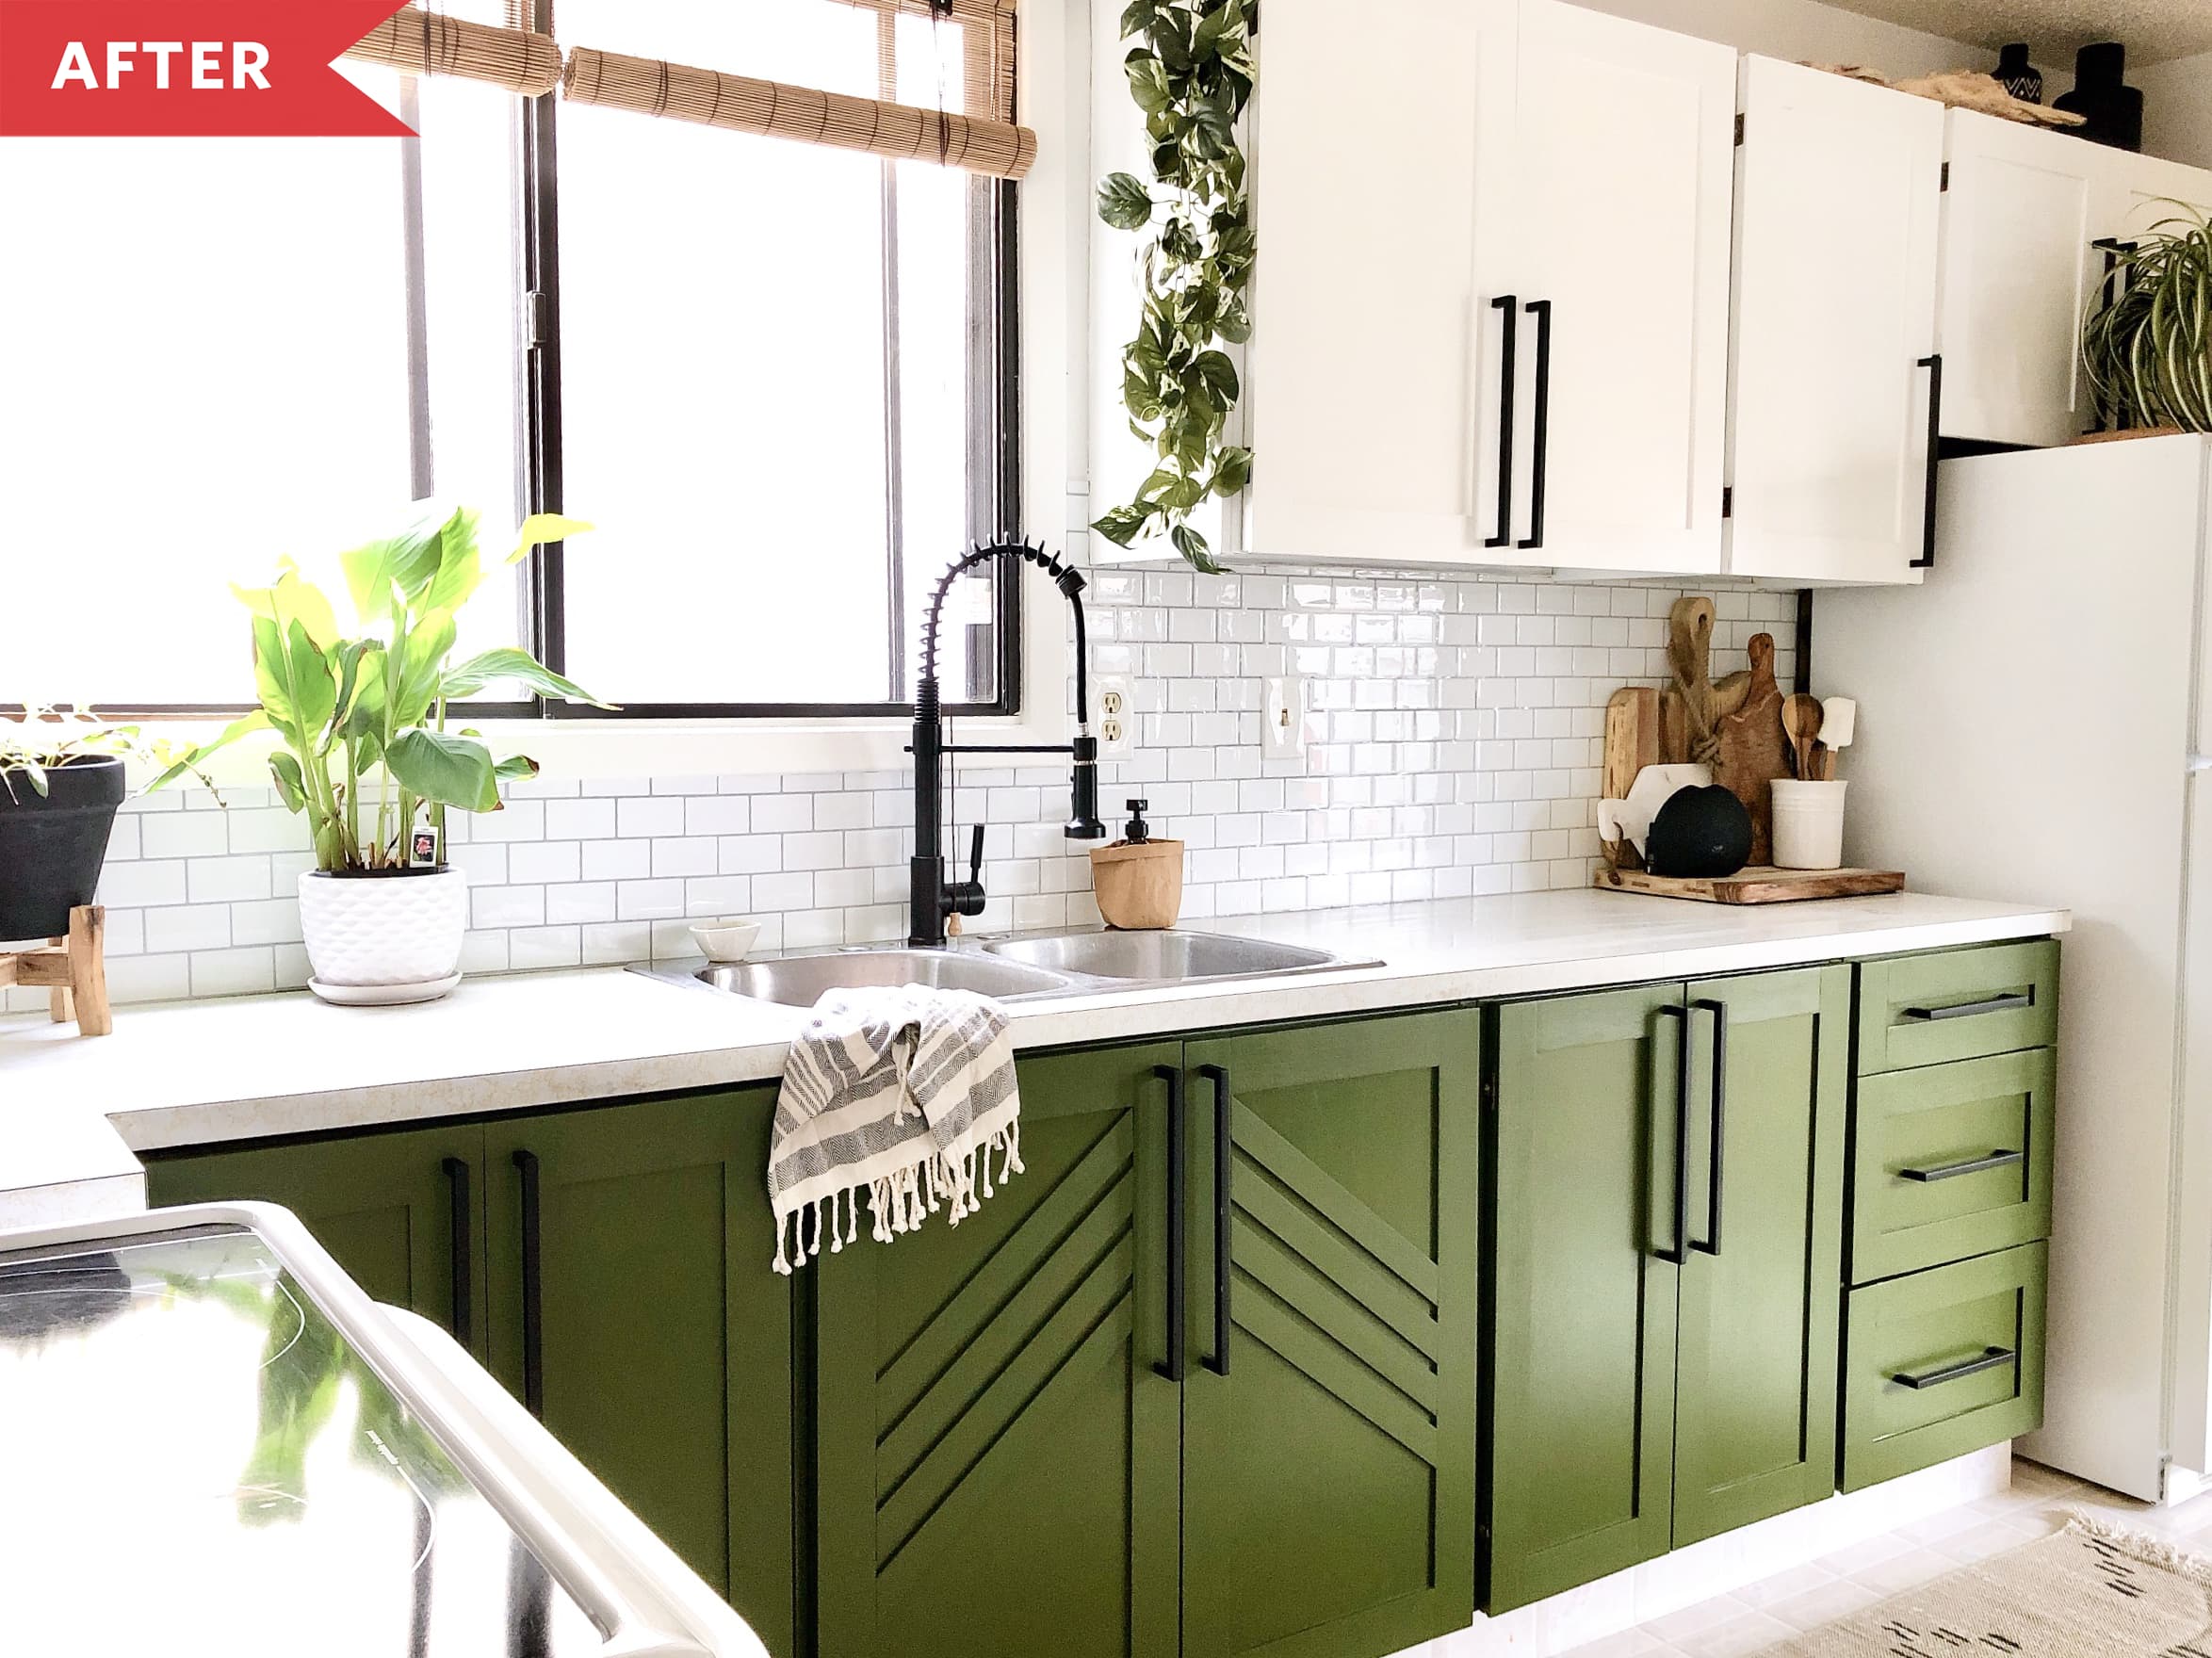
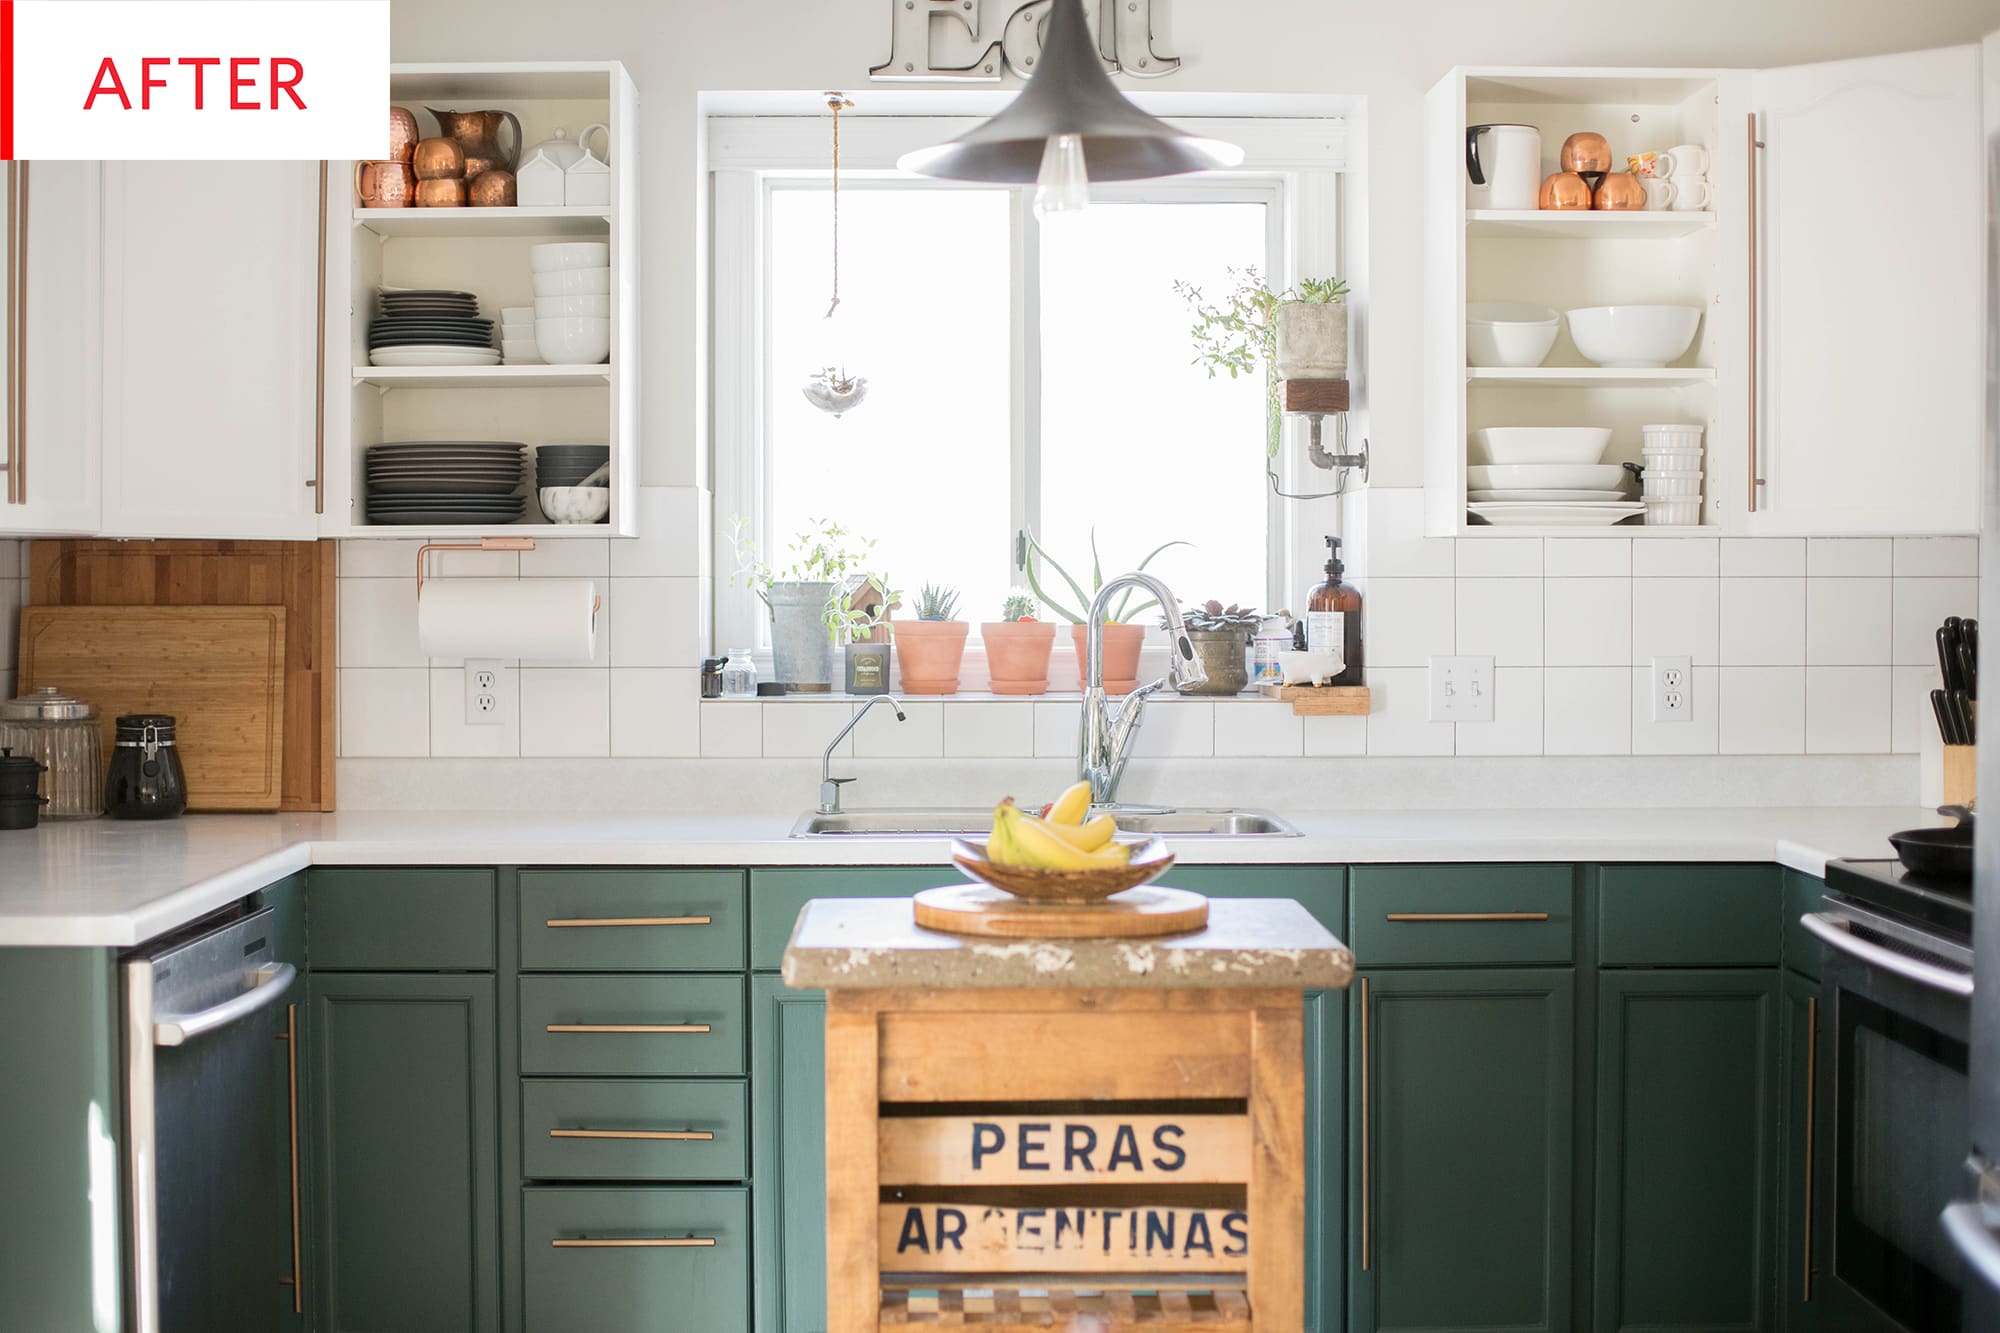
4. Pair bright base cabinets with white uppers.
White cabinets give your space an open, airy feel, but maybe you want some color, too. Here’s the fix: Choose your favorite shade for base cabinets and pair it with white for the uppers, likeAutumn did in her rental kitchen.
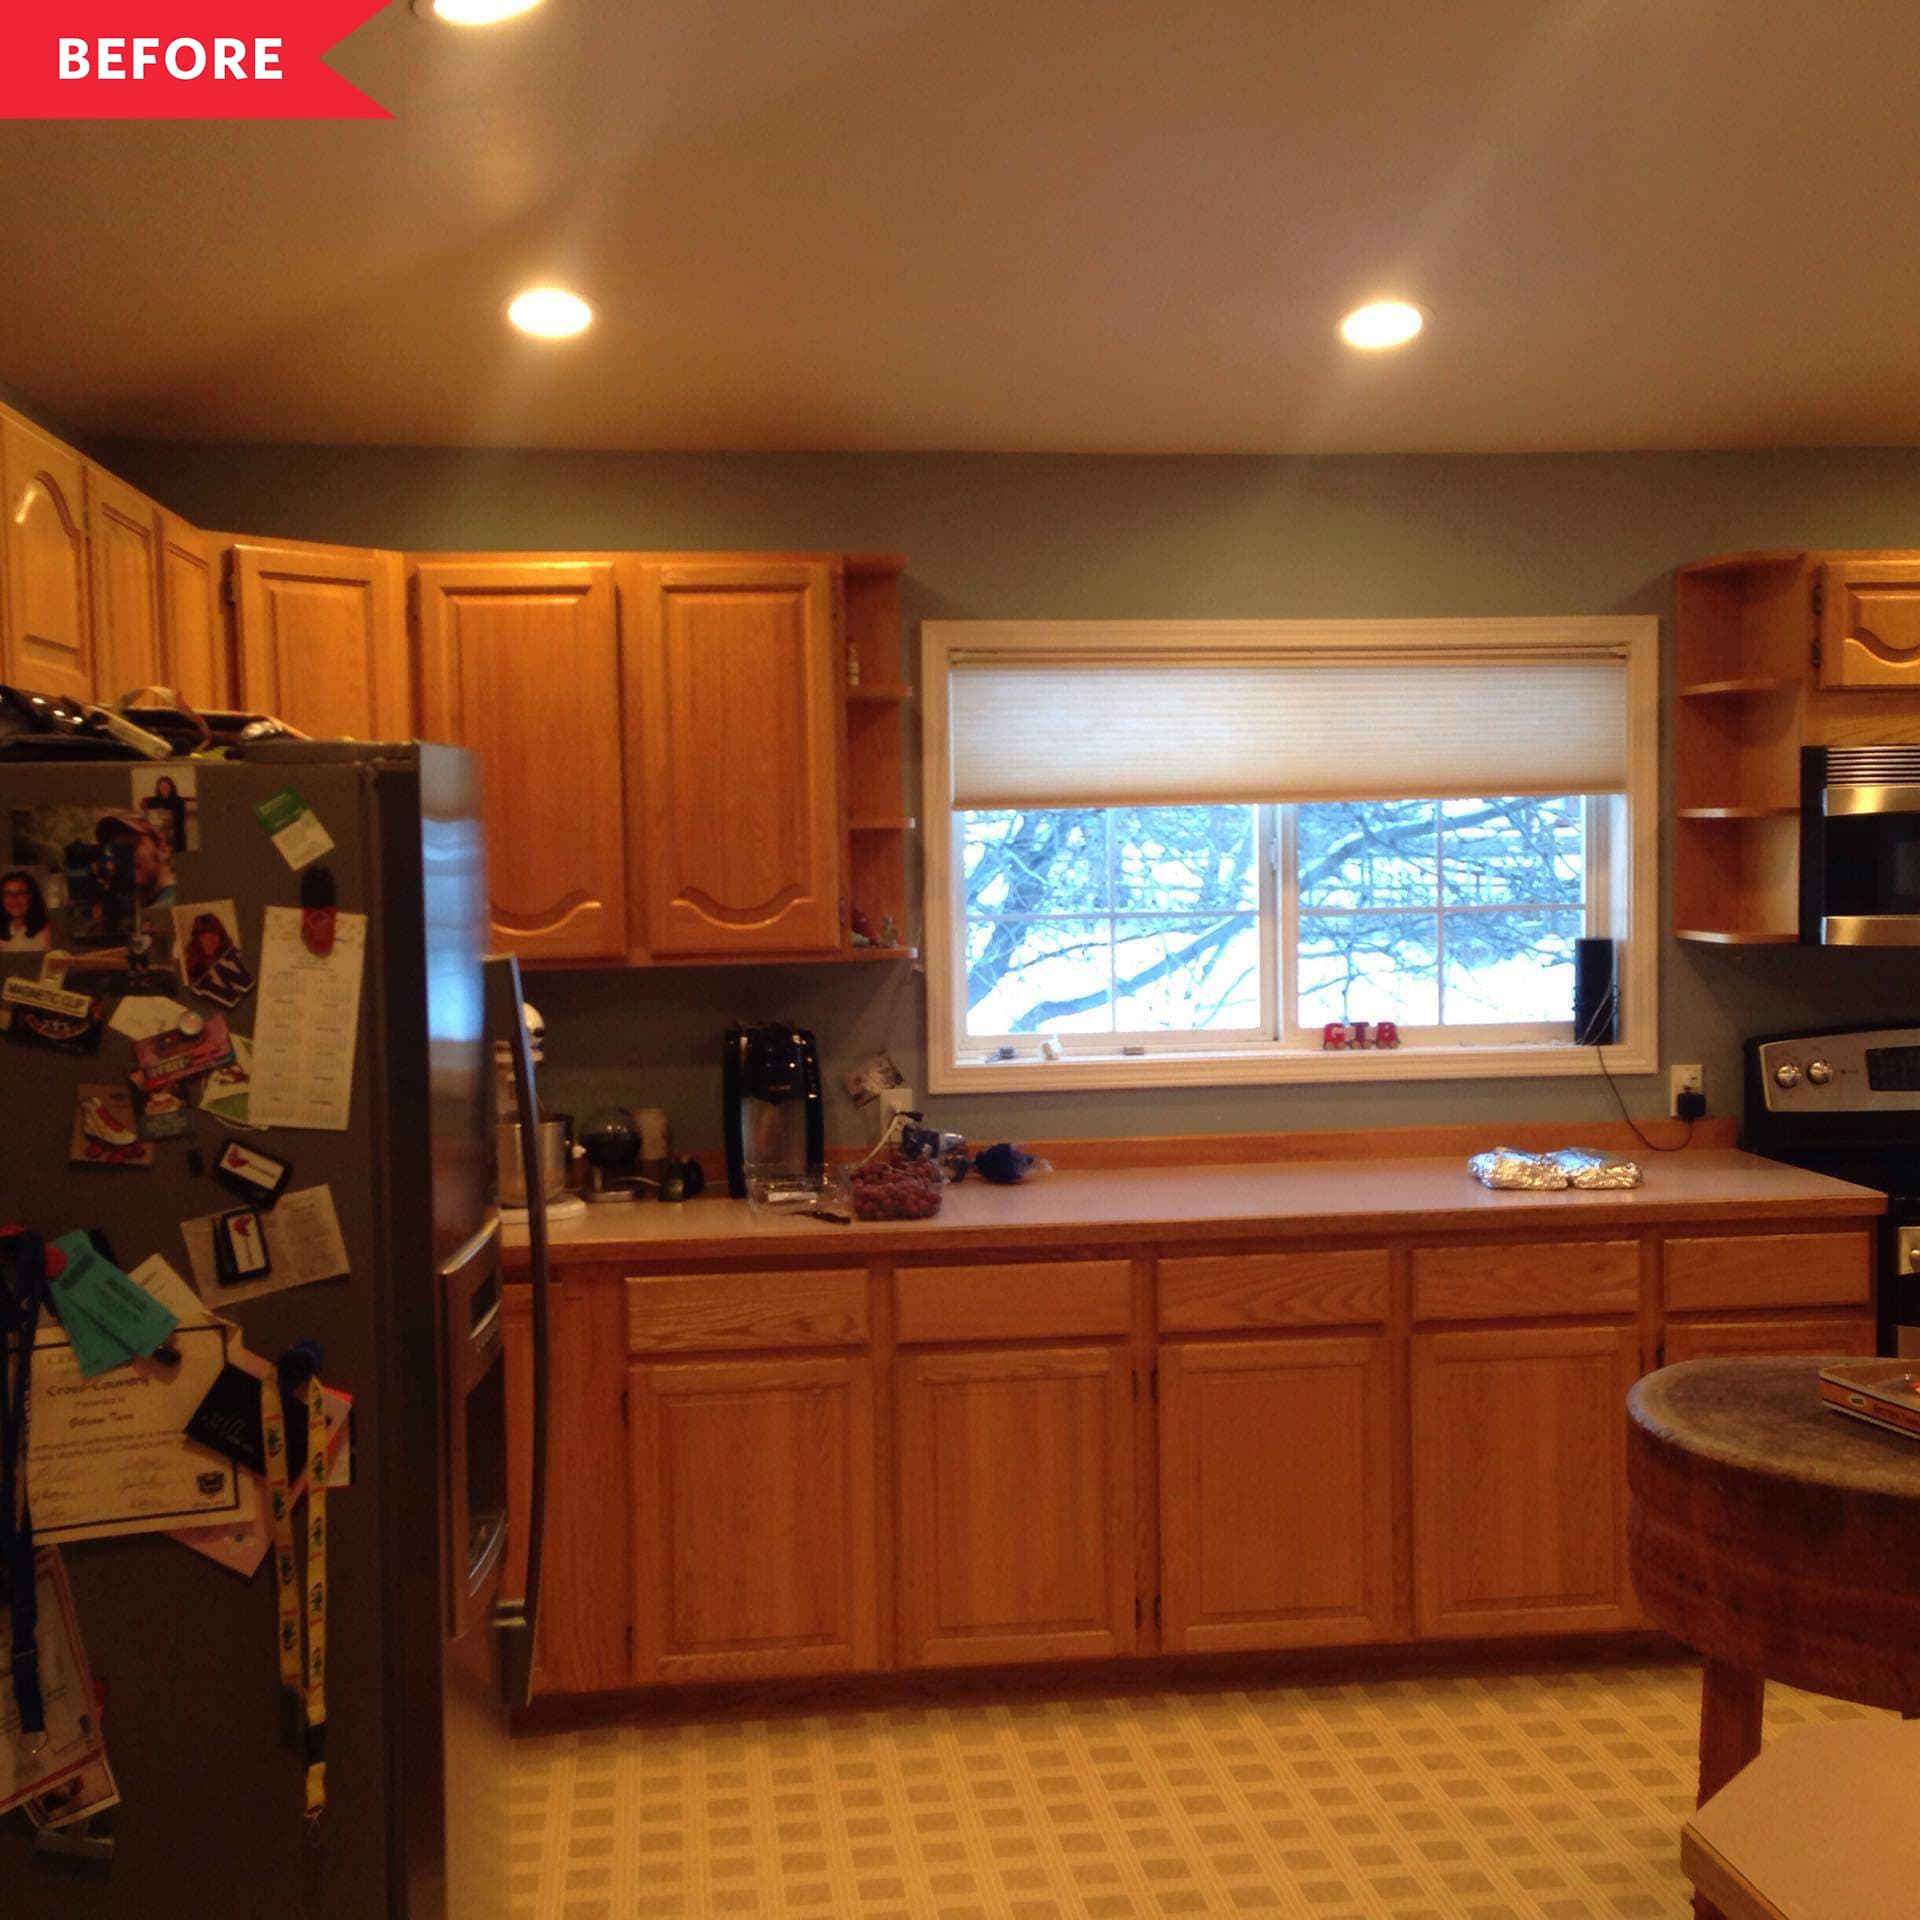
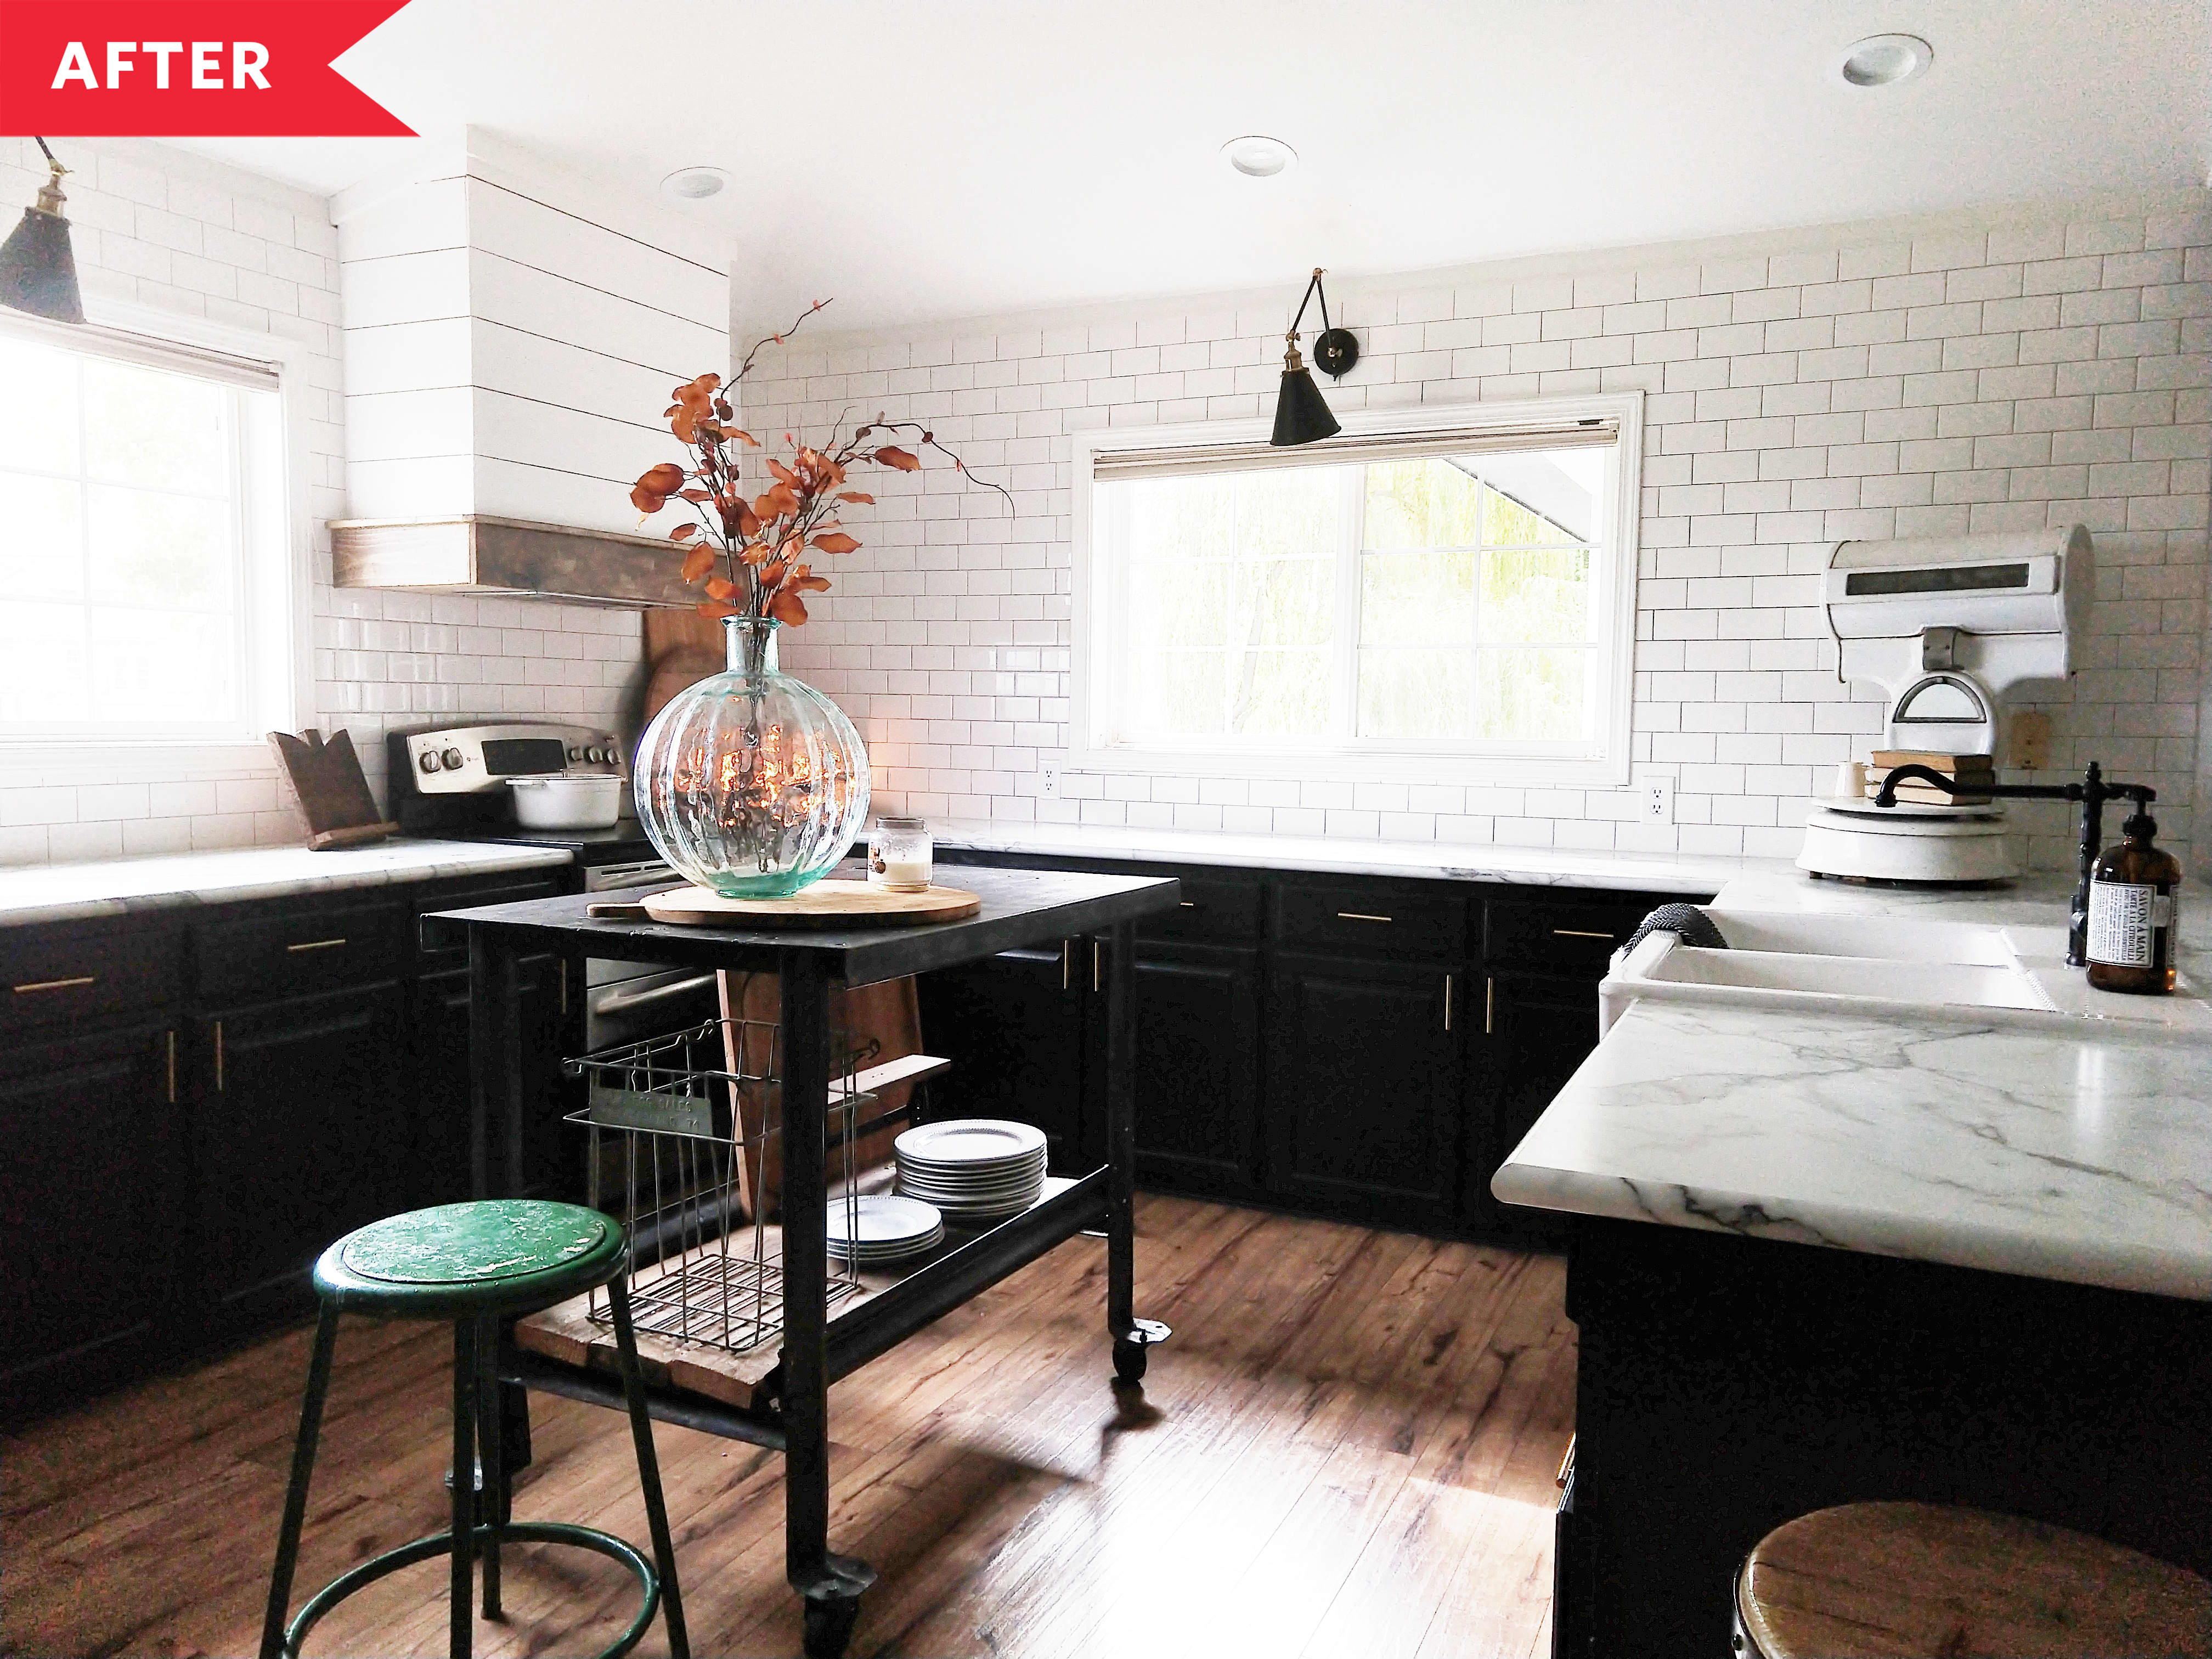
5. Opt for classic black and white.
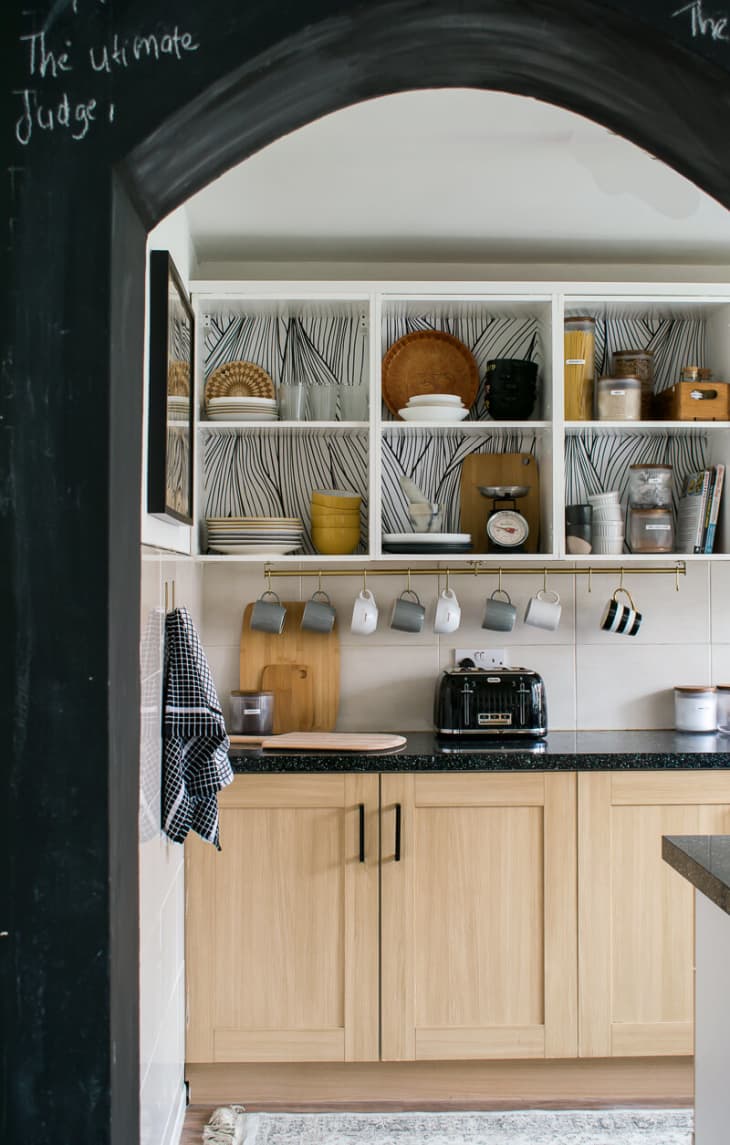
The upper cabinets inthis kitchen redogot the boot in favor of white tile and open shelving, while the lowers — which had a much less dated door style — were spiffed up with black paint and gold pulls. The color combo is a sure win.
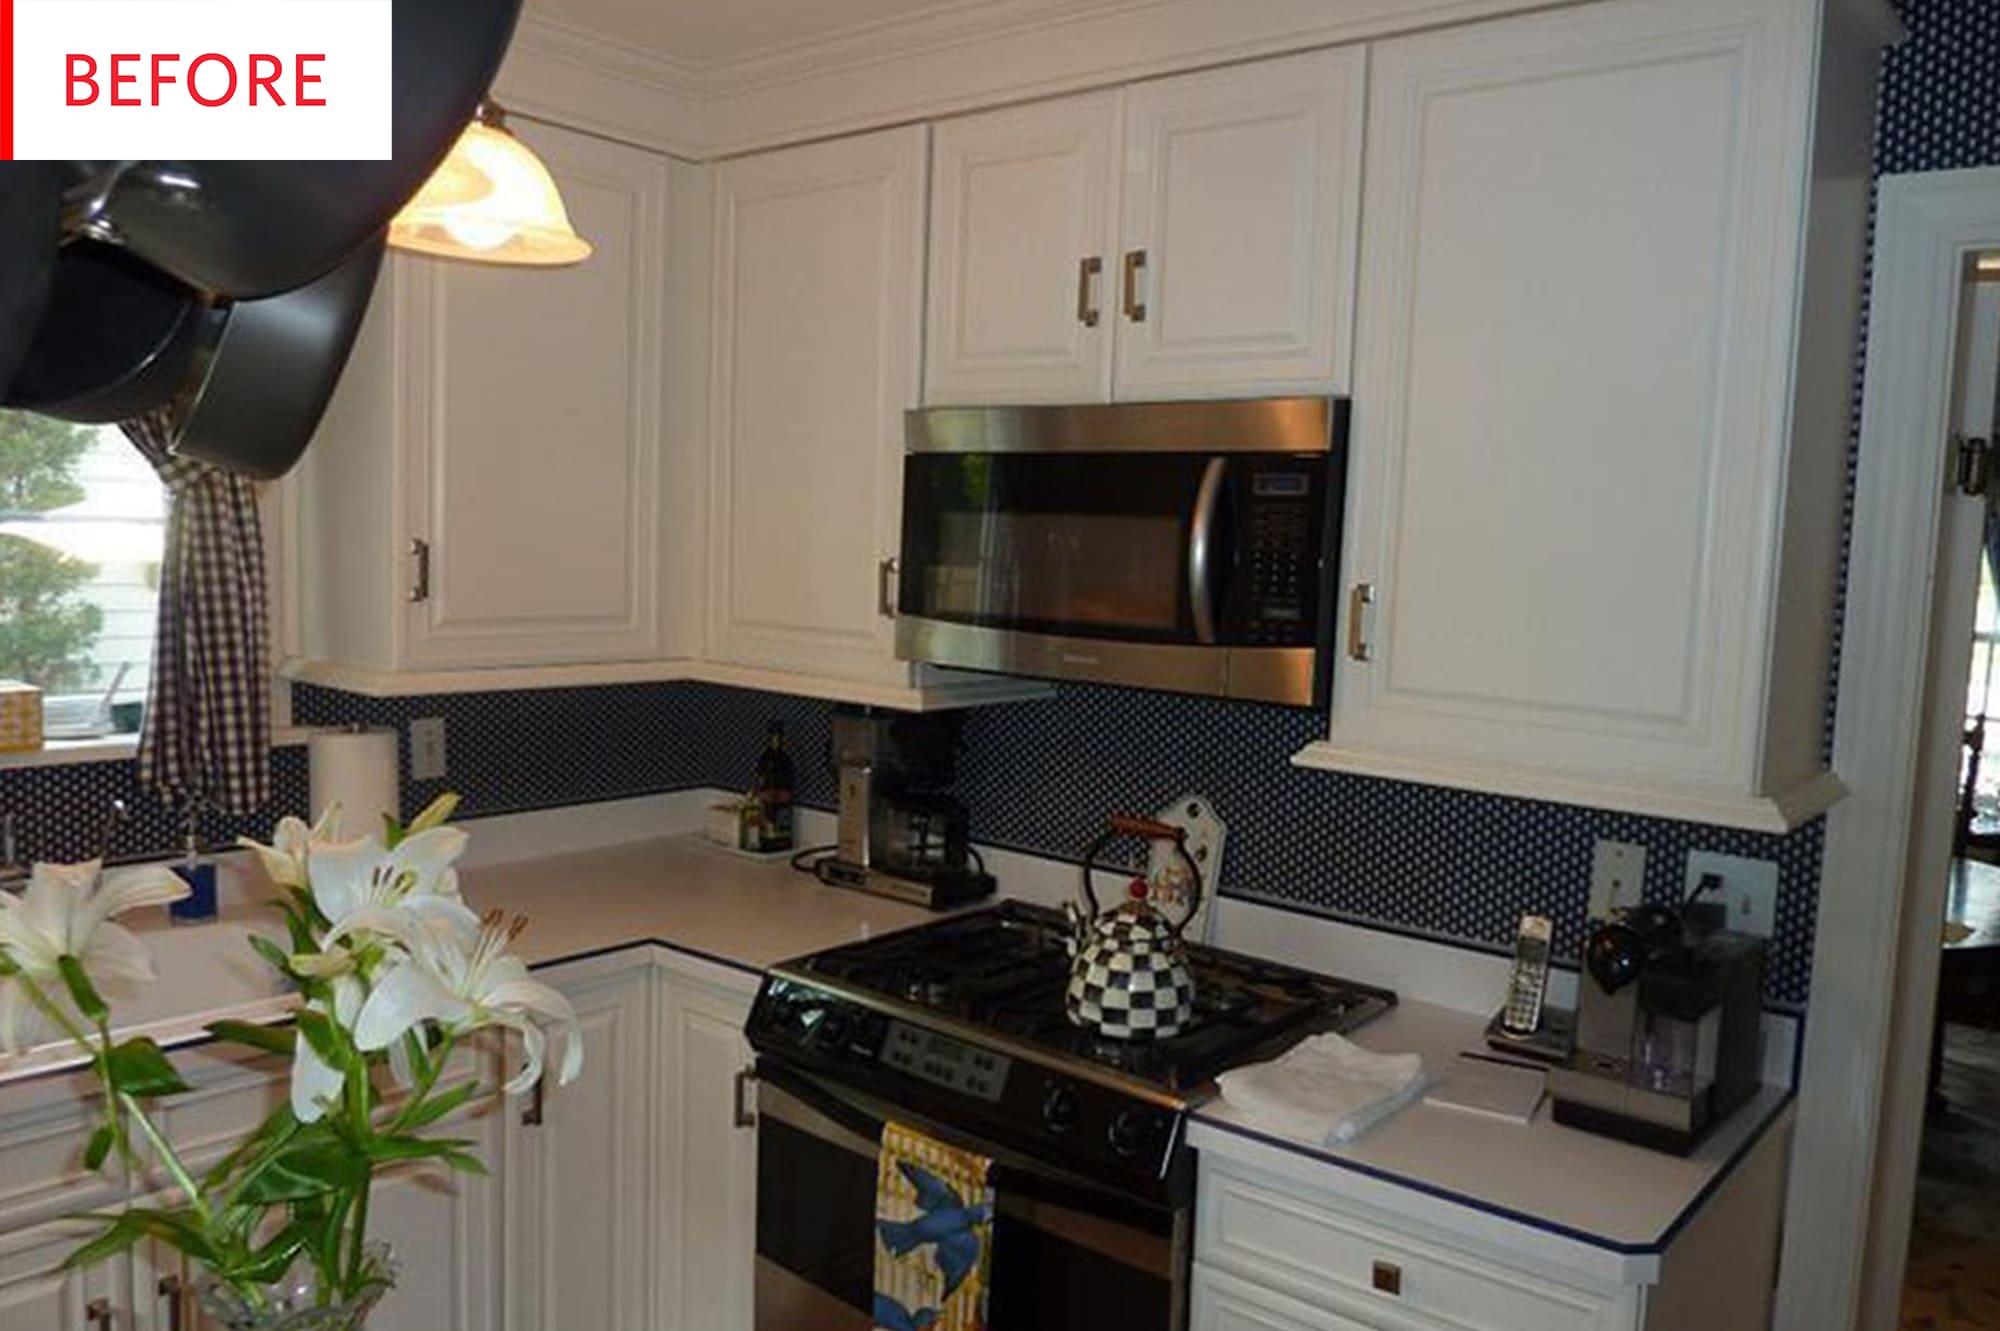
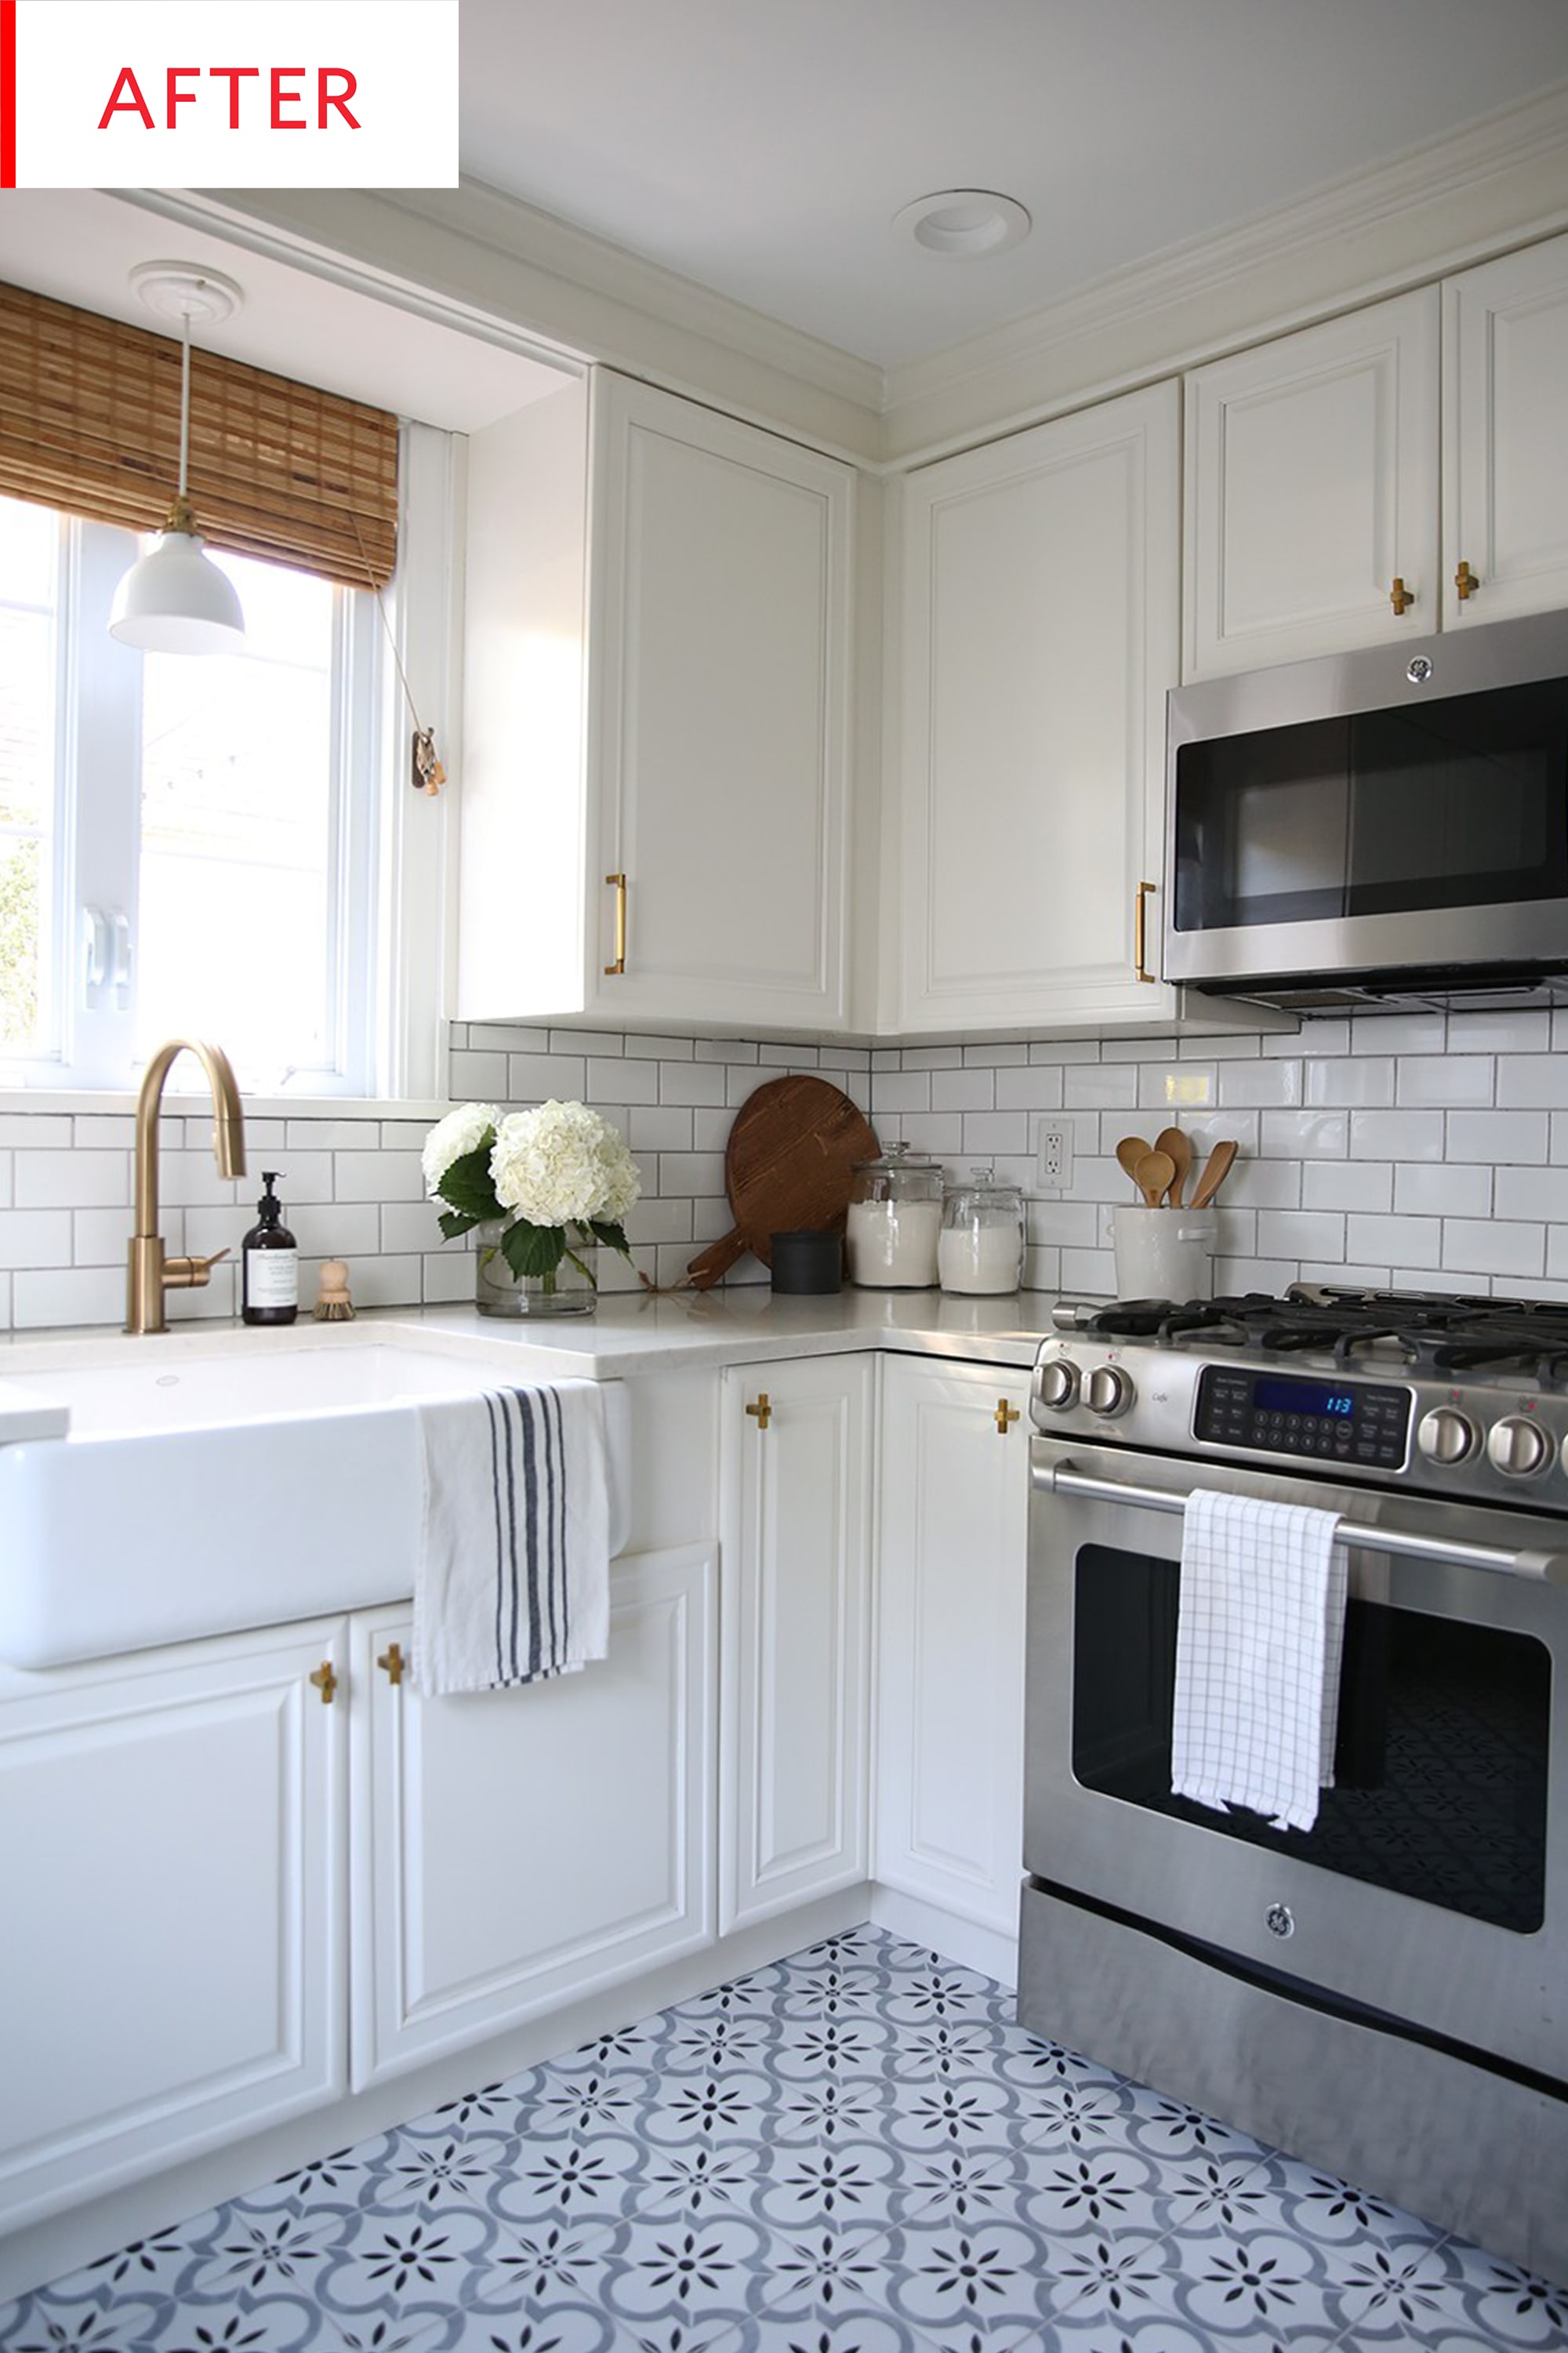
6. Use trim to add detail to plain doors.
Plain-faced cabinet fronts were transformed into Shaker-style doors by gluing pine trim around the bordersin this kitchen redo.For an extra special touch, DIYer Courtney used the same trim to create a geometric pattern to the doors at the kitchen sink.
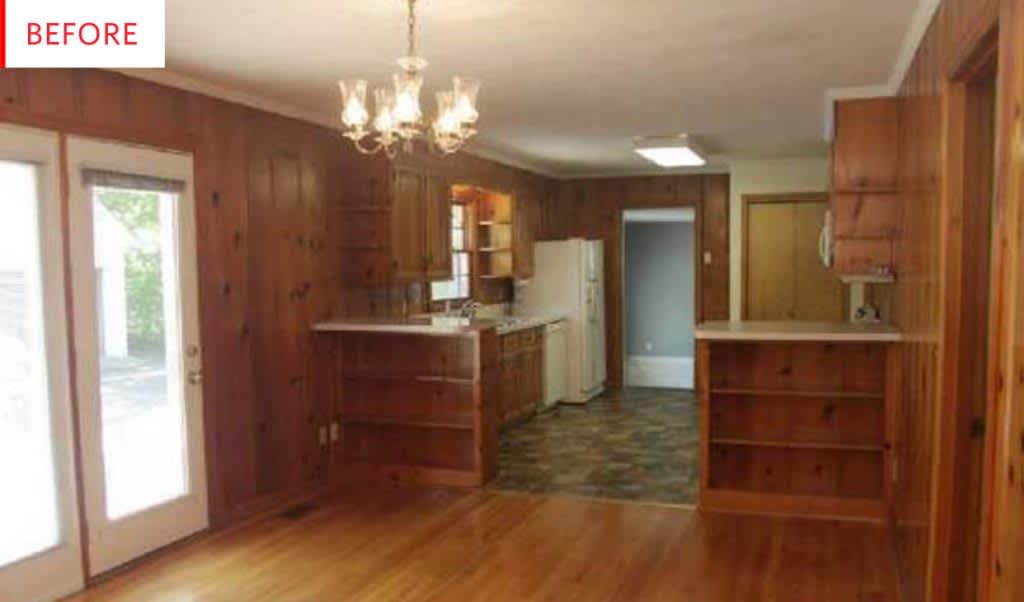
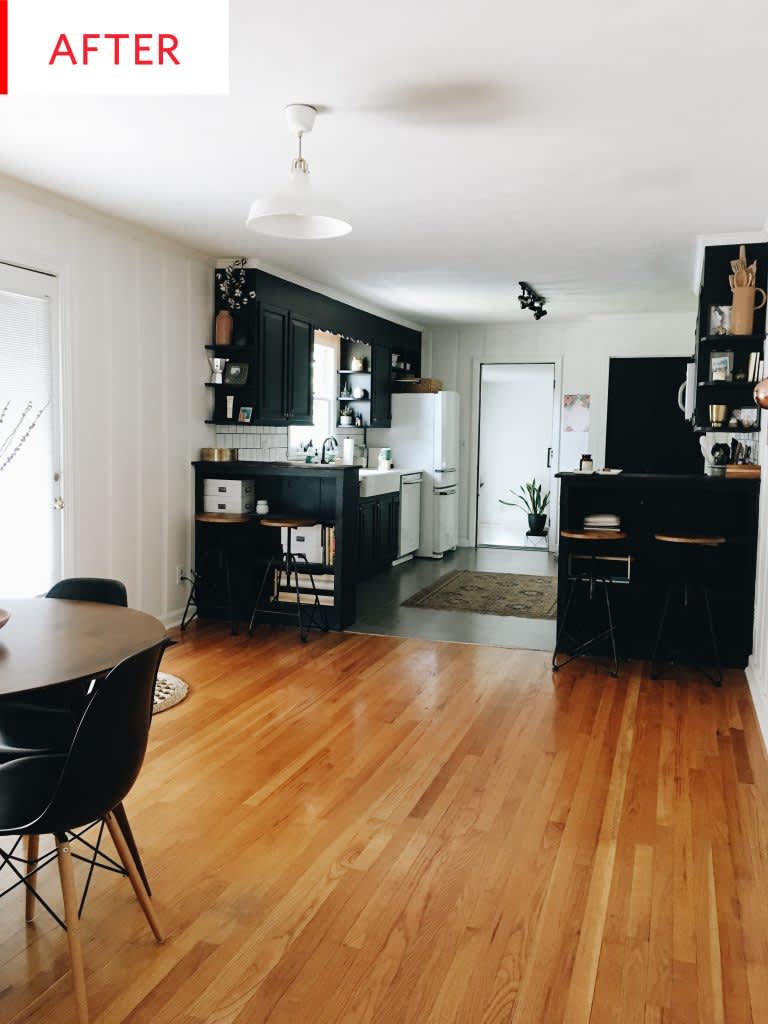
7. Paint them all black.
Call it the edgier (but still classic) cousin to the all-white kitchen. Here, a wood paneled-nightmare kitchen took on a new life with some black paint. “Don’t listen to people that say that painting your cabinets black will make your kitchen too dark,”homeowner Krista advised. Instead, her all-black cabinets against white walls made the space look bigger and more open.
8. Trade them for open shelving.
Removing the upper cabinetshelped this kitchen feel way bigger.Open shelves make up for some of the lost storage while still letting way more light shine through the kitchen’s only window.

9. Add an accent cabinet door.
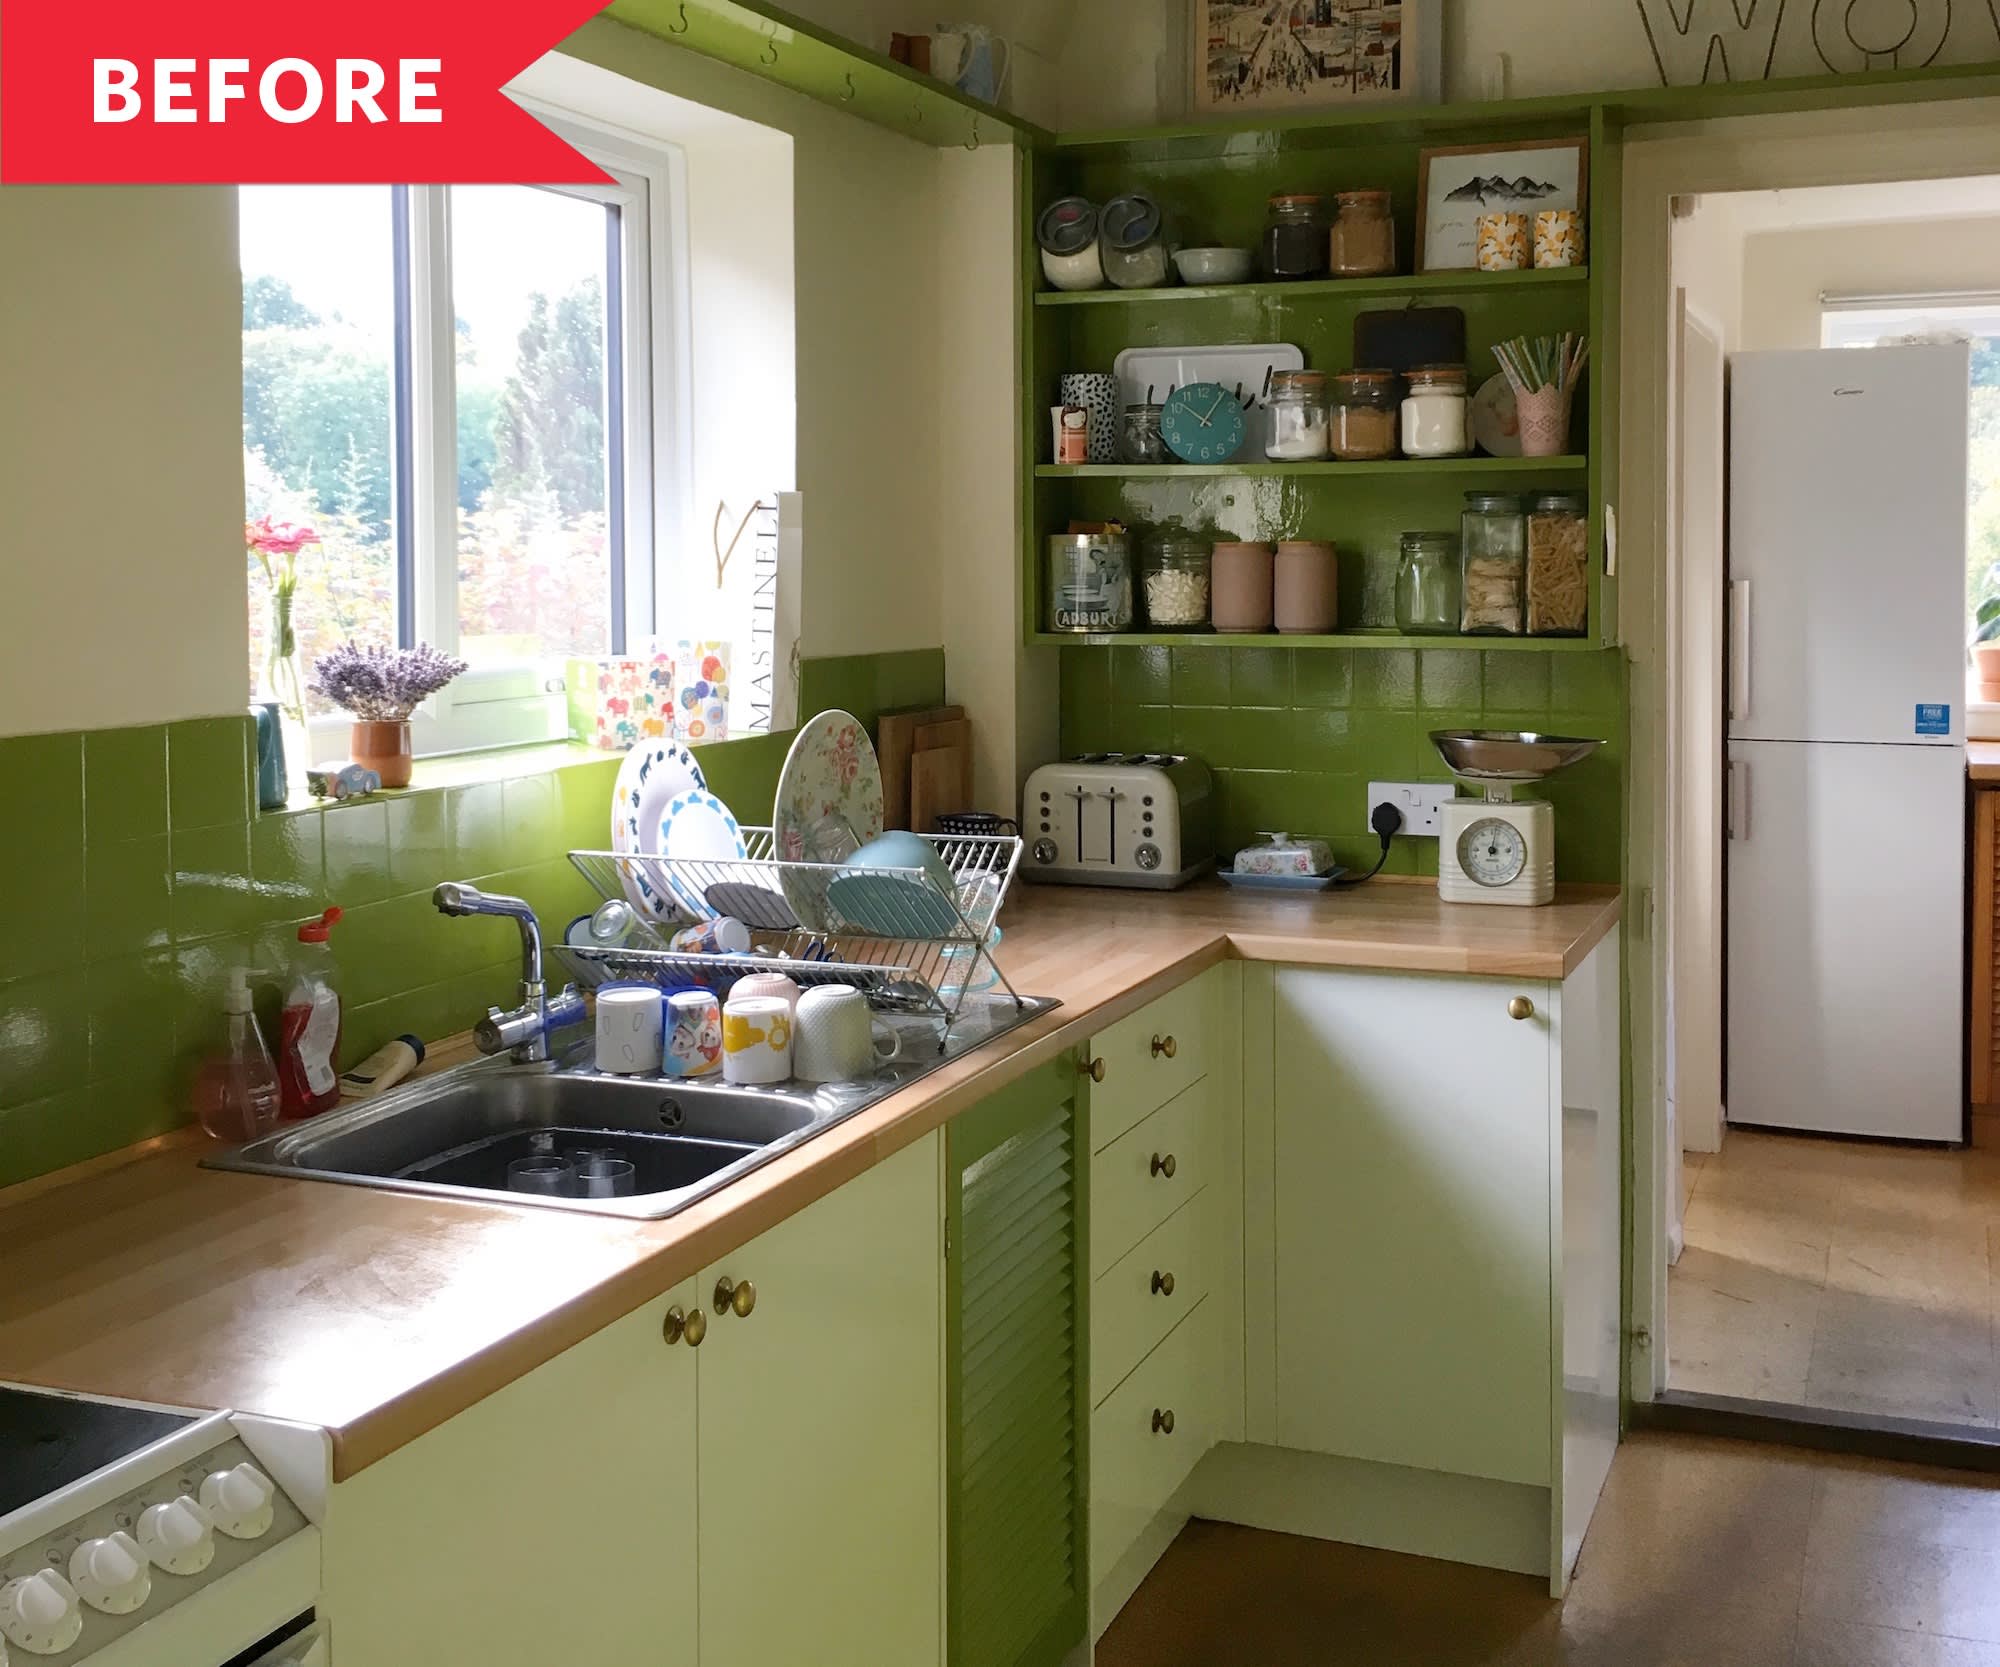
In both the before and the after,this kitchen boasts a cute louvered dooraccent cabinet — first painted lime green, then a soft pink. Take inspiration and swap out one or two of your cabinet doors for something with a little extra flair.
10. Turn enclosed cabinets into open shelving by removing the doors.
Medina Grillo of Grillo Designs simply took the doors off her upper cabinets to create an open shelving look.This is a great ideafor a rental where you’re not allowed to paint your cabinets — you can tuck the doors in a closet to replace when you move out.
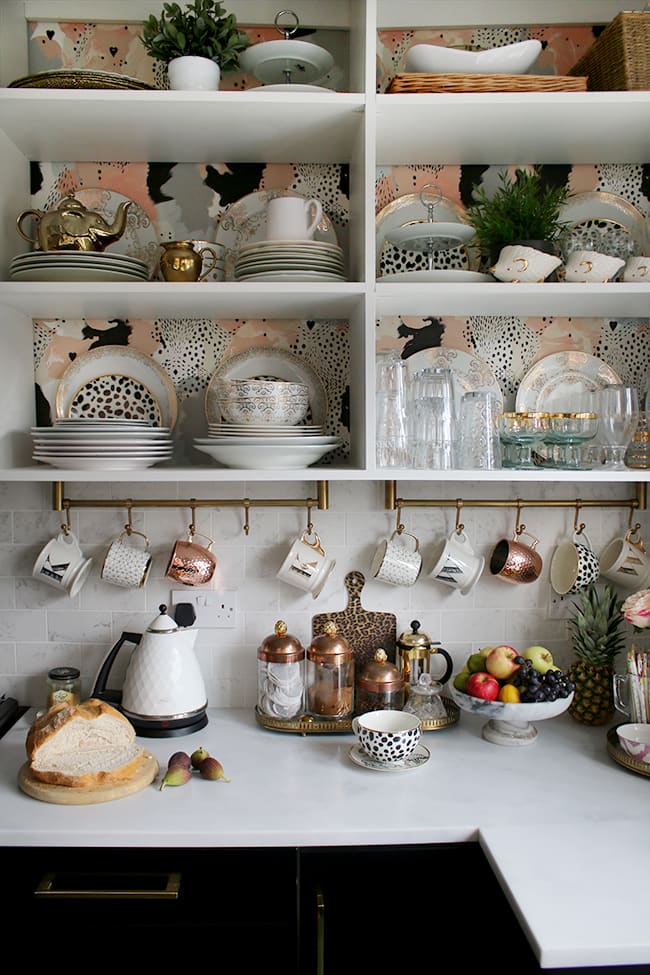
11. Line open shelving with wallpaper.
Like Medina,Kimberly of Swoonworthy let her open upper cabinetsshine and with new, fun wallpaper. It turns the cabinets from storage into art.
12. Just pop off a couple doors.
不rvous about losing all your enclosed upper cabinets? Try just taking off a couple doors for a splash of open shelving that still preserves plenty of hidden storage.This kitchen redofeatures open cabinets on either side of the sink to create a visual centerpiece.