

Before and After: This $6,000 Bathroom Redo Blends High-End Details and Budget-Friendly DIYs
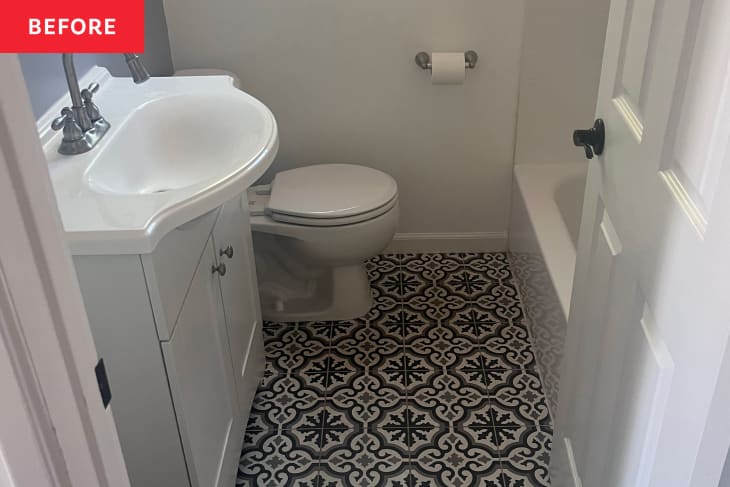

Black and white bathrooms can be totally chic — these31 amazing black-and-white bathroomsprove that — but without the right textures, fixtures, and finishes, they can also feel a bit boring. Take Ariana Ervin and her wife Lucy’s bathroom, which was mostly black and white except for a light lilac accent wall.
“The home was built in the early 1970s, and prior to selling it, the owners did a quick and easy remodel,” Ariana explains. “Their attempts at adding ‘character’ to the room included painting a wall purple and adding a fake style Moroccan tile — both details we were not fans of.”
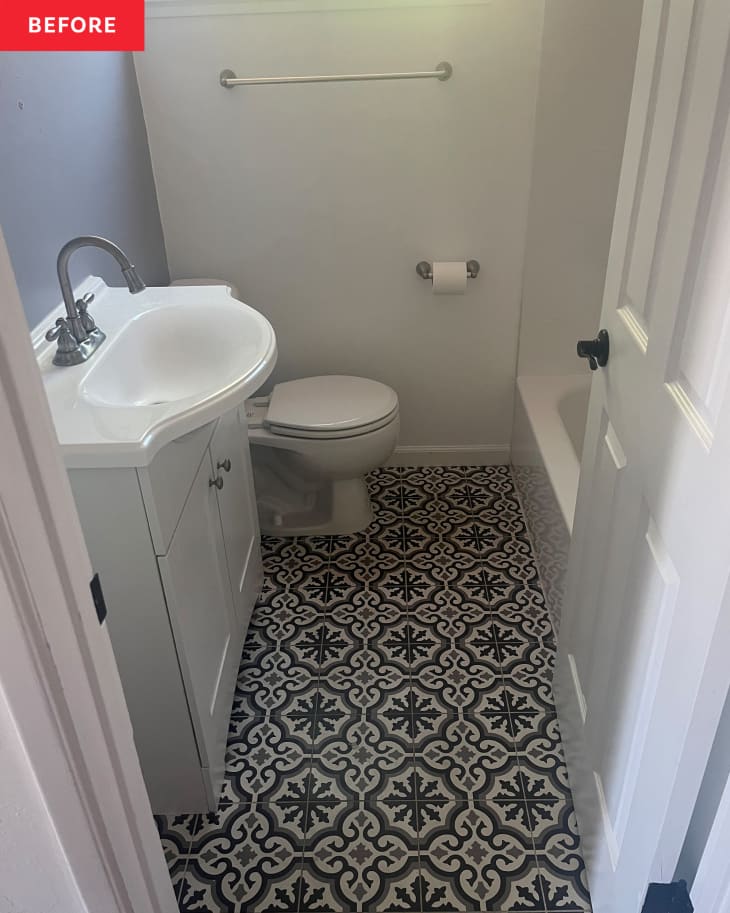
Ariana and Lucy liked how bright the bathroom was, but the design fell flat, and the fixtures weren’t helping the function. “It’s very small, and spatially, the pieces that were in there felt too bulky for the room,” Ariana says. “The sink swooped out past the doorway, and the door opened up into the bathroom and cut off half of the room. One evening I was giving our 2-year-old a bath, trying to navigate around the door blocking half the room and the sink sticking out, and I had enough. That night, I convinced my wife to take the bathroom basically down to the studs.”
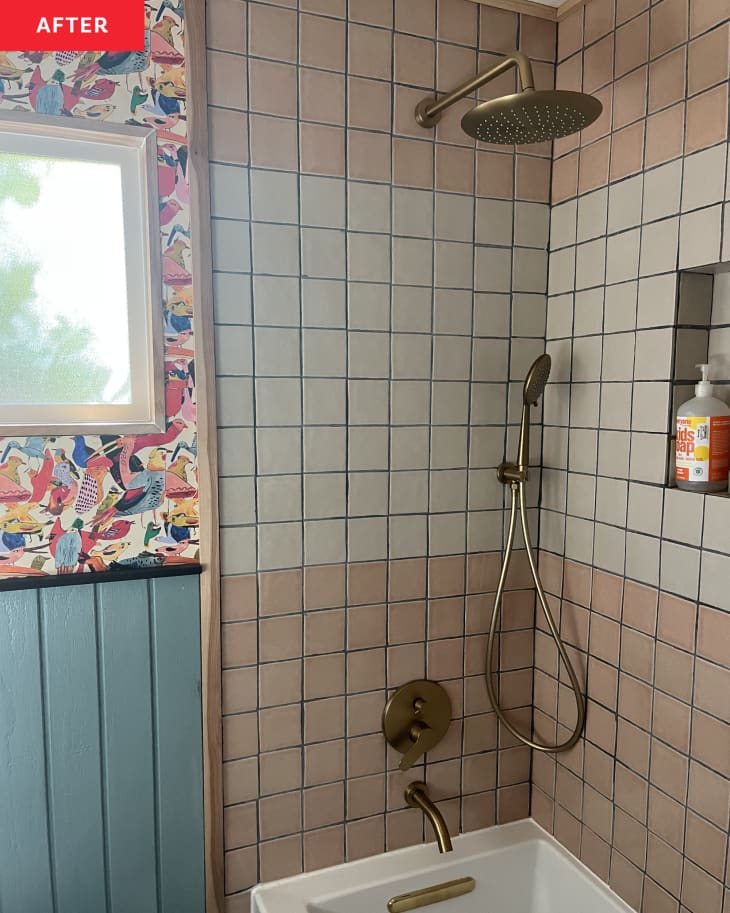
Ariana and Lucy’s renovation took $6,000 and six months. Originally, they weren’t planning to rip out the old tub, but they decided to go for it — and they were (mostly) glad they made the decision when they found beautiful hand-cut pink and white Japanese tiles at a huge discount at their local Habitat for Humanity ReStore.
“When we decided to rip out the tub and the tub wall, we didn’t realize how much work it would be to put it back together, so that was definitely the hardest part of the project,” Ariana recalls. “We had to put up these super heavy waterproof wall pieces and then waterproof everything. By the time we got to tiling we were like,‘this will be easy,’and of course, it wasn’t. Tiling took forever. We tiled like three rows a night for a month. Then when we finally got to grouting, we did a horrible job and had to basically re-do all of our work. It felt endless. By the time we finished, we were like,‘we never want to see another tile for the rest of our lives.’”
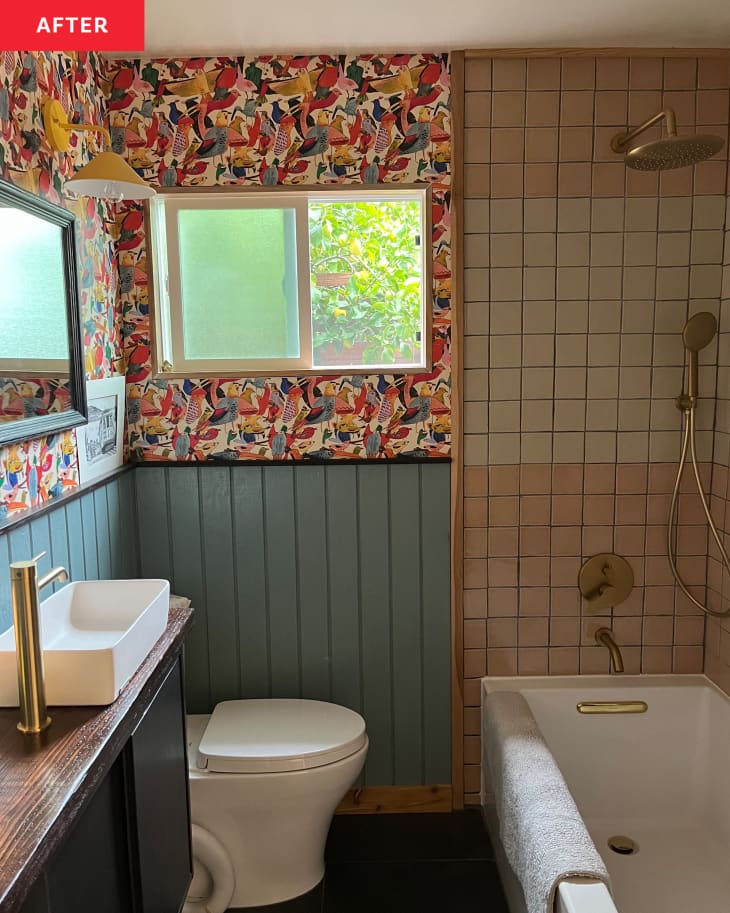
While the work might have been intense, the color-blocked results are certainly striking. The design is classic with a twist, and is still simple enough to play well with the bold patterned wallpaper installed in the rest of the bathroom.
Overall, Ariana says nothing was easier than expected. “Bathrooms are technical because of the need to waterproof everything, and there is a lot of math involved because of the way things need to fit,” she adds. But shedoeslove the design more than expected.
“我们选择更昂贵但永恒的作品,喜欢的a TOTO toilet and a soaking tub from Kohler, so the quirkiness of the DIY things we did end up feeling elevated,” she says. “Some decisions, like the beadboard, were made becausethe wallpaperI was set on was very expensive, and it seemed more cost effective to do half the wall in a more affordable material.” The beadboard is painted a robin’s egg blue (Benjamin Moore’s Sea Star) to tie in with the colorful wallpaper.
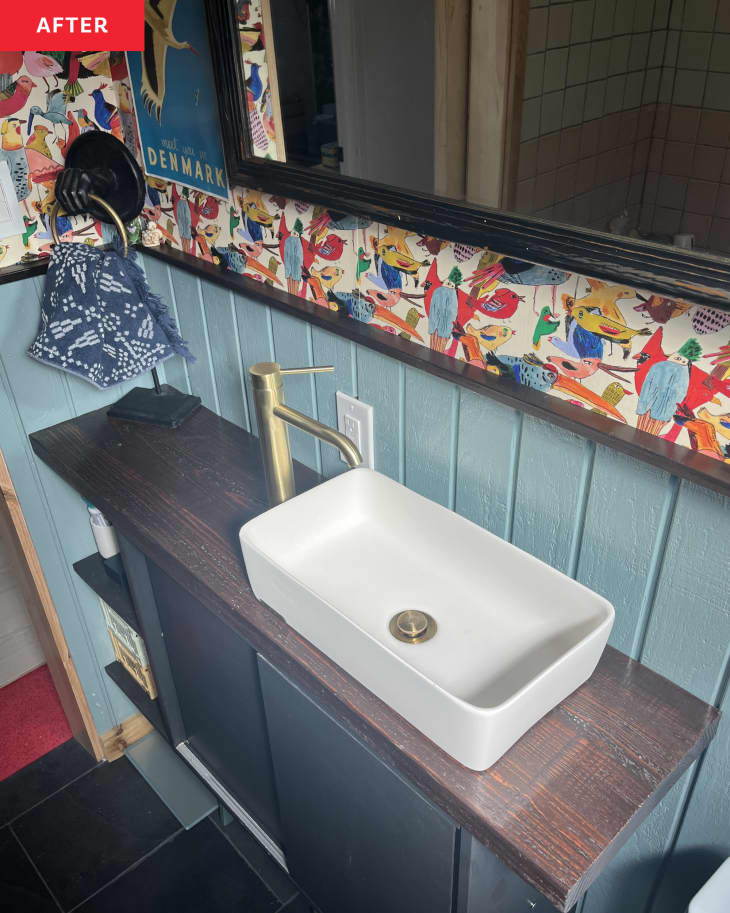
Ariana’s favorite detail is the ultra slim vanity, which was a DIY project. It’s actually anIKEA IVARwith a piece of reclaimed redwood attached for the countertop. Ariana’s brother helped installthe sinkand hook it up to plumbing. “Our bathroom feels much larger than it did before,” Ariana says, and this space-saving vanity is a huge part of that.
Ariana and Lucy also fancied up their Home Depot stone floor tiles with a DIY glaze effect over top. “I love mixing cheap, secondhand options with higher-end pieces,” Ariana says, whose redo cost $6,000. Her two best bits of DIY advice? Mix high and low, and expect the unexpected. “We were obviously lucky to have a second bathroom to use, but if I had realized how long everything was going to take, I would have done the bathroom in stages, as opposed to ripping it out all at once,” she says. But the long wait and hard work — and the quirky details that come with DIYing — were worth it.
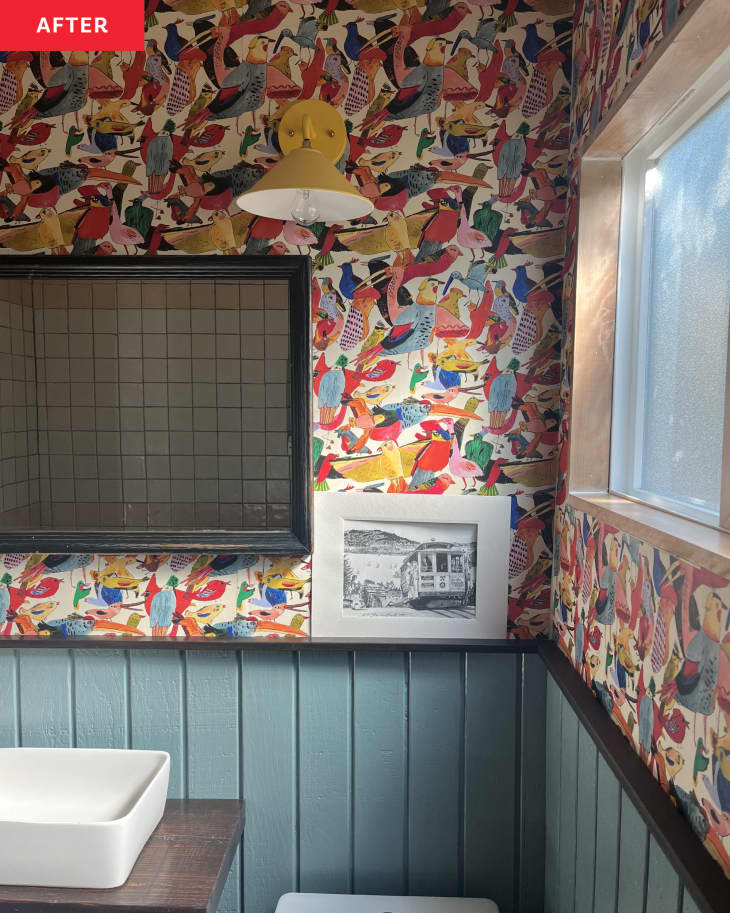
“I was surprised how much the small details helped in transforming the room,” she says. She likes the pop of yellow inthe light fixtures, the wood trim around the window, and of course, the multicolored wallpaper. “Little things like that make a huge difference in a space,” she says.
Inspired?Submit your own project here.