

The Very Best Thing You Can Do For Your Bathroom for $25

如果你是新的DIY,可能不是贝蒂r choice for getting your feet wet (pun intended) than attempting to replace your showerhead. There could be several reasons for wanting to take on this task — the current showerhead is ugly, you’re looking to save water with a low-flow variety, or you’d like to cut down on the chemical exposure with a filtered unit. Whatever your reason, we break it down quick and easy.

Changing a shower head is something that usually can be done for rentals as well as homes. However, check your rental contract for any specific plumbing clauses that may prohibit it. If you’re in the clear there,here are the tools you’ll need:
- New Showerhead
- Adjustable Wrench (we use an 8-inch)
- Teflon Tape (also called Plumber’s Tape)

Pick Your Showerhead
You’ve decided to change your showerhead, but now comes the big decision. I picked upthis low-flow varietyfrom my local hardware store because my motivation was to cut down on the total gallons per minute being used every day in the shower.*I will note that I was impressed with the way this unit performed after install, so you may want to check it out too.
If you have heavily chlorinated water in your area, you may want to look into ashowerhead filterto prevent chemical exposure to your hair and skin. Definitely something to consider if your blonde locks are taking on shades of green or you’re noticing orange buildup accumulating around the bathtub.
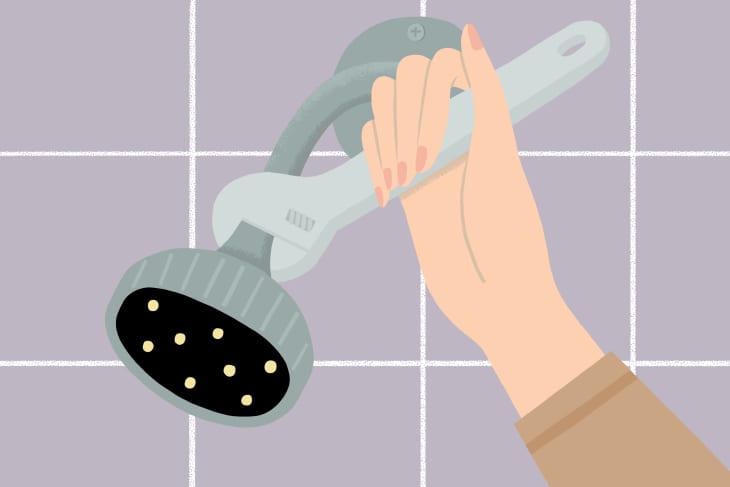
Remove Old Showerhead
Take your wrench and open it up wide enough to grip around the notch of your current showerhead. Give it a few counter-clockwise turns and it should loosen up. If you’re having a hard time getting it off, make sure you are gripping your wrench at the very end of the handle so you get more torque. Don’t apply a lot of force, though. As with anything plumbing related, be extra careful on the amount of pressure used to tighten and loosen.
Once the showerhead loosens, simply finish removing by unscrewing the showerhead with your hands.
Remove Excess Materials
With the old shower head removed you may notice some excess material in the form of dirt, leftover rubber gaskets, or plumber’s tape around the pipe. Get a rag, and remove all residue and excess material so you get off to a fresh new start.
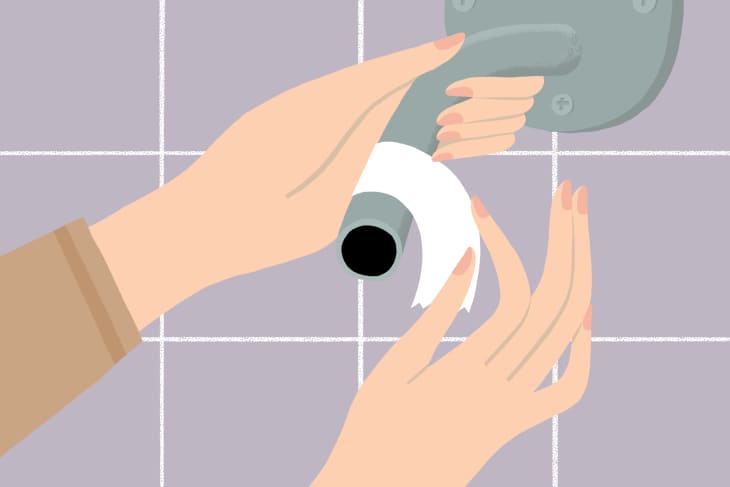
Wrap with Teflon Tape
Wrap the threads of the pipe with a couple layers of the Teflon tape. The tape isn’t sticky like what you may be accustomed to, but it’ll adhere just fine to the threads of the pipe. Use your finger to smooth out the tape along the threads.
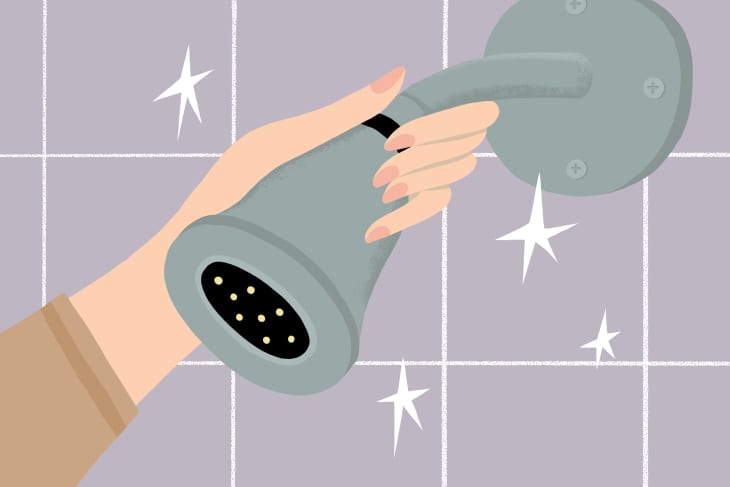
Install Replacement Head
Each head is different, but you’ll likely just need to hand-tighten the new showerhead onto the pipe by turning clock-wise. Don’t use a wrench unless the instructions explicitly state it. And in the event you do need one, be careful to not over-tighten (just do 1/4 turn at a time).

Check for leaks
Turn on the showerhead and look and feel for leaks around the seal. If there are none, then pat yourself on the back — you’ve just done one of your first DIY’s. If you do find a leak, try and hand-tighten the showerhead a bit more and test again. Wasn’t that easy and painless?
——重新从一篇出版/ 3/212012 – DF