

DIY to Try: How To Make Your Own Mudcloth


My love affair with mudcloth is well documented. If you are unfamiliar with the stuff, mudcloth is a somewhat heavy fabric, sewn in strips, and dyed naturally with mud. It usually has a graphic pattern of geometric lines and dots, in high contrast black and white. Given the process of making it, it’s no surprise that the real deal is also somewhat expensive. But, since it’s handmade, it’s also a good DIY project, without worry about screwing up too much or making it “perfect.”
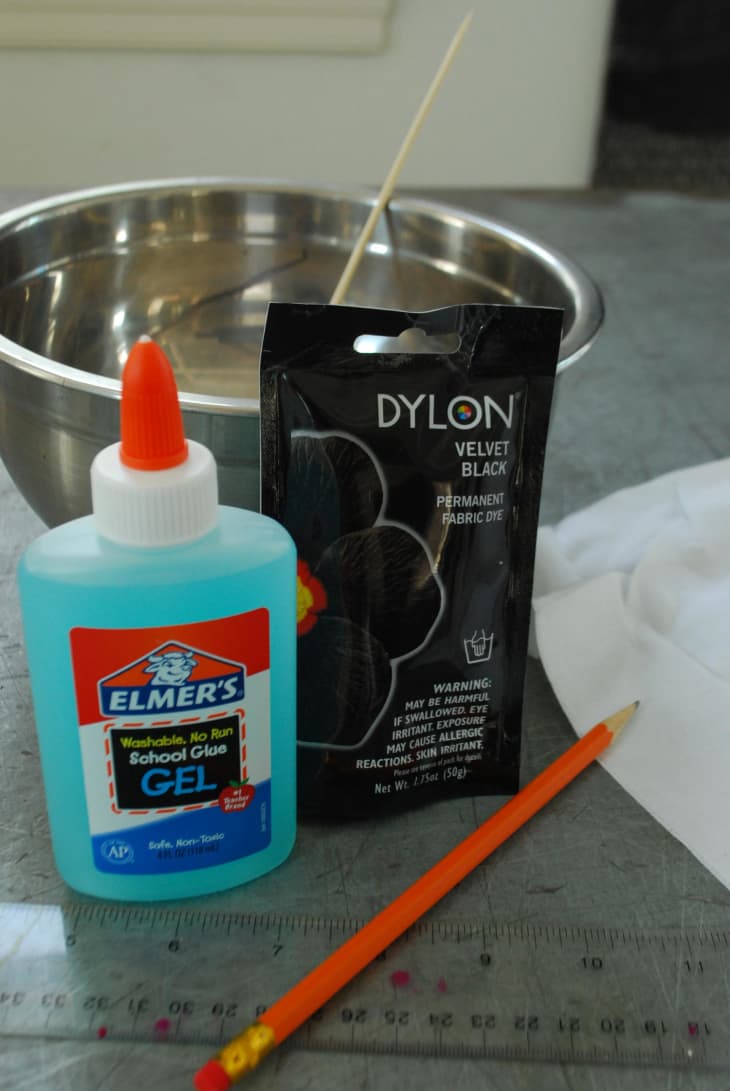
- Fiber reactive black dye (I used Dylon Permanent Fabric Dye)
- White 100% cotton fabric
- Blue gel school glue (i’ve read that this is a must vs. white glue)
- Salt
- Stainless bowl or container, large enough for your fabric to “swim” freely
- Stirrer (skewer, chopstick or spoon) or rubber gloves
- Scissors
- Ruler
- Pencil
1. For this project, you want to know in advance how much fabric you’ll need for the final product, and what scale you want the print to be. I highly recommend doing a smaller project first — like a pillow or seat cushion — as it would be a lot of work to do even a whole yard of finished fabric. Remember to include enough extra fabric for seam allowances and mistakes.
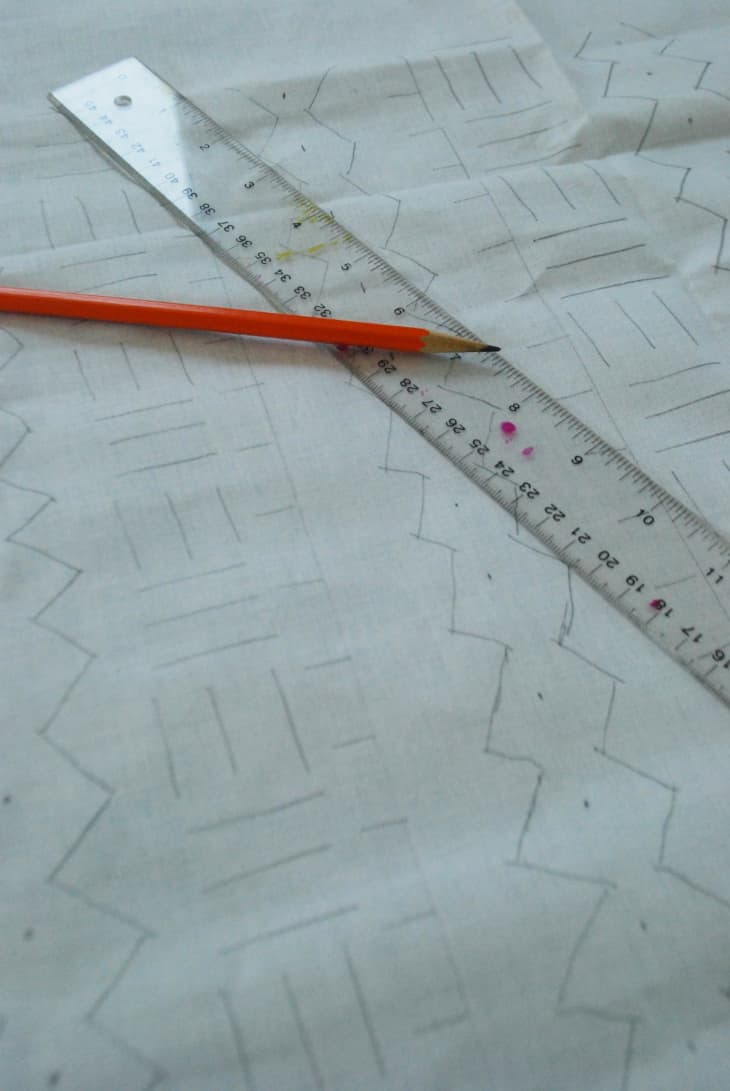
2. With a pencil (and a ruler if you prefer) start drawing your design on the fabric. For inspiration, there are lots of images online, or you can improvise.
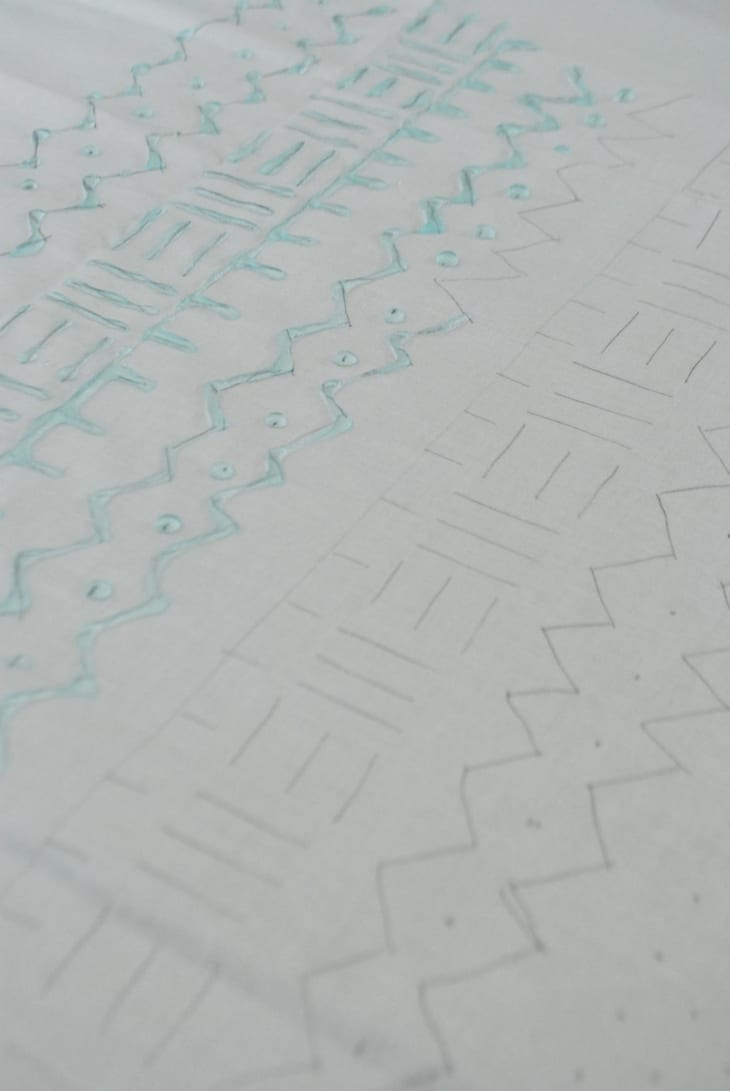
3. Once you are happy with your design, trace over the drawn lines and dots, this time with glue. It might take a little practice to get a good stream going. Hand cramp alert! Feel free to take lots of breaks as you go; there’s no prize for speed.
Tip:If you are right-handed, start on the left-hand side of the design and move to the right. Do the opposite if you are left-handed. This way you won’t have to maneuver over wet glue as you reach to finish your gluing.
4. Once your gluing is done, take a minute and make sure all of your lines are strong and connected. I went back over parts of mine to make sure that the glue hit every part of the design. Don’t be stingy with your glue. After you are satisfied, take a break and let your glue dry and cure entirely — at least overnight. Resist the very human urge to poke at it.
Tip:This project uses a lot of glue. For my roughly 20″ x 24″ piece of fabric, I used almost an entire 4 oz. bottle. If you are making a larger piece of fabric, make sure you buy enough.
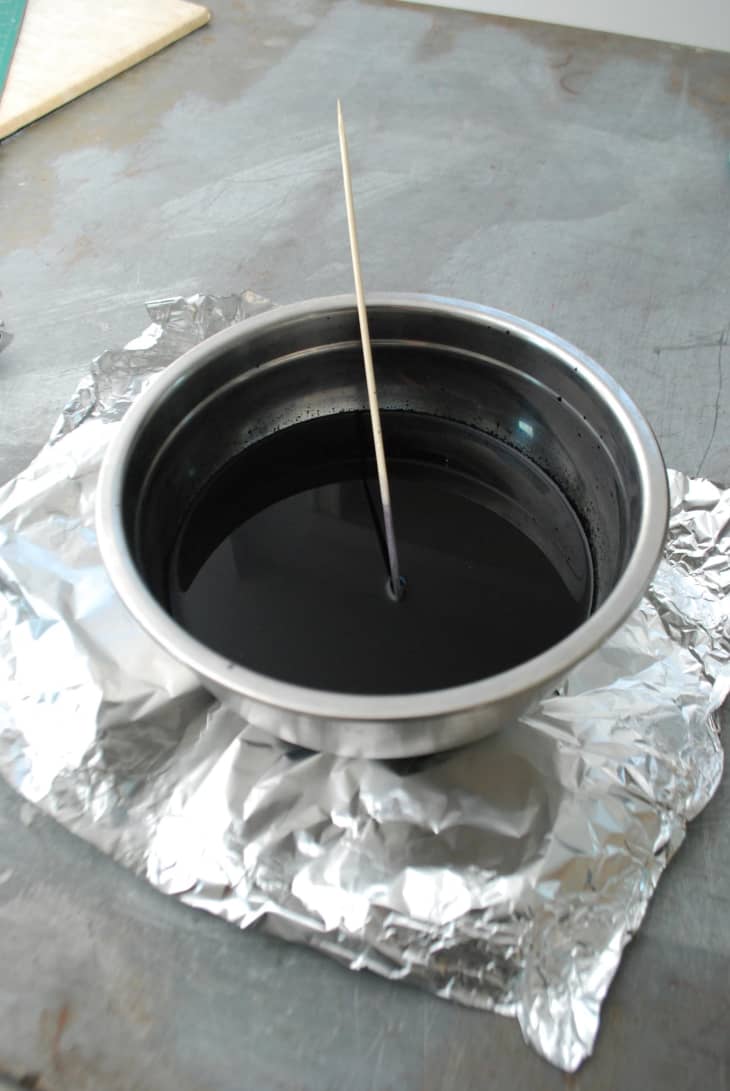
Tip:This dye splatters, so you also might want to put down a protective layer to guard against errant drops.
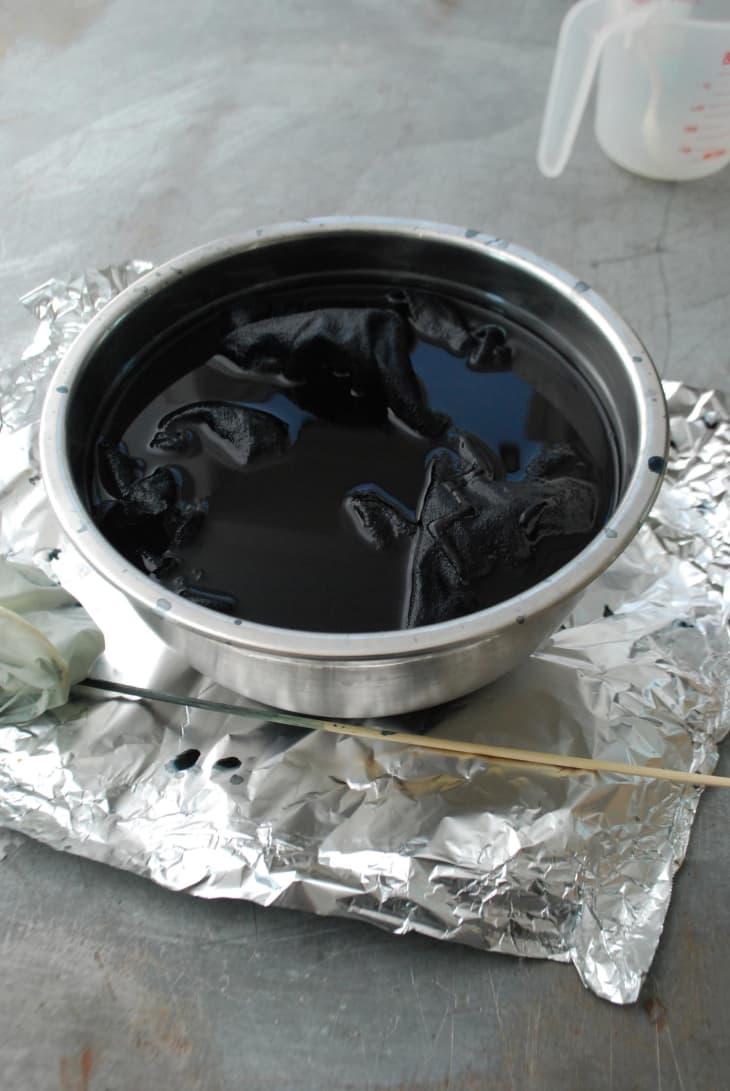
6. Dunk the fabric into the dye bath and follow instructions on how long to stir it. You’ll want to leave it in the bath for about an hour. Keep an eye on it and make sure the glue isn’t starting to come off.
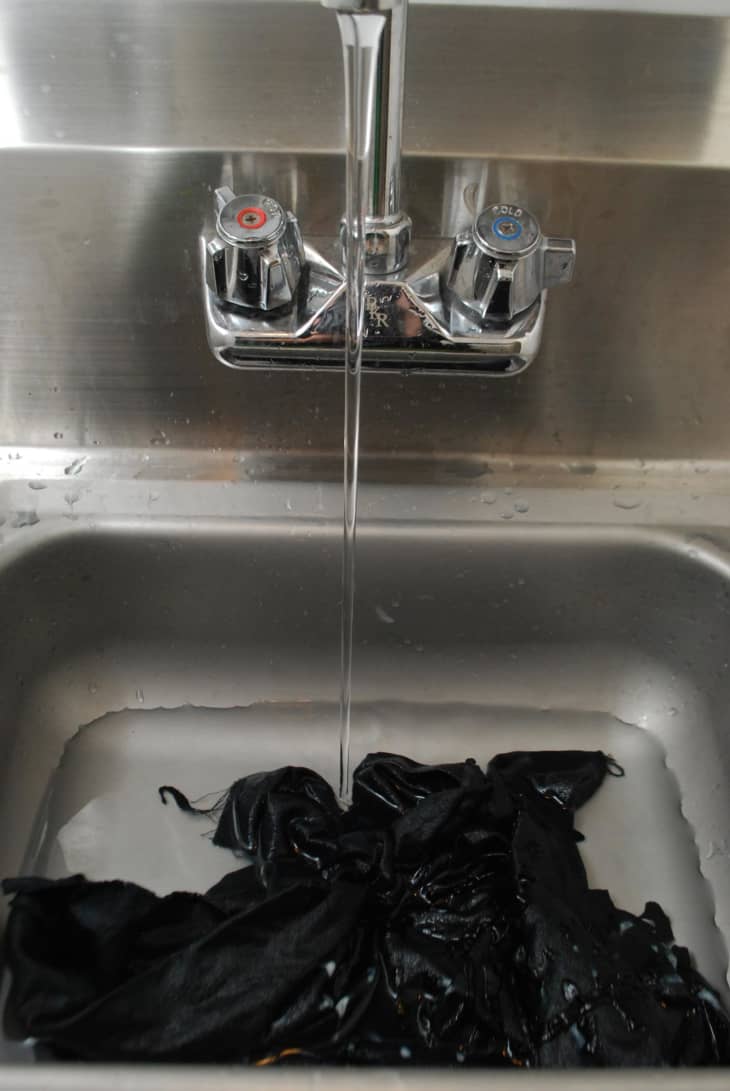
7. Once your fabric has become a nice black shade, pull it from the bath and rinse in cold water until the water runs clear. Then wash the fabric in warm soapy water until the glue washes away entirely.
8. Hang the fabric to dry, somewhere away from sunlight. You might want to put something under it to catch any stray black/grey drips. Just in case.9. Once it’s dry and pressed, it’s ready to be made into something amazing!
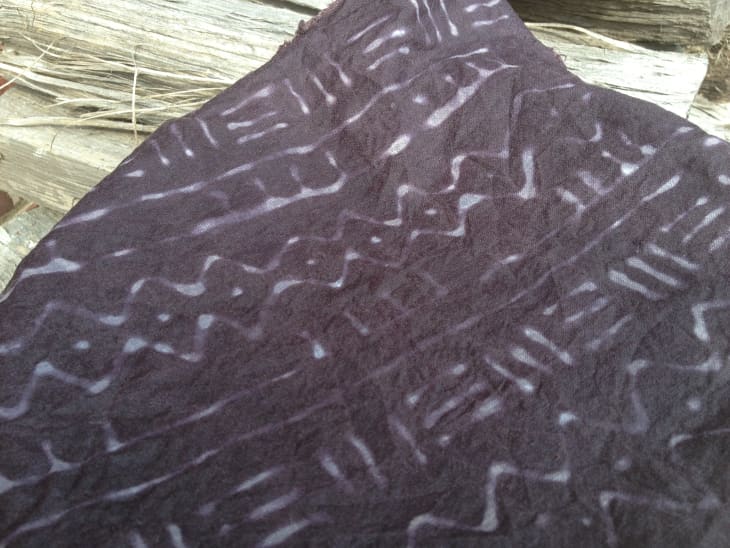
Here’s hoping you learn from my mistakes, and have fun with this project!
(Images: Dabney Frake)
Re-edited from a post originally published on September 16th, 2013