

8 Surprising Things I Learned While DIYing My Own Wallpaper Install

I’m a card carrying member of the “I wallpapered anaccent wallin the mid-aughts” club. I chose a metallic print in peel-and-stick, selected a windowless wall with minimal angles, and went to town. I looked the other way as bubbles popped up (okay, I didtryto smooth them out with a credit card — but who was really going to notice!?), and used a kitchen knife to cut the edges. Was it my best work? Nope. But it was done.
A few years later, as I looked to wallpaper myguest bathroom, I wanted to take a more professional approach. I did my research on wallpaper and bathroom humidity, I armed myself with the right tools (craft knife, squeegee for bubbles, and a ladder), and I faced the intricate angles and multiple corners of this small space. Curse words were said, hours of podcasts were listened to, and, in my humble opinion, the end result looks fabulous — but I also think it probably could have been a lot easier.
I turned to the professionals for their tips on where I went right — and wrong — and how to do better next time. Here, their eight best tips so you can feel confident going into your own wallpaper adventure.
Compare paper prices by square foot, rather than by roll.
I learned this the hard way: Peel-and-stick often comes in narrower, shorter rolls than traditional wallpaper. I excitedly ordered my peel-and-stick rolls, thinking I’d found a deal, only to find myself with kid-size paper that I needed lots more rolls of.
The good news: If you’re dealing with a tiny space, like I was in this bathroom, the smaller size could actually be an advantage — particularly when it comes to cutting and fitting the paper. But it’s a good reminder to compare price by square foot rather than price per roll.
Traditional wallpaper application can be more forgiving than peel-and-stick.
If you’re anything like me, you automatically assume peel-and-stick is easier to apply. It’s often marketed as the renter-friendly, anyone-can-do-it solution. However, after talking to more than a few professional installers, I’ve learned that may not be the case. Maegan Bucur, writer and editor-in-chief atRhythm of the Home, says traditional wallpaper is a little like paper mâché. “In this method there is plenty of time for corrections,” Bucur says. “The glue can be applied in small sections at a time for accurate placement and you have a few moments to correct small mistakes before smoothing the wallpaper and adhering it fully to the wall.”
Peel-and-stick, however, will immediately latch onto anything (wall or not) and is trickier to maneuver once it’s in place.
That’s not to say peel-and-stick isn’t without its advantages. It’s particularly great for renters and those that would prefer an easy-to-remove option — but, for many, traditional wallpaper is actually a more forgiving DIY process.
Choose a pattern with an easy repeat.
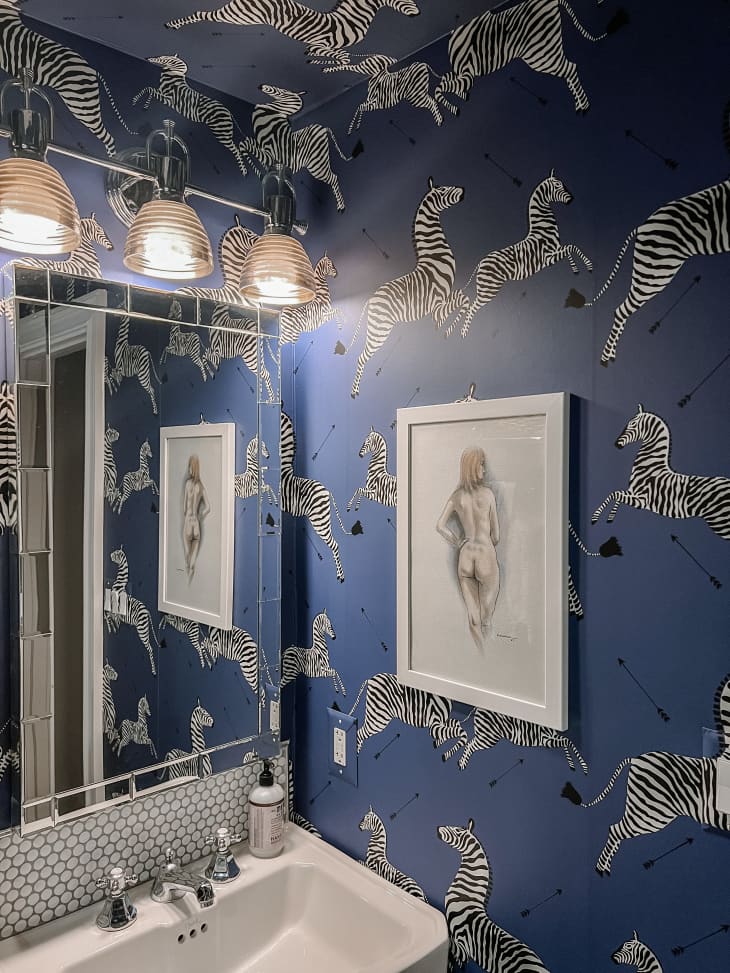
I knew better, butScalamandre’s iconic zebras, shown here in my bathroom, got the best of me. In an ideal world, I would have chosen a wallpaper with an easy repeat — not one where I had to line up arrows and zebra heads, while also trying to navigate which direction they’re leaping. An easy repeat that doesn’t require a degree in geometry is a safer bet.
You may have to paint your walls first.
当我开始工作的时候,我意识到那t the paper wasn’t sticking successfully. It was as if the paper didn’t have enough grip. The reason? My matte walls had the wrong finish. Bucur has the answer to this issue: “The wall needs to have a certain texture, or lack thereof, for the wallpaper to properly adhere,” she says. “The wall needs to be smooth with a semi-gloss finish.”
Additionally, interior designerSarah Barnardhas a critical reminder. “All wallpaper should be applied to a surface that has been smoothed, cleaned and primed,” she says. “Skimping on the wall prep can lead to disappointing results, so the best practice is to invest a bit more time at the onset.”
Of course, if youdohave to paint over your walls, you’ll also need to give the paint ample time to cure before applying wallpaper (otherwise you risk it peeling or bubbling beneath). To be safe, you should allow a few weeks between painting and papering so the paint can fully cure. Yes,weeks— patience pays off here.
Do not peel the backing off all at once.
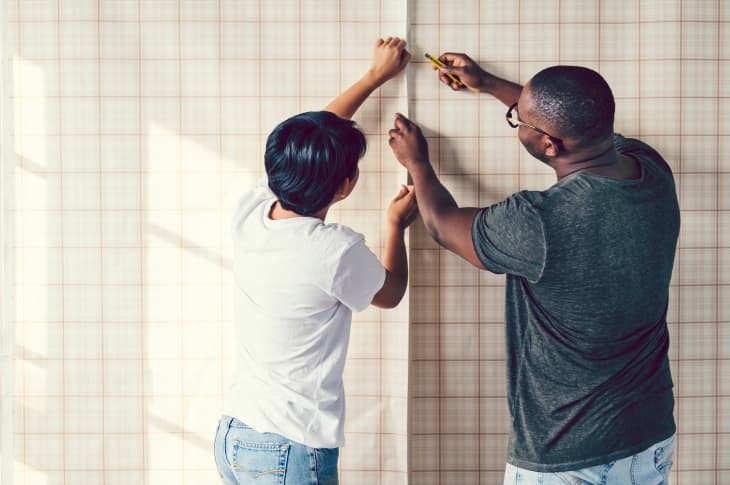
Applying wallpaper is a marathon, not a sprint, and the key is to go slowly. It’s tempting to jump in and peel the backing off peel-and-stick before lining the paper up to the wall. Instead, you want to think about it like applying tape, deliberately unfurling the wallpaper as you make your way from the top down. “When installing the wallpaper, do not peel off all the backing paper at once,” Jeneva Aaron, founder ofTheHouseWire, recommends. “Remove at least a foot from the top and remove the paper as you work down the wall.”
A mistake isn’t the end of the world.
David Mason, owner ofThe Knobs Company, has good news for those who find themselves in the middle of a wallpaper meltdown. There is hope! “You can make small mistakes and fix them as you go,” he assures DIYers. “If the repeat doesn’t seem to align correctly, you can carefully pull up the wallpaper and try again.”
How many times did I peel up the wallpaper before gingerly laying it back down as if it was a fragile piece of glass? I’d rather not think about it. But, as Mason said, wallpaper is not permanent and those small mistakescanbe fixed.
如果事情真的出错,梅森说,“traditional wallpaper, if you don’t like how the pattern looks when you’re finished, you can always paint over it.” See? There’s always an emergency escape hatch.
Hang on to extra wallpaper.
“Do not throw away the scraps. You may need them if something rips or for extensions,” says Aaron. This is exactly where I found myself as I navigated soffits, doorways, and other weird angles. Small pieces of wallpaper that had been thrown to the ground found their way back onto the wall, meticulously lined up with the overly-complicated pattern I chose.
It’s OK to call in a professional.
Lastly, I’ll share my dirty secret: I handed over $200 to a professional when I got to the final wall. After three successfully applied walls, I stared at the mirror, toilet, shelving and sink before me and accepted that I’d reached my limits. I may have sharpened my skills with an X-Acto knife, but that only goes so far. So you have my blessing to call it quits on DIY when you have to — sometimes a professional result is worth the tradeoff.