

Before and After: A 1930s Kitchen Gets an Easy “In-the-Meantime” Refresh for $200

Although a full-on kitchen redo involving to-the-studs demolition might be onyour dream to-do list— also known as yoursomeday, eventually, maybelist — the reality is that you might be waiting a while before that can happen. After all, it can be difficult to fit a disruptive project like this into your life, and it certainly cantake a long time to save up for, too.
If you’re in your kitchen reno waiting period, perhaps you’ll relate to homeowners Jon and Shannon, who planned to tackle a big kitchen reno in the first three years of owning their home but then realized it would have to wait a bit. Thankfully, the couple is lucky enough to have a DIYer in the family: Lindsey Mahoney (@buildingbluebird), who is Jon’s sister. In lieu of a complete renovation, Lindsey pitched a smaller refresh that would be cheaper, easier, and faster — but just as transformative.
“With three young kiddos, this renovation won’t be possible for a few more years, and so I pitched a budget-friendly makeover to their current kitchen to improve the function and appearance of the kitchen with some DIY projects,” Lindsey explains. “I am a firm believer that your home should bring you joy and give you energy, even if you can’t do a big renovation.” (Hear, hear, Lindsey! If you’re following that mantra, here areseven more “in-the-meantime” upgradesyou can make as you save up for something larger.)

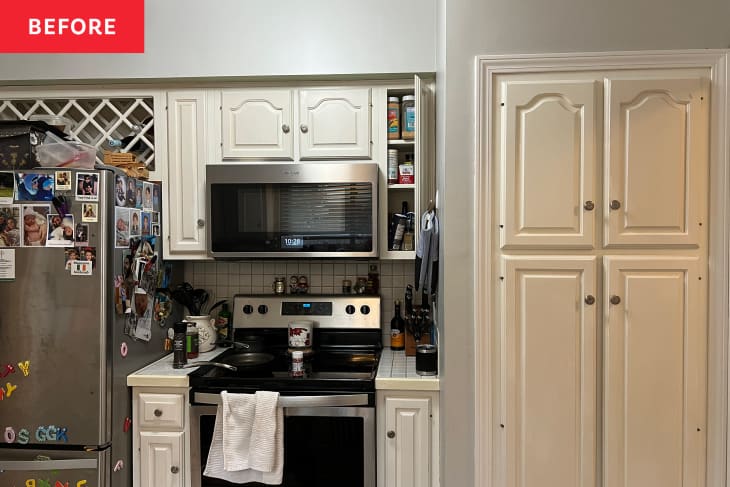
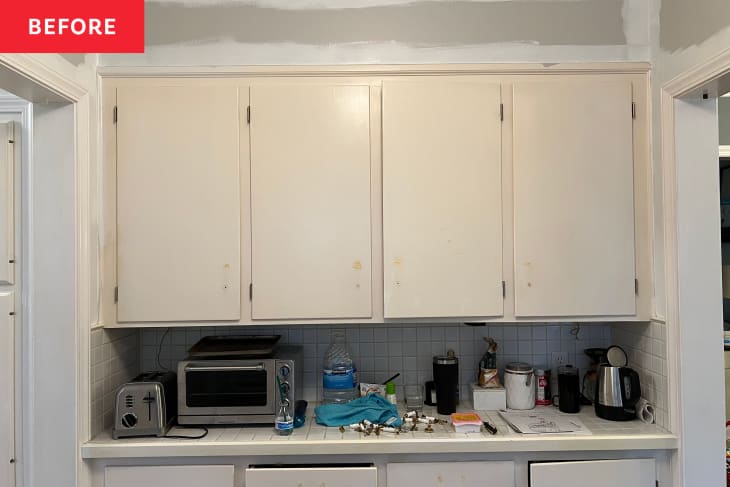
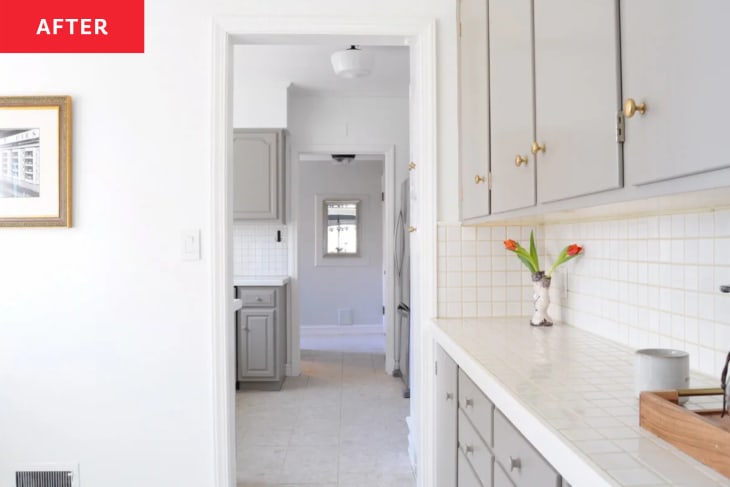
Here’s what was on Shannon and Jon’s “to fix” list: the overall dingy feel created by color on the walls, the yellowing cabinets, and the age of the countertops and floors. (Down the line, they’d love to change the layout, too, because the 1930s kitchen actually consists of two sections: the main cook space and tall cabinetry that used to store trash cans, and a “butler’s pantry” with a bit more cabinetry that’s original to the home.) And here’s what Lindsey proposed to help Shannon and Jon with their oddly laid out, 1930s-but-last-updated-in-the-’80s-or-’90s kitchen: paint for the cabinets, smart storage solutions, and lastly, a good scrubbing.
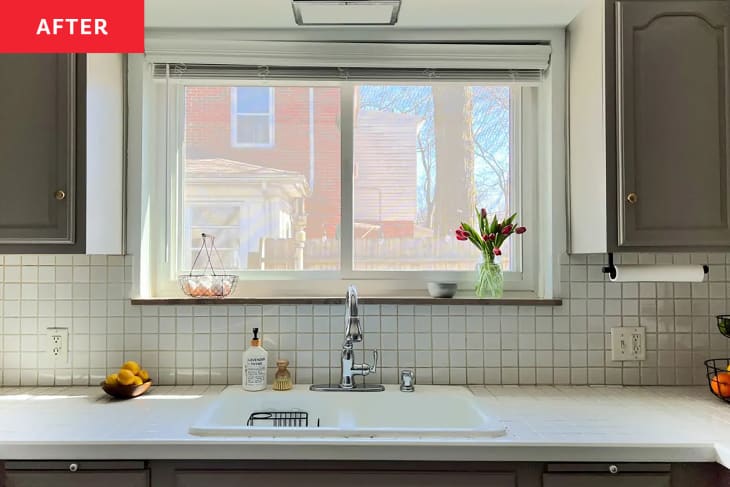
Lindsey says paint was “a huge factor in this kitchen makeover.” They painted the walls, trim, and ceiling for a clean, blank slate (usingSherwin-Williams’ Pure White), and they also painted the cabinets (usingRust-Oleum’s cabinet transformation kit in Greige). “I love using these kits because it includes everything you need and there is no sanding required,” Lindseysays on her blog. (That’s because the kit includes a chemical deglosser as well as a bonding coat, both of which help the new color stick.) “We hadjustenough to paint two coats on all of the cabinets.”

As for the tall pantry in the kitchen space, Lindsey kept the doors the same color as the wall to help it blend in. “Painting them white creates a seamless look,” she writes on her blog.
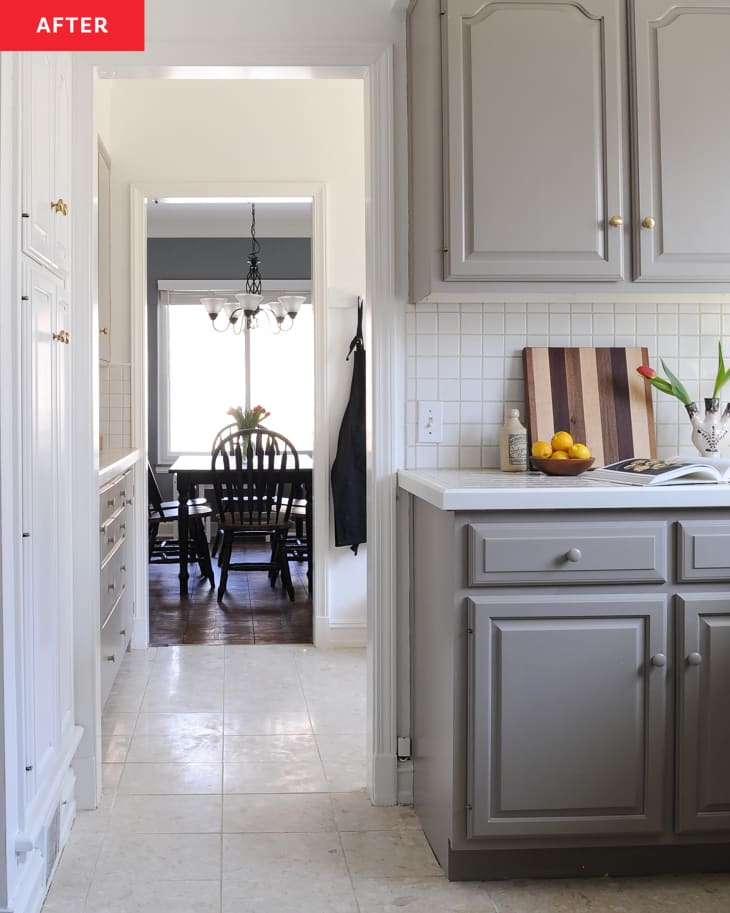
The fresh color made a big difference. “The updated cabinets against the clean and crisp white walls look really sharp,” Lindsey says. “I also forgot how time-consuming painting can be, especially when painting kitchen cabinets! On the weekends, my brother and dad really stepped up with painting, and I could not have finished this project without them.”
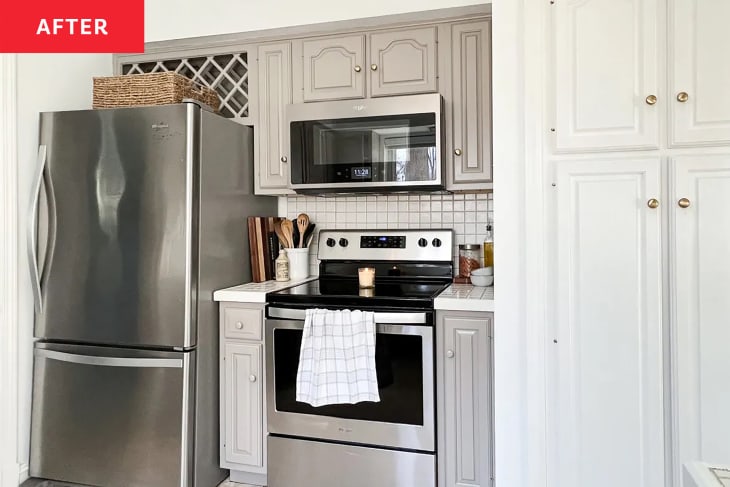
But the time spent was worth it, especially considering this piece of the project cost just $75. To finish the revamped cabinetry, Lindsey addedbrass knobsto the upper cabinets andwooden pulls(painted the same greige as the cabinets) to the lowers.
Jon next added shelving to the existing pantry system, which helped with organization. For even more practical storage, Lindsey created peg rails for the butler’s pantry area. “Not only does this add function to the kitchen, but it is also period-appropriate for the age of this home,” Lindsey says of her custom-built peg rails, a DIY first for her. John and Shannon use the pegs to hang bibs, lunch boxes, aprons, cutting boards, and more.

As for the floors and counters, those just needed a good scrubbing. “Originally, I considered painting all of the countertops and backsplash, but agood grout cleaningdid wonders,” Linsdsey says, though she did paint the edges of the counters in the same Sherwin-Williams white to brighten them up.
In total, the kitchen projects cost around $200. The big takeaway here? “Paint has the ability to transform anything for little to no cost,“ Lindsey says — and so does just a little bit oforganizing and cleaning!
“The budget for this kitchen refresh was really to spendas littleas possible,” Lindsey says. “I think we worked wonders with creating a clean and functional space that gives you energy when you enter the space and fits with the period of the home. I wouldn’t change a thing and am so proud of what we accomplished.”
Inspired?Submit your own project here.