

Before and After: A Beat-Up Brown Dresser Becomes a Chic Green Beauty for $40
Skilledfurniture flippersare always on the lookout for neglected pieces to turn into painted or sanded or stained beauties. Often, what they’re looking for is something sturdy and salvageable, with a promising silhouette.
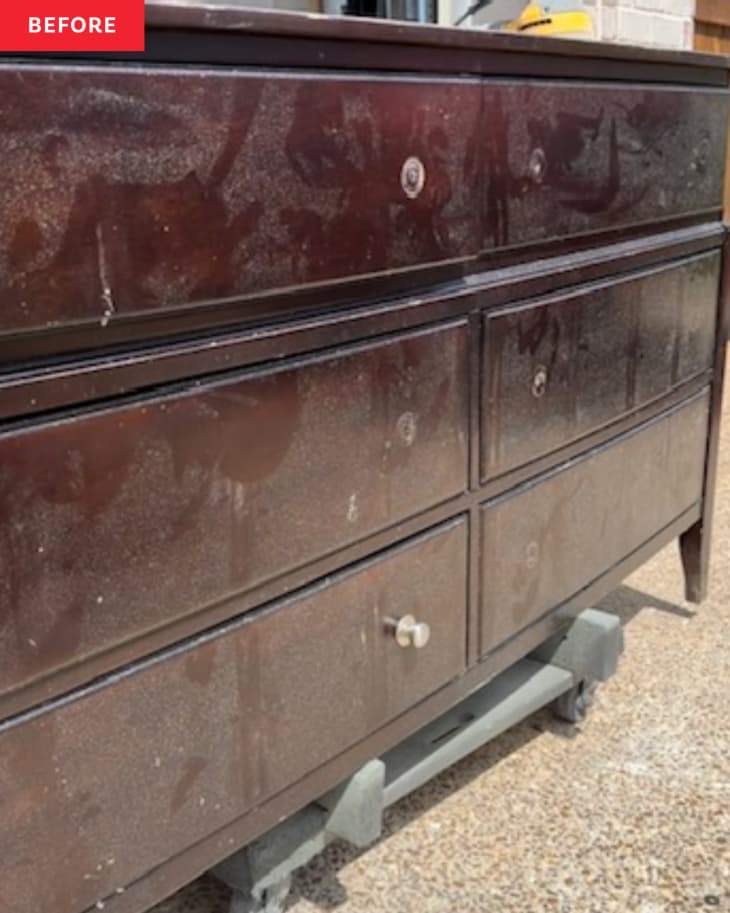
That’s whatfurniture flipperJessica Smith (@theteddyjamesco) found in this dark brown six-drawer dresser, and the price was right (aka free). The dresser originally came from a big-box retailer, but Jessica nabbed it for zero dollars on Facebook Marketplace. Jessica says the dresser was made in the early 2000s and had good bones (“great structure, cosmetically damaged”) but needed some more visual interest.
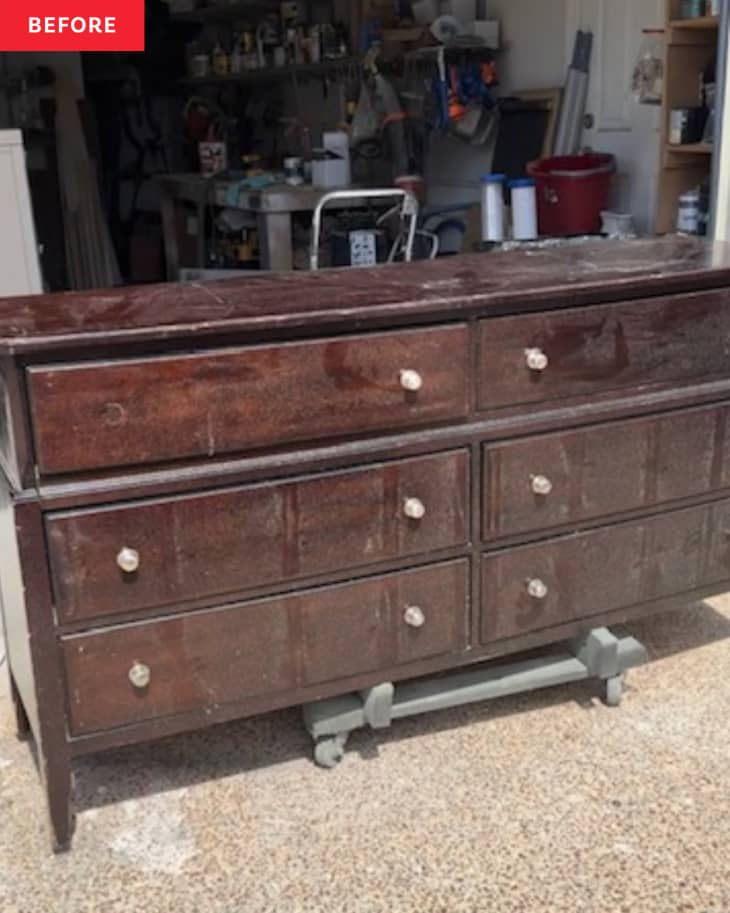


To give it that stylish punch it was lacking, Jessica used about $40 worth of scrap pine, primer, and dark green paint (Melange’s ONE: Oakmoss). “The pine fluting was extremely cost-effective and easy to apply,” Jessica says — and she definitely recommends cutting up your own scrap wood for trim over buying pre-cut trim pieces from a hardware store.
“I was nervous about getting the measurements correct and proportional, but after a few test cuts, I found the perfect look,” Jessica says. She tested different thicknesses for her 1 1/4-inch-wide pine trim pieces but ultimately decided on something fairly low-profile for the drawers, and she cut them to the same height as the drawer fronts.
After scuff-sanding the piece, cleaning it with soap and water, and adding one layer of primer, Jessica spaced five trim pieces evenly on each drawer front. “It added just the right amount of visual interest and took this boring, mass-produced piece to a custom, one-of-a-kind statement piece,” she says.
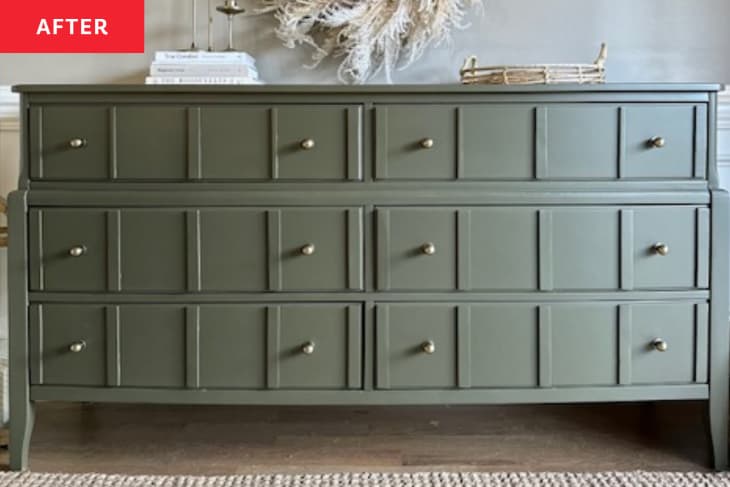
She attached the trim with brad nails and construction glue, and filled in her brad nail holes with wood filler. Then she primed again. Next it was time to add paint, whichJessica callsa “gorgeous green that was meant for this dresser,” and then sheadded hardware from Amazon, and voilà! A completely transformed, totally chic dresser.
Jessica’s other product recommendations for those wanting to paint and flip furniture? A paint sprayer, aspray tent, amask for sanding and spraying, andmicrofiber cleaning cloths. Now, she’s thinking about other ways to iterate on her new trim design.
“我想尝试不同的开槽设计和暗淡ensions next time to see if there is any look I like better than this!” Jessica says, and she encourages others to give it a go, too. “As intimidating as DIY and furniture flipping can be, experience is the best teacher, and there’s always fun to be had along the way!” she adds.
Inspired?Submit your own project here.