

How To Make a Magnetic DIY Frame for Artwork…in 10 Minutes


I’m on a DIYframing kickright now, and dealing with all the artwork I’ve accumulated in the past year. I’ve also discovered rare earth magnets, which are proving very handy for various projects (like thiswall organizer). Put the two together and you get a cheap and custom way to temporarily hang artwork that’s easy to swap out when you’re ready to display something else.
What You Need
- Thin scrap wood (wider and thicker than your magnets)
- Rare earth magnets
- Self-leveling picture hangers (optional)
- Small eye hooks (optional)
- String (optional)
Tools
- Saw (optional: you can also have it cut for you at the hardware store)
- Drill
- Forstner bit
- Strong adhesive, likeE6000
Instructions
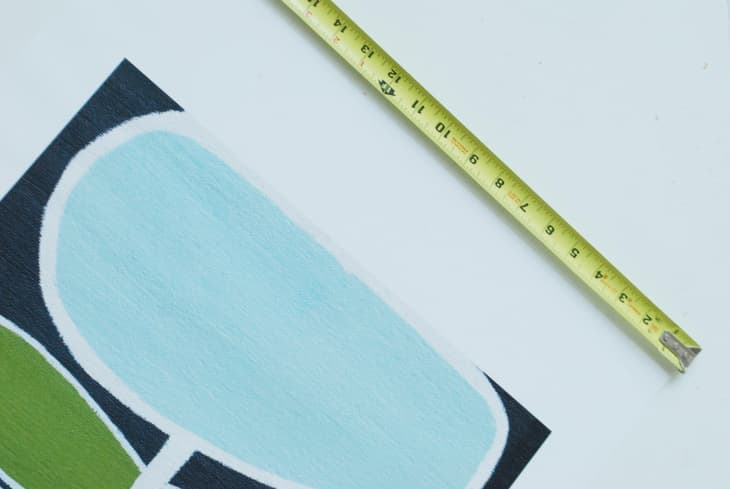
1. First measure your artwork and determine how large you’d like the frame to be.
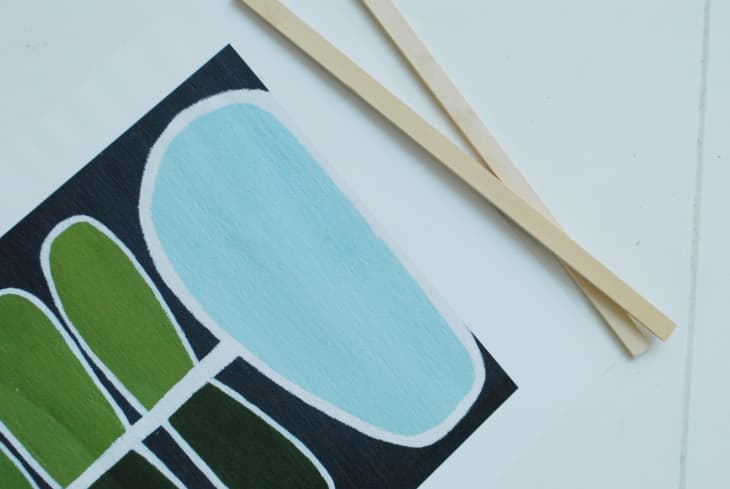
2. Mark off the desired length on each of your pieces of wood, and cut them down to size. I wanted my frame to be the same width as the artwork — in this case, 20″ across.
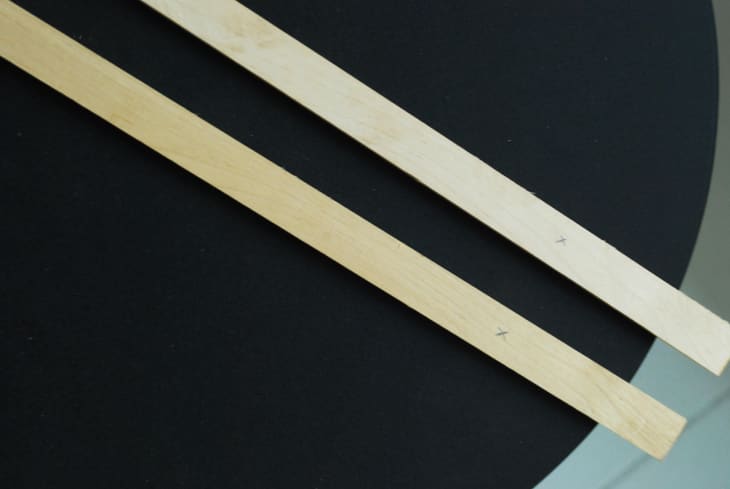
3. Mark off two holes on each end of the two wood strips. This is where your magnets will go. You don’t want them too close together or too far apart. Mine are each about 3″ in from the ends of the wood.
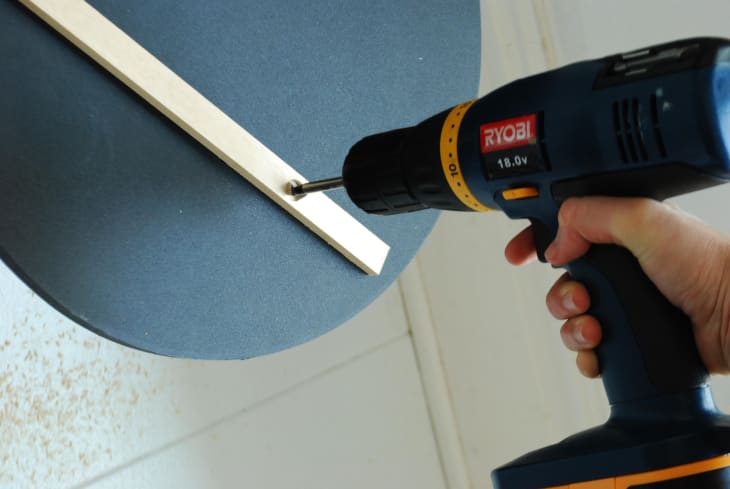
4. Using the Forstner bit, drill each of the four holes, just deep enough for the magnets to nest inside.
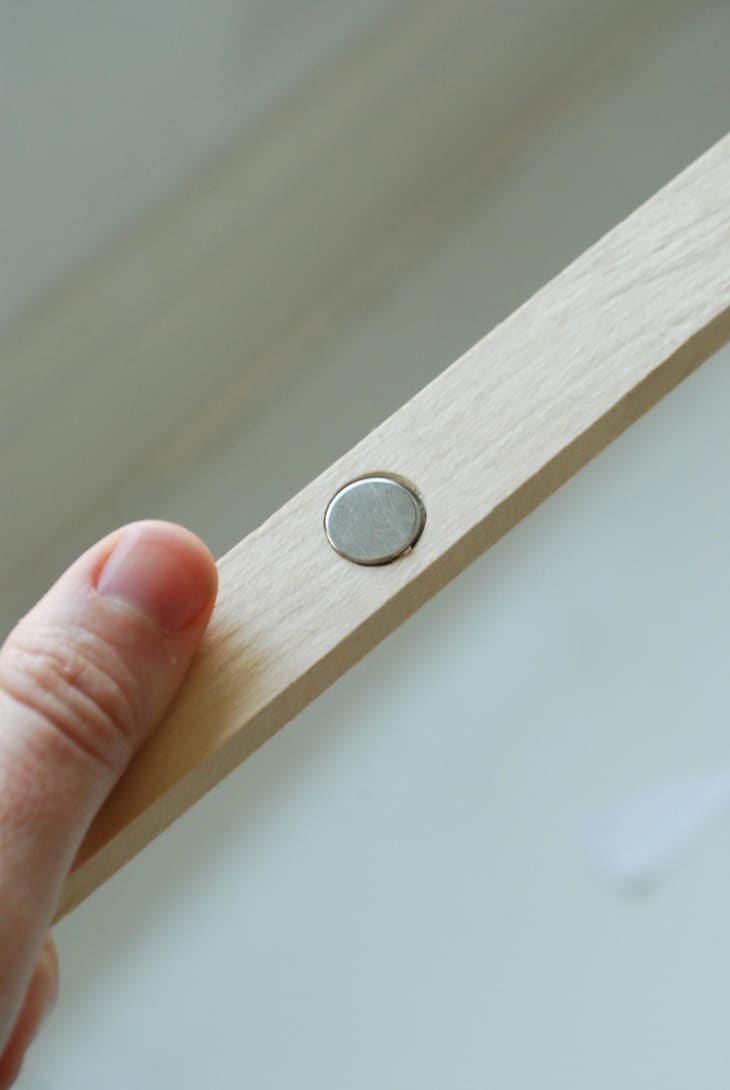
You want the magnets to be flush with the wood once they are in the holes, like so.
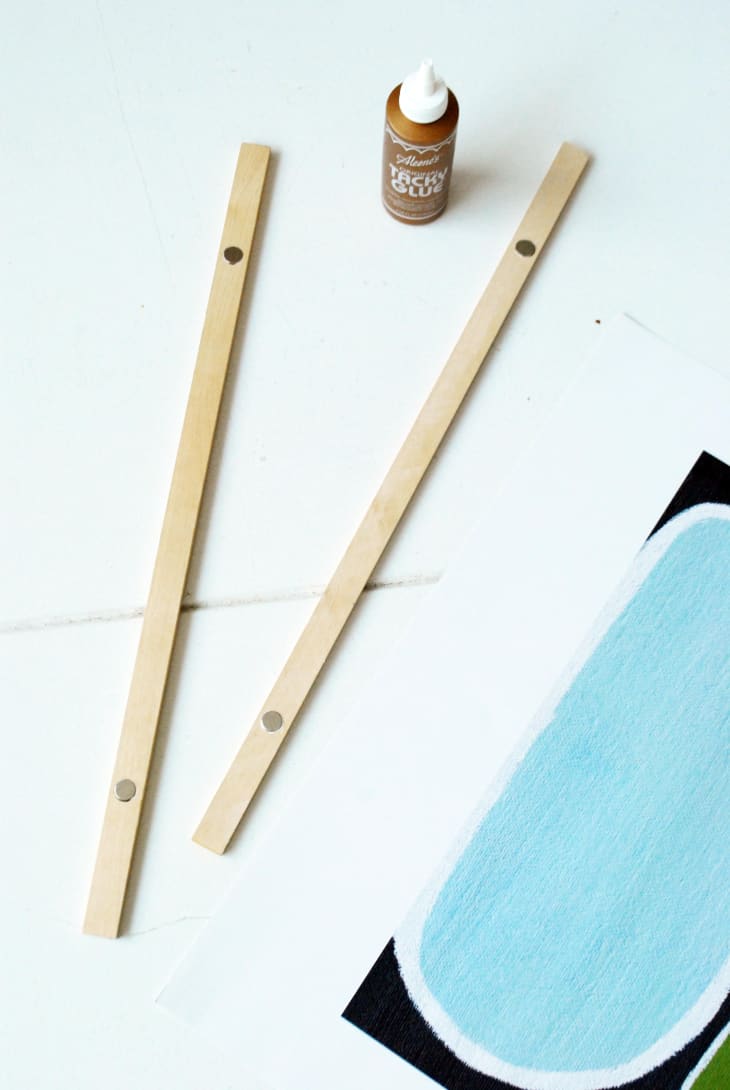
5. Glue the four magnets in each of the holes. Let dry completely. (Note, the glue in the photo is NOT what I wound up using. You need something really strong, likeE6000, because those magnets are STRONG.
Tip:框架最终将作为磁sandwich for the artwork, so make sure the magnets are glued in the right direction. You want one of each opposite poles facing facing up on each end, so the magnets attract versus repel each other.
Option 1:
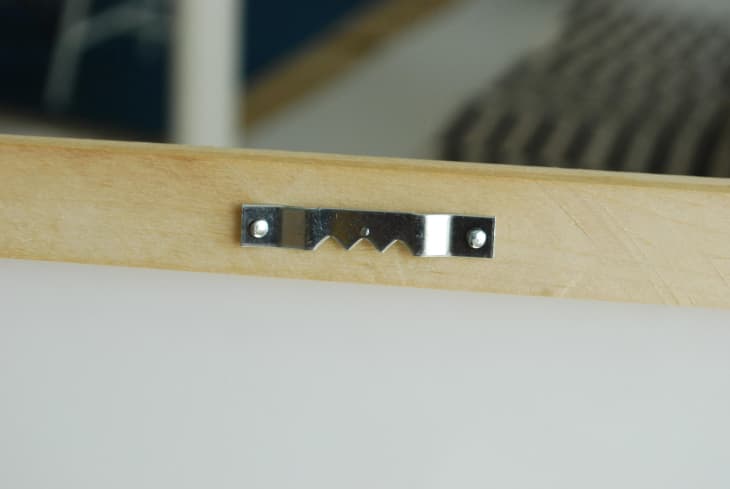
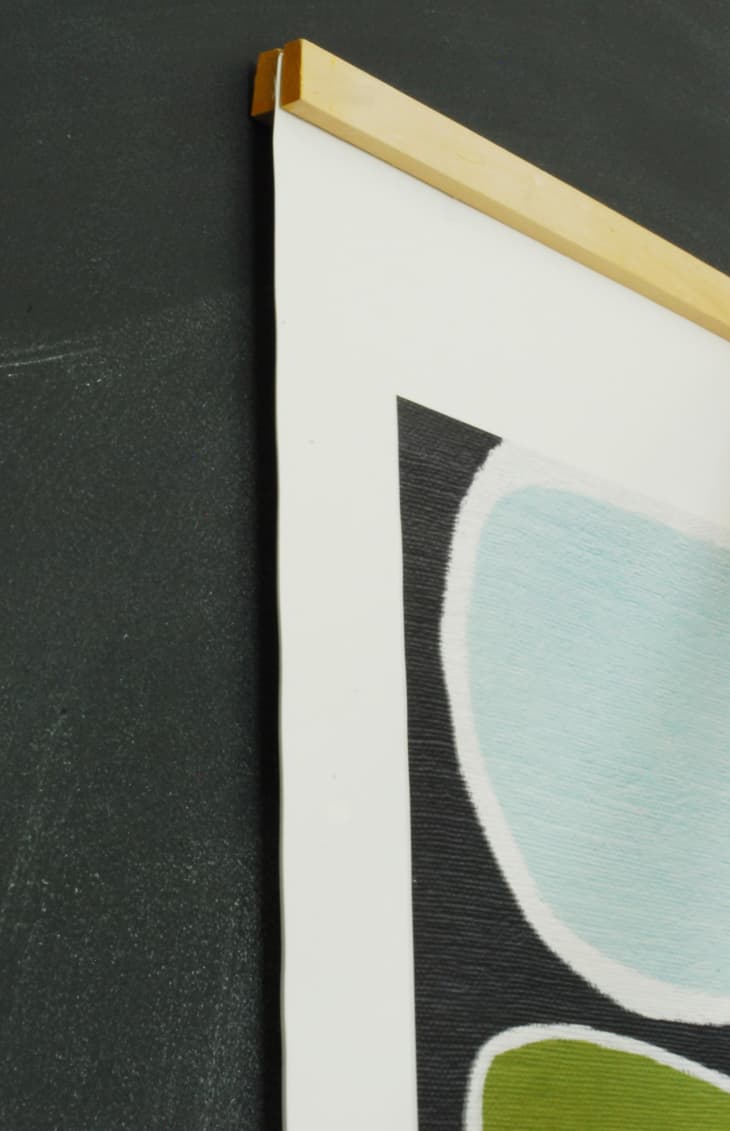
6. Flip the frame over and nail one of thesemetal picture hangerson the back. Just make sure the nails you use are small enough to go all the way through the frame.
Option 2:
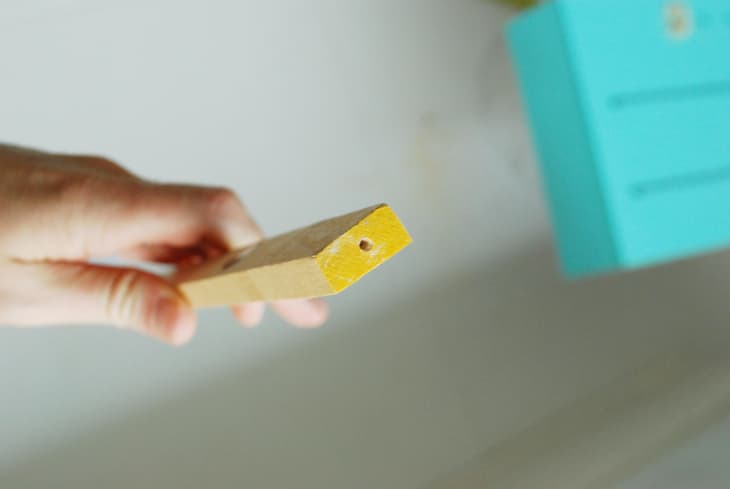
6. Drill a small starter hole with your drill bit into each end of the one of the wood strips.
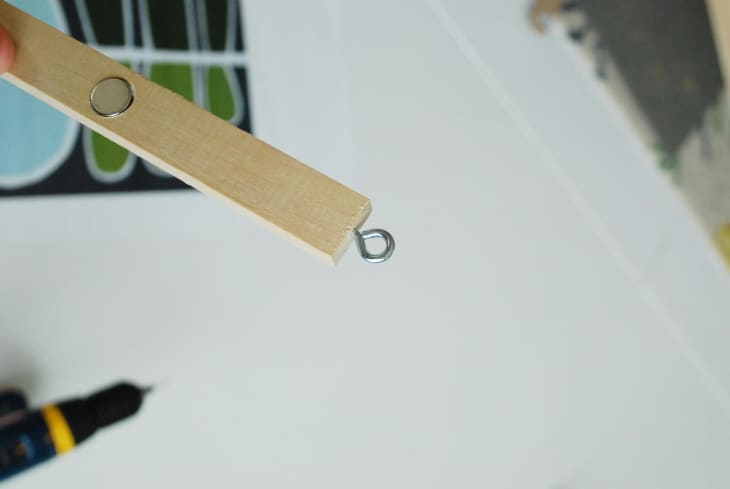
7. Screw your small eye hooks. You’ll use this for string to hang the frame.
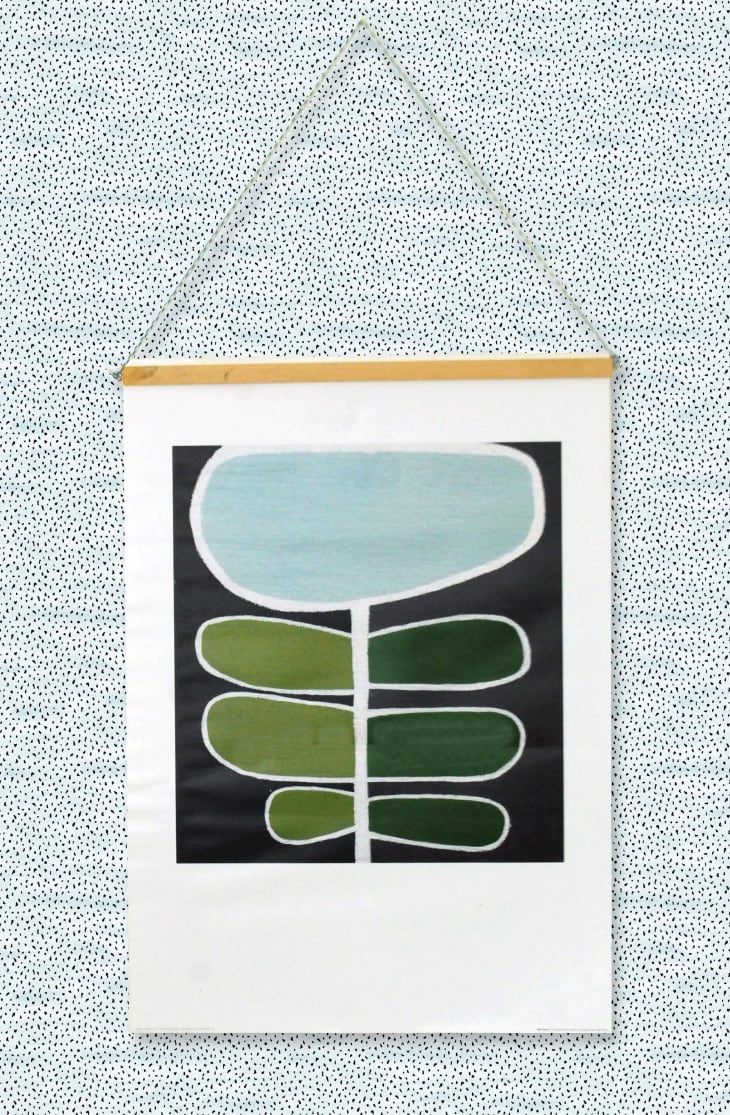
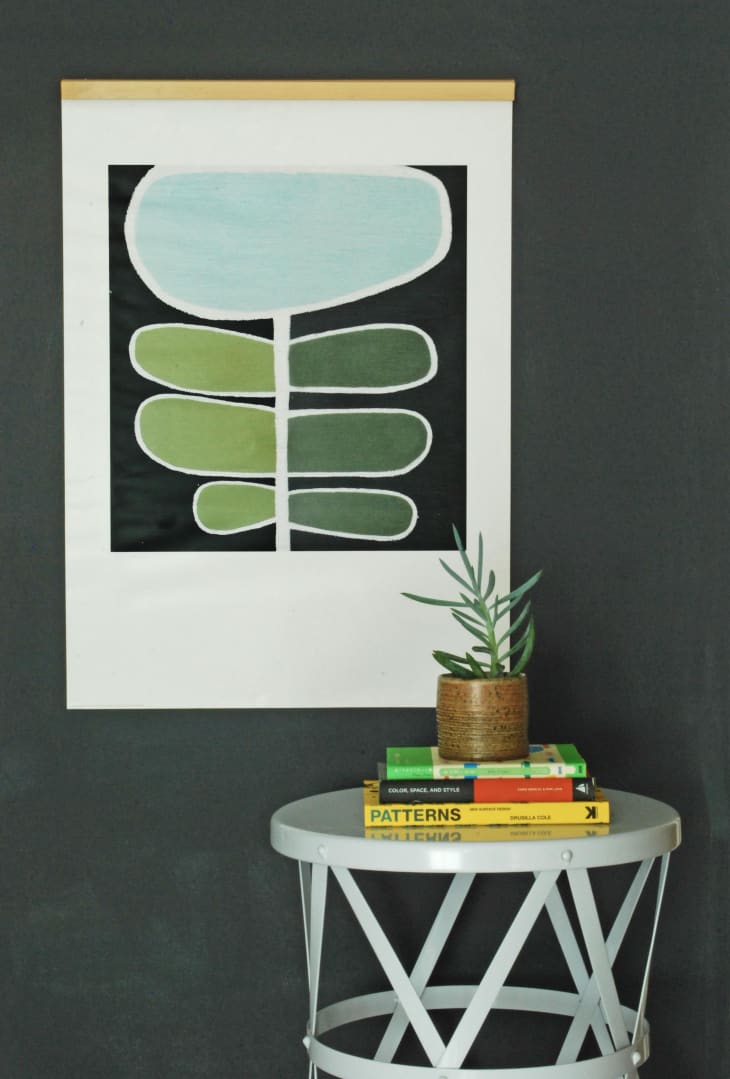
8. Attach string to the frame, and hang on the wall!
Variations:
- If you’d like the frame to blend in with the artwork more, paint it the appropriate color with spray paint.
- Add another bar on the bottom of the artwork to ensure it hangs straight and doesn’t flutter around.
- If the artwork is particularly heavy, add more magnets across the wooden bar.
Have a really great DIY project or tutorial that you want to share with others? Let us know! We love checking out what you’re making these days, and learning from our readers. When you’re ready, click here to submit your project and photos.