

How to Make a Simple Wood Picture Frame
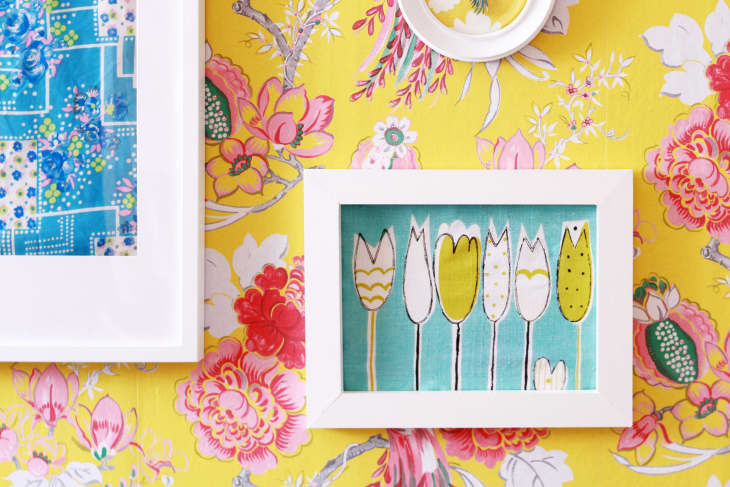

Picture frames can be very expensive—and if you need a lot of them for agallery wall, that money adds up. For an option that’s easy on the budget and a beginner-level DIY, consider making your own frames out of pine boards. This is a simple DIY that doesn’t require many tools outside of a miter saw and a screwdriver. You don’t need a power saw for this project—a hand saw will work just fine—but if you’re set on making a large batch, you’ll save yourself a lot of effort (and blisters) by renting a miter saw. Otherwise, a single frame can easily be made with a mitre box and hand saw. Read on to learn how to make this simple wood frame that’s versatile enough to suit any style of decor.

Supplies needed to make your own DIY wood picture frame
- Miter saw (or miter box and hand saw)
- 1” x 2” select pine
- 11⁄2” x 3⁄8” corner braces
- Wood filler and putty knife
- Wood glue
- Sandpaper
- Screwdriver or drill
- Swanson speed squareor framing square
- Paint
- Sawtooth picture hanger (optional)
How to make a simple wood picture frame

1. Make cuts to your wood pieces
To make an 11” x 14” frame, you’ll need two 14-inch board lengths and two 11-inch board lengths, each cut at a 45° angle at the ends. Be sure to measure your cuts from the furthest point (the outside edge of your angled board). Use a miter saw, or miter box and hand saw, to make the angled cuts.
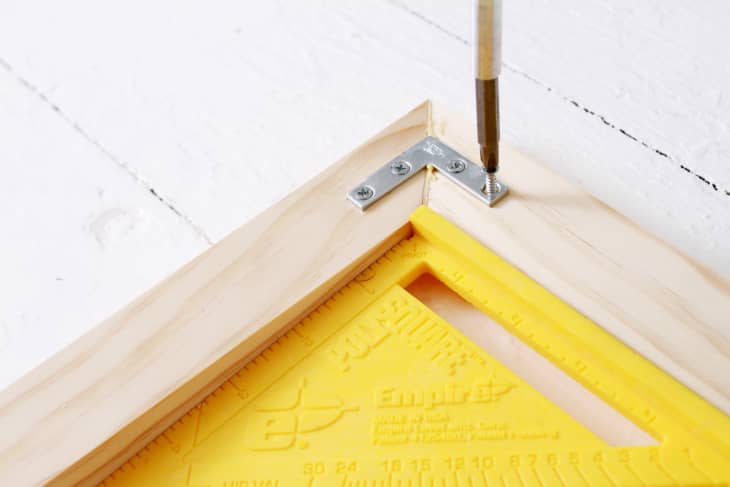
2. Glue the wood pieces together two at a time
Apply a bead of glue to each of the corner cuts. Then, position two wood pieces with the angled cuts meeting each other to form a right angle. Tuck a Swanson speed square into the corner to ensure a perfect 90° angle. Use a drill or screwdriver to screw in the first corner brace.
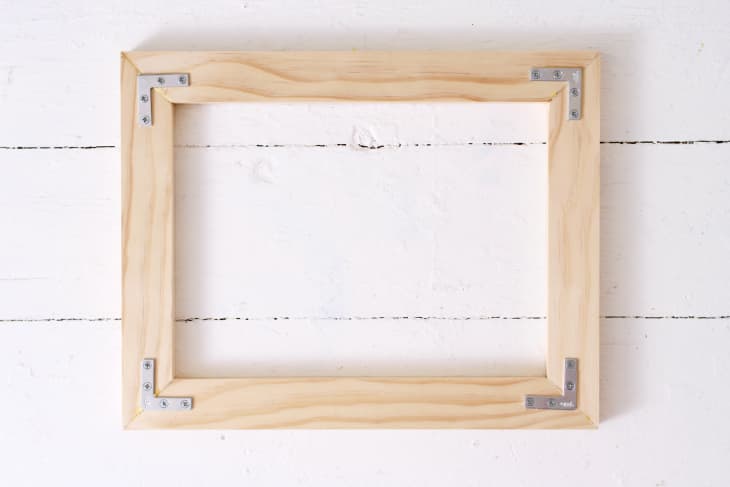
3. Repeat for the other side, then fasten together
Repeat for the other side. Attach the corner braces to the remaining corners and wipe away any excess glue.
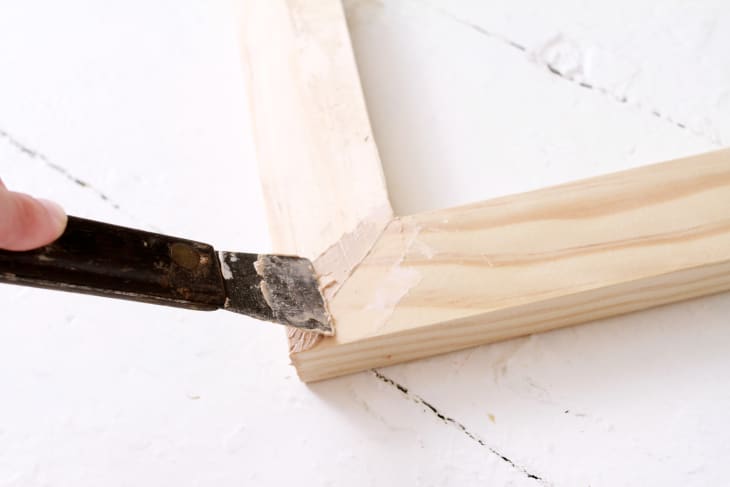
4. Fill gaps with wood filler
After you flip the frame over you might see a slight gap where the two angled cuts meet. Fill all gaps with wood filler, wiping away any excess. Once the wood filler is dry, lightly sand until smooth.
5. Paint and add a hook to hang
Paint your frame and add a sawtooth picture hanger to the back side to hang. Add your art to the frame by securing it to the back side of the frame usingacid-free tape.