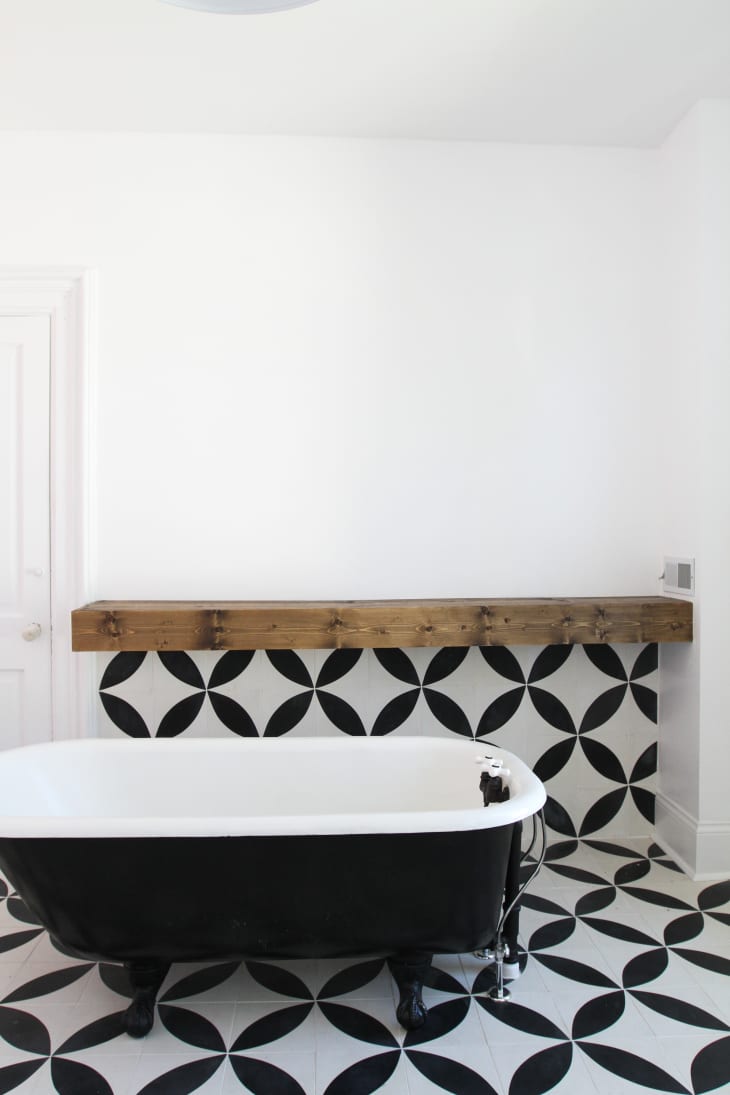
How To Tile a Bathroom Floor

All this week we’re talking about bathroom renovations, starting withAshley’s recent remodel, and following up with tons of helpful posts about the process!
For more content like this follow
Tackling tile installation yourself can save big bucks— and can mean the difference between affording the tile youloveand buying the tile you just kind of like. While it’s not rocket science, it’s also not a job for the first-time home project DIY’er (or anyone with bad knees!). Invest in a few tools of the trade, set aside a good amount of time to tackle the job, and you’ll do just fine.
What You Need
Materials
- Floor tile (Big Danecement tile fromClé Tile)
- 1/2 in. x 3 ft. x 5 ft. Cement Board fromHome Depot
- Phillips High Low Threaded Wafer-Head Screws fromHome Depot
- Thinset mortar fromHome Depot
- Polyblend #381 Bright White 1 lb. Non-Sanded Grout fromHome Depot
- Tile Spacers fromHome Depot
- Sponges
- Knee pads
Tools
- Drill w/ Mixing Paddle
- Level
- Gum Rubber Grout Float fromHome Depot
- 1/2″ Stainless Steel Trowel with Comfort Grip fromHome Depot
- Margin Trowel fromHome Depot
- Tape Measure
- Wet Tile Saw
- Diamond Blade fromHome Depot(for the wet saw)
- Nippers
- Folding A-square
Before You Get Started
1. Before tiling, be sure your subfloor is covered with cement board. The last thing you want is for water to seep through your tile and rot your subfloor. You also want to make sure that the floor is completely level.
2. Take the time to map out your layout, and figure out a plan of attack before getting started. You want to avoid any small or awkward slivers of tile once you work your way to the edge of the wall. Create a visible straight line (done with a chalk string marker) that serves as a starting point to ensure you lay the tiles in a straight line.
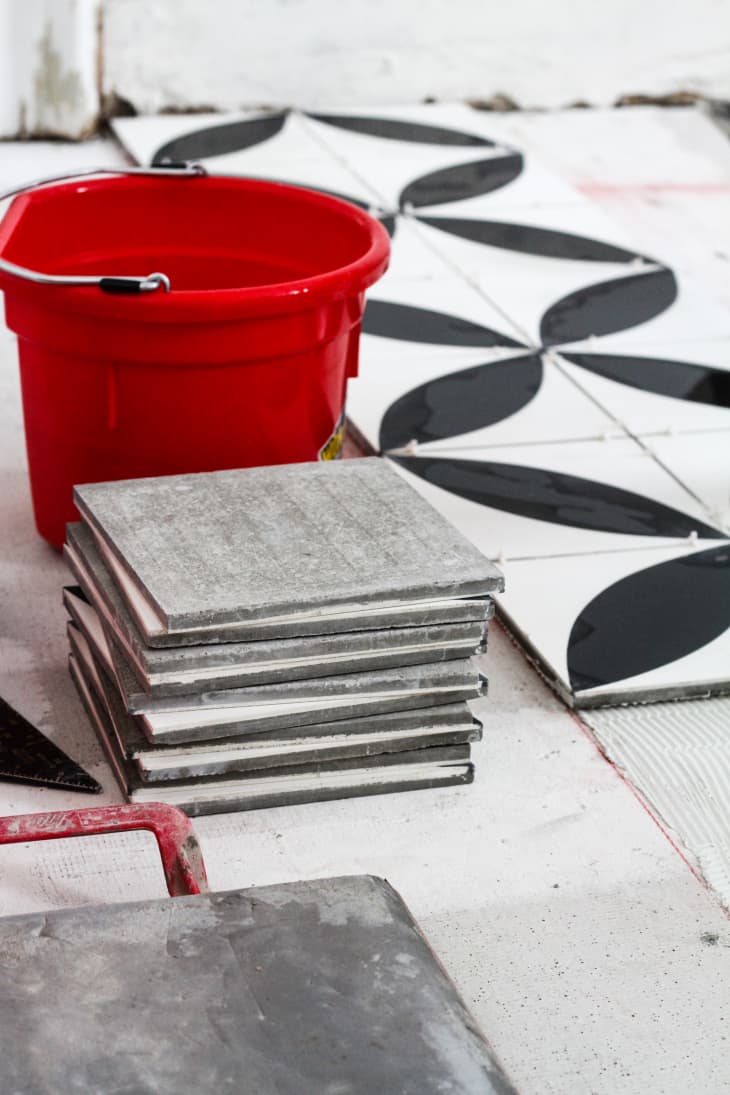
3. It’s never a bad idea to do a dry run with a few rows of tile before actually spreading the thinset mortar and laying the tile. Have a level and a straight edge nearby to double check that your tile progresses as planned, and isn’t winding up crooked and not square with the walls.
Instructions
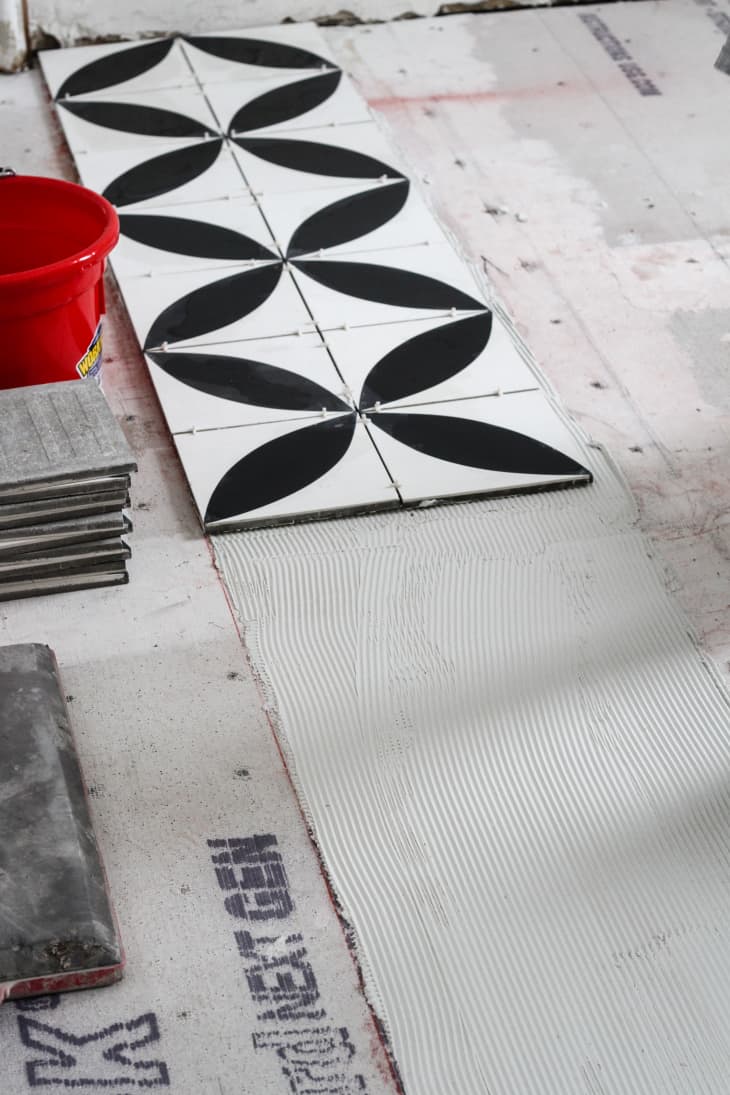
Mix your thinset mortar according to instructions, and apply alongside the chalkline using a notched trowel. Do this in pieces; try to work on an area that’s no larger than a 2′ x 3′.
Tiling Tip:You want your thinset to have a smooth peanut butter-like consistency. Too wet and your tiles won’t stay put, but too dry and they won’t stick properly. Start with a little bit of water and add the dry thinset powder to it. This also helps prevent lumpy mixtures.
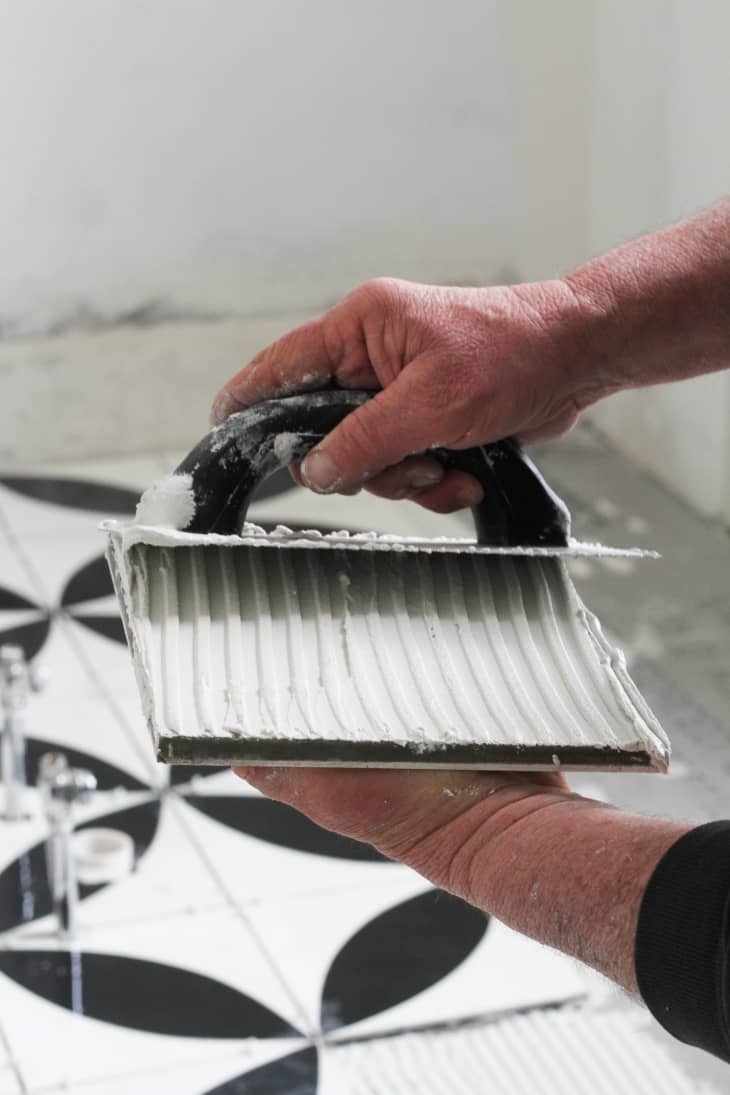
If you’re working with cement tile you’ll also need to “butter” the back of each tile with thinset, in addition to applying it to the cement board before pressing it down. Use the notched trowel to do this.
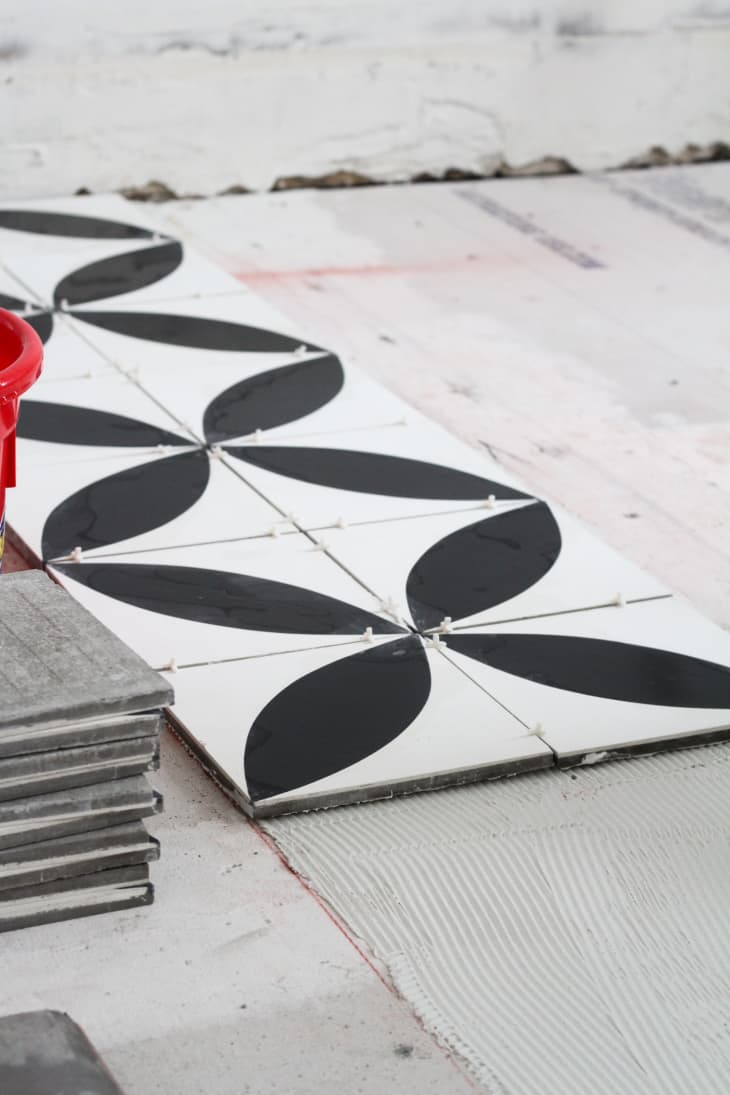
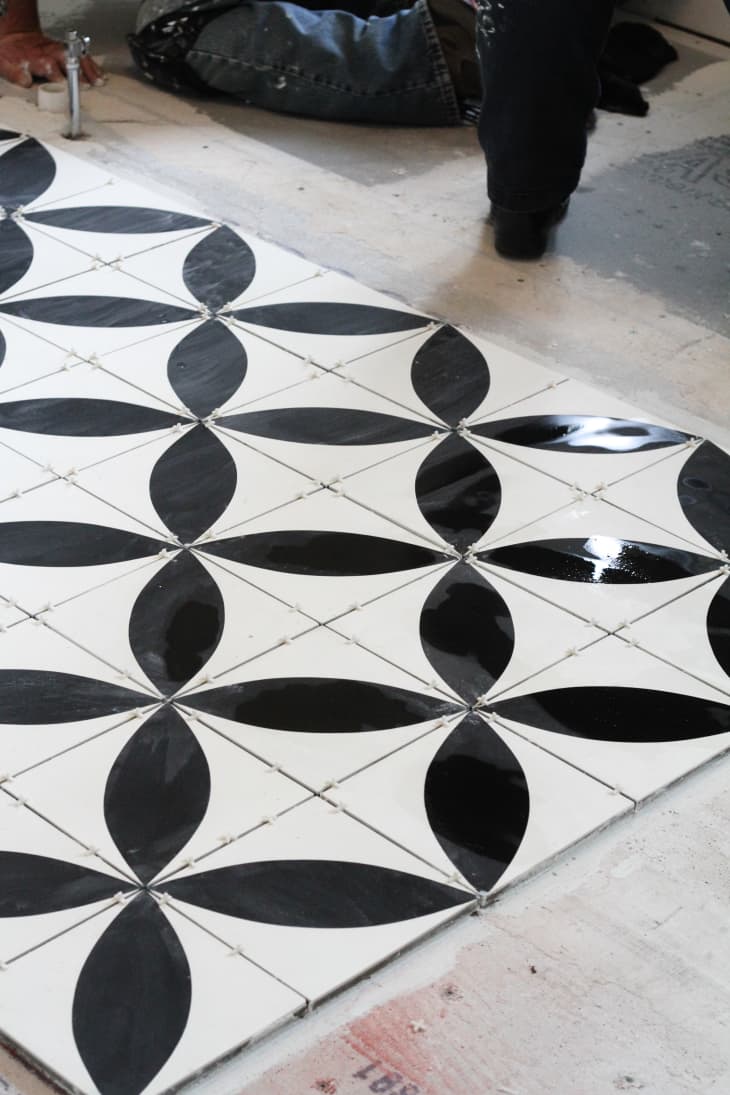
Carefully lay the tile onto the layer of thinset, right up alongside the straight chalkline that you made before you got started.
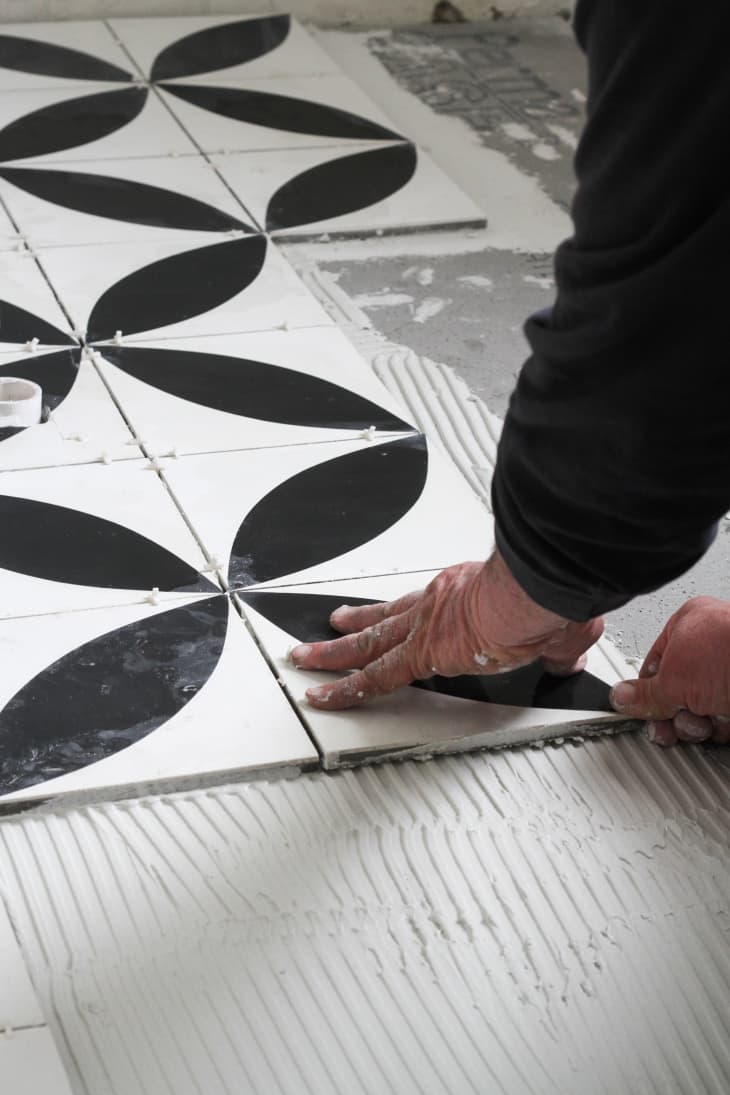
When you place each tile, use a rocking motion to press the tile into the mortar until it reads level. Pressing on one corner can lift another, so watch for tipped corners. It might not be noticeable now but, once you add grout, corners can look higher or lower than neighboring tiles.
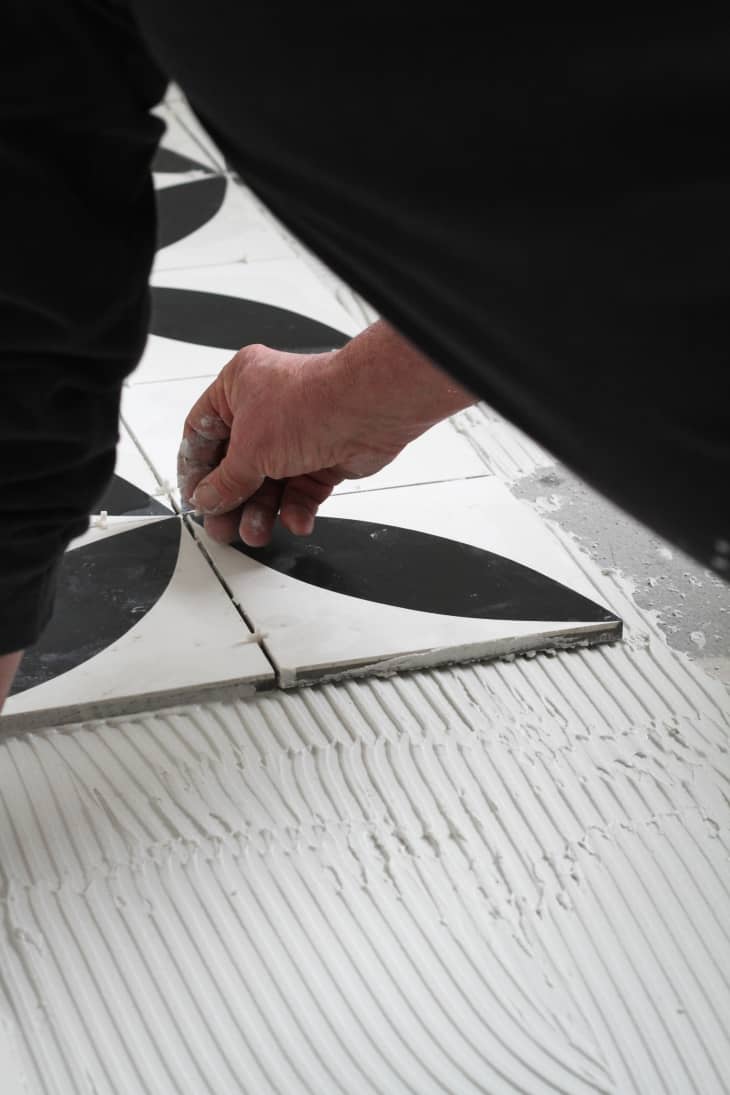
Continue until you’ve laid one complete row alongside the chalk line, adding spacers between each tile.
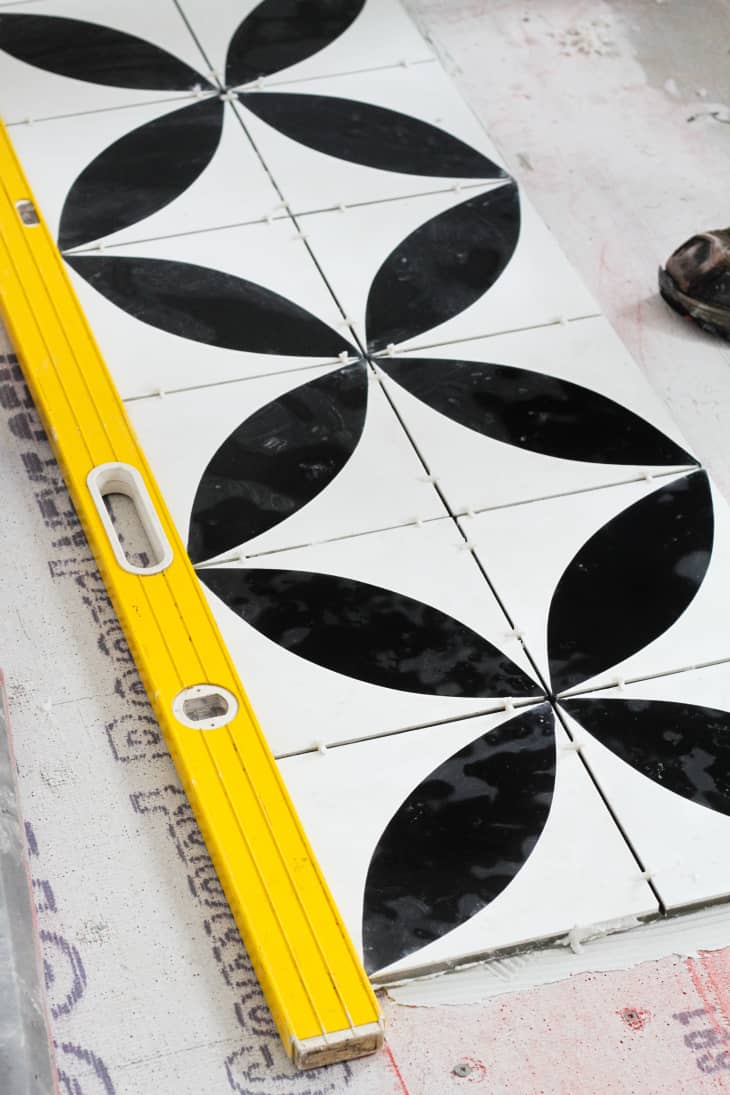
Take the time to run a straight edge alongside the first row to ensure it’s completely straight. If you go out of line while laying the first row, every other row will be off after that.
Continue working your way across the room, cleaning as you go. Before the thinset dries, remove the excess thinset between the grout lines with a screwdriver or spacer. It’s a lot easier to do this while the thinset is wet —versus chipping at it with a razor later.
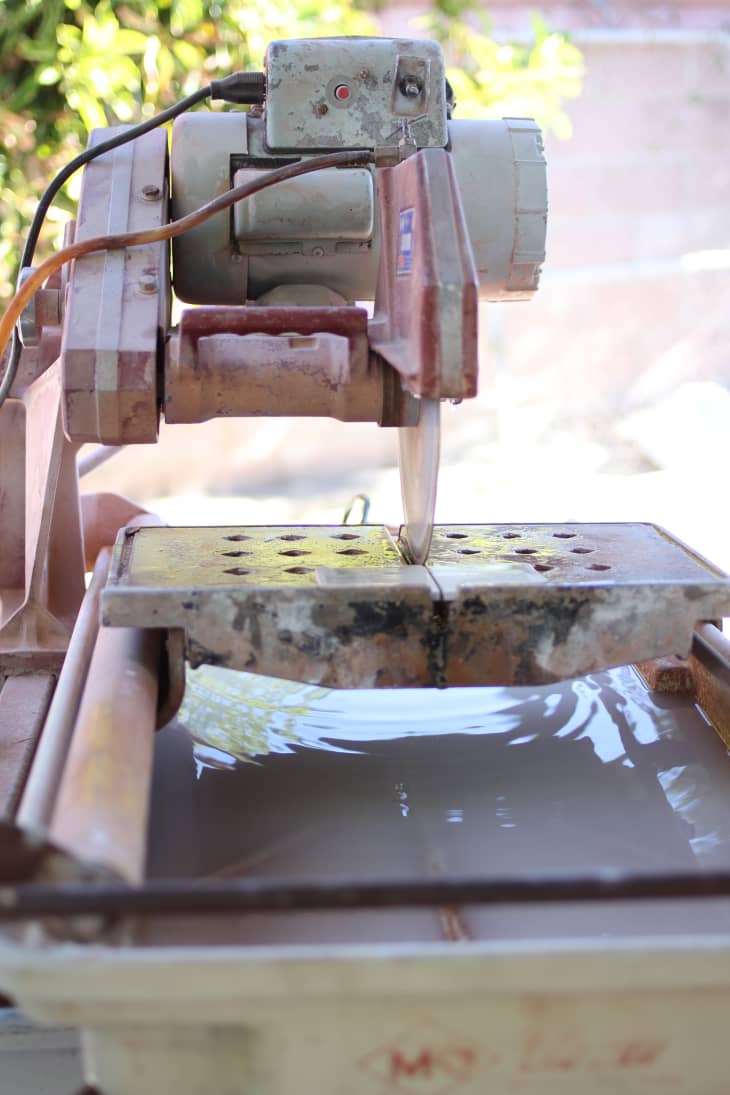
削减几乎肯定需要当你得到the edges of the room, or as you encounter obstacles like pipes. Measure, mark, and cut tiles to fit along edges, and around electrical outlets, corners, and windows. Use a wet saw for straight or angled cuts, and nippers when you need to take off smaller bits of tile little by little.
→ Home Depot has a helpful tutorial:How to Cut Tile with a Wet Saw
Once you’ve covered the entire floor let the tiles set for 24-48 hours before grouting. Then use a margin trowel to scrape off any excess mortar and remove all spacers from the joints before moving onto the next step.
→ For a full tutorial:How To Grout Tile
Use a rubber float to grout the joints, holding it at a 45 degree angle to really push it in. To ensure you’re adequately filling in the joints, push the grout by running the float parallel with the joints, then push the grout in again by running the float at an angle to the joints. Scrape off any excess with the clean side of the float.
Allow the grout to set for 20-30 minutes before cleaning with a damp sponge. Repeat until the tile wipes clean and let cure overnight before walking on the tile.