

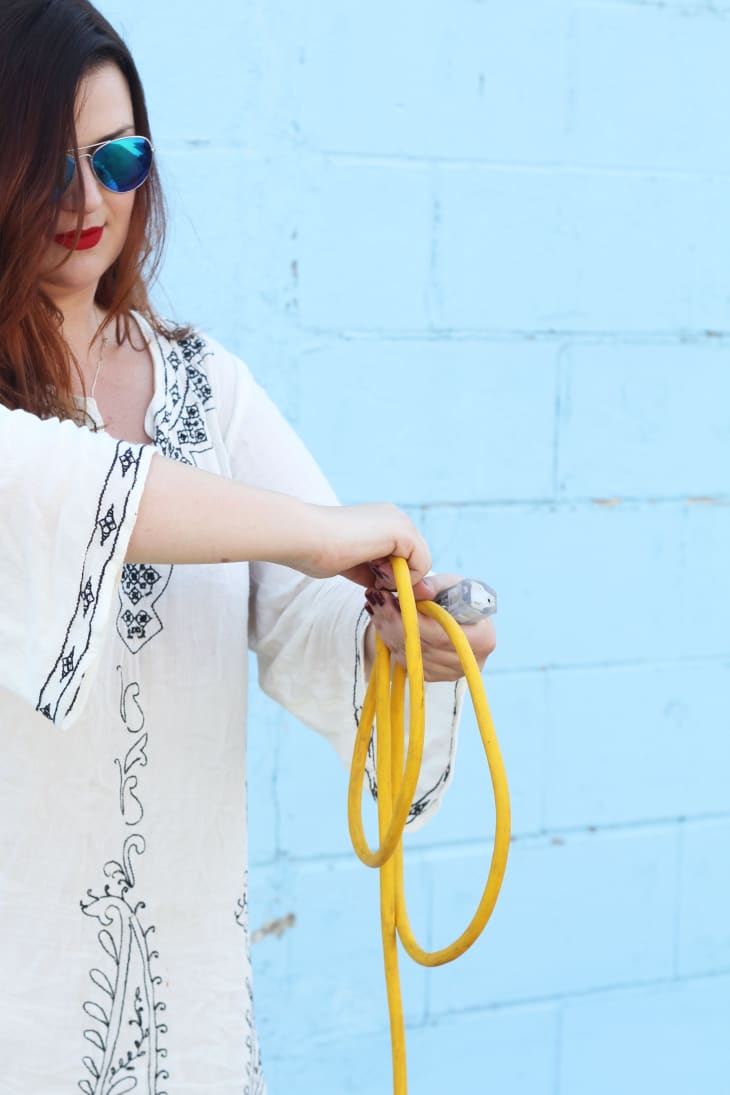
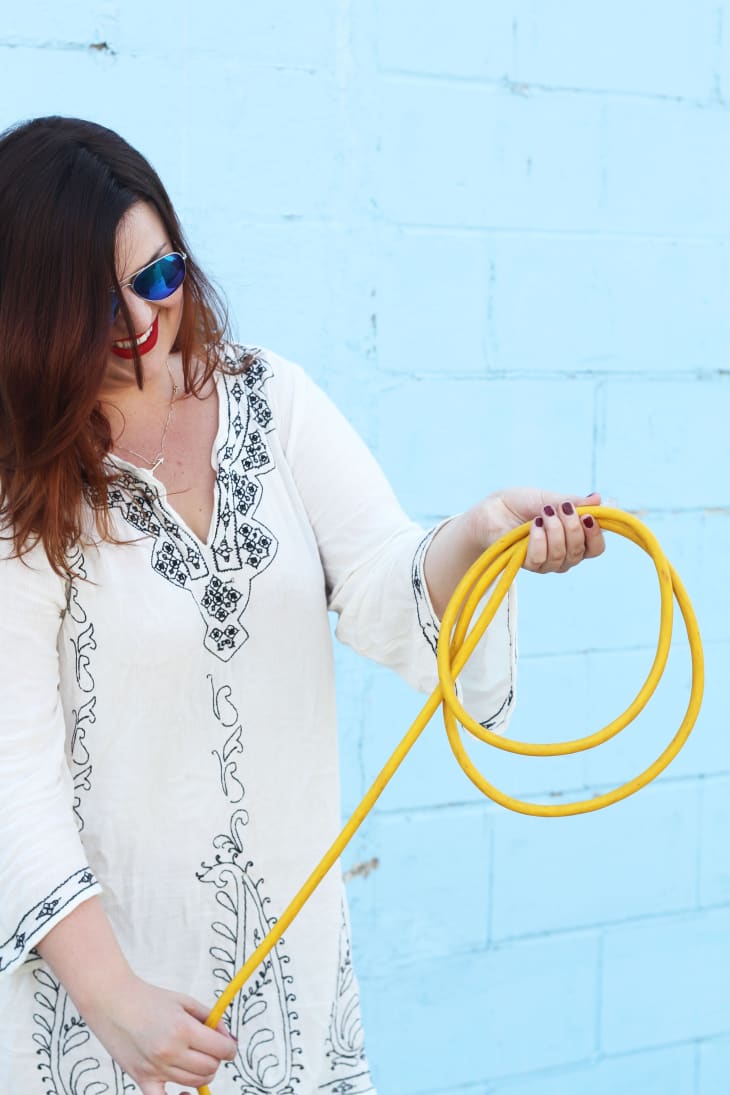
How To Wrap an Extension Cord Like a Boss


There are things contractors do that we all should take note of, and electrical cord storage is one of those things. It’s important to properly store your cord to elongate its lifespan- plus, it will save you the headache of having to unwind 100 feet of tangles and knots.
下的了method is quite possibly the most popular way to store cords. While it may not be as visually pleasing as the contractor’s wrap, it coils a cord in a manner that allows it to quickly unravel if you’re looking for the fastest way to run it from one side of a room to the other. Read on for the full tutorial.
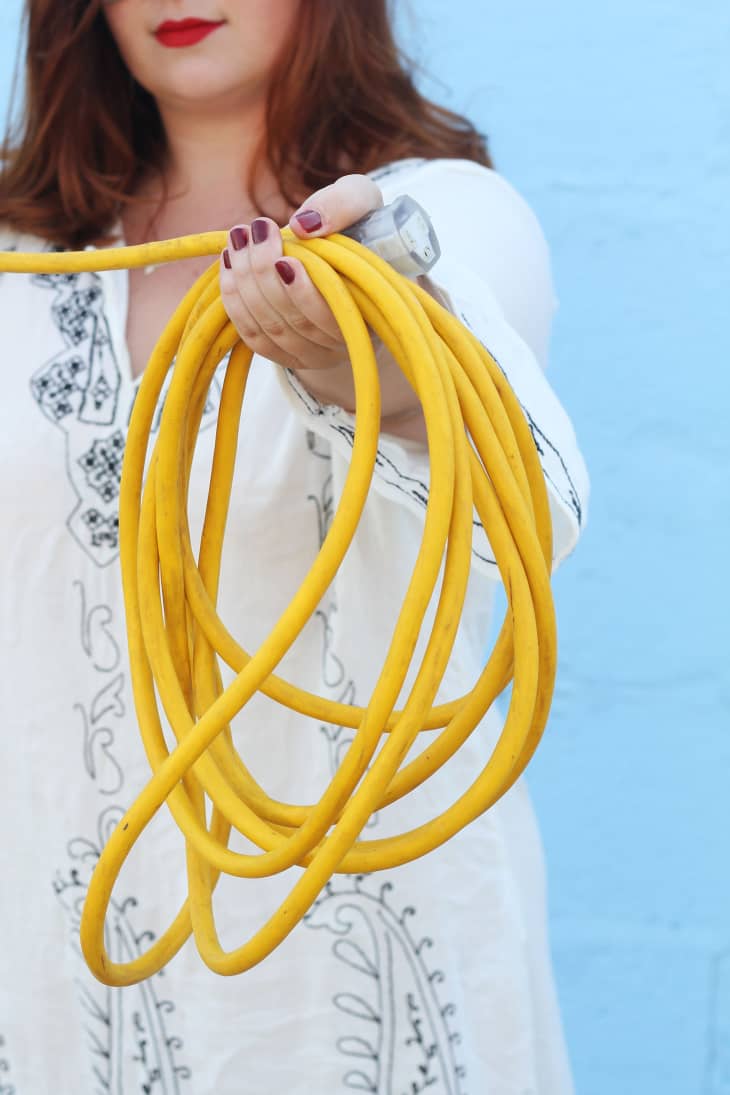
The Contractor’s Wrapnot only keeps your cords from becoming tangled, it makes them look exceptionally neat and tidy while hanging in storage. If you know how to crochet, this technique should come easily for you. And you start by doubling up the cord, so you’re essentially cutting the wrap time in half- it looks fancyandit’s a time saver! Read on for the full tutorial.
The Over-Under

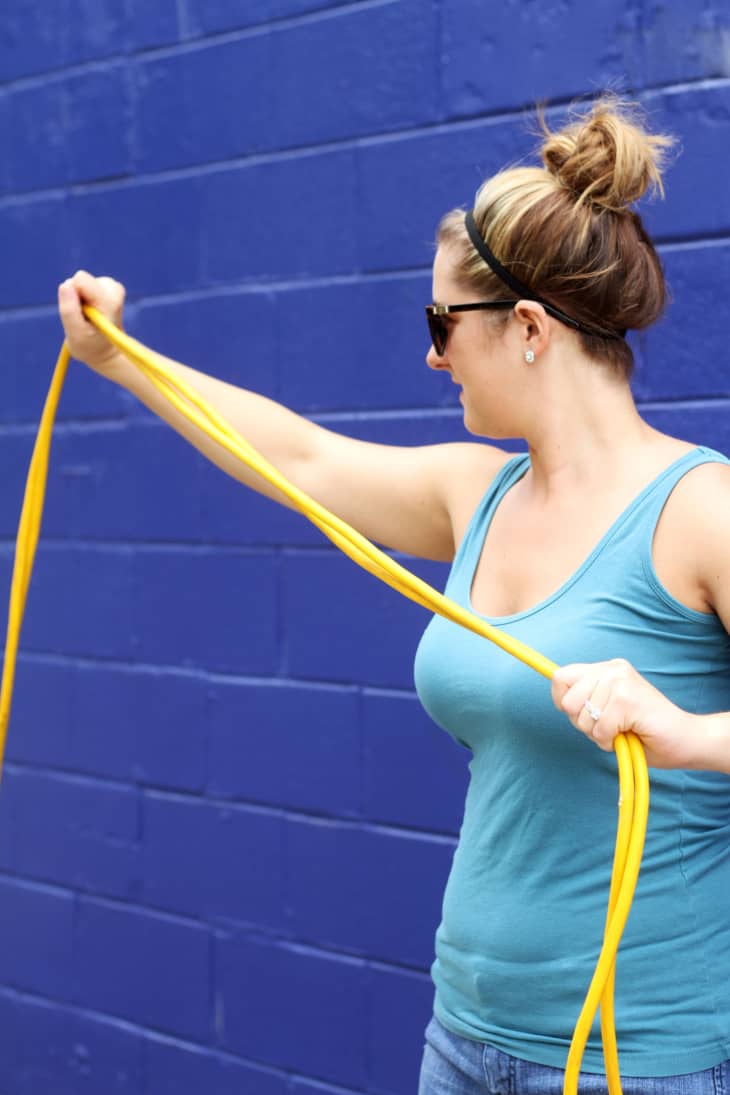
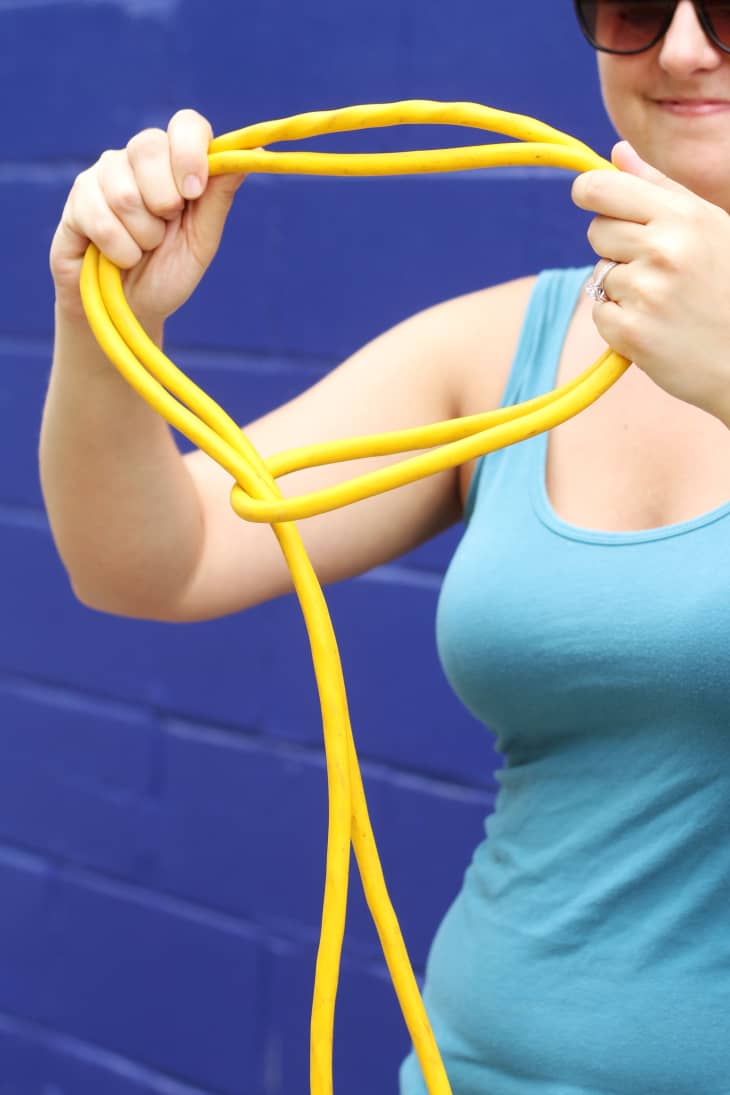
Start at one end of the cord and pull it taut so your hands are approximately 3′ apart. Your left palm should be facing up and your right palm down so that your thumbs are pointing in the same direction.
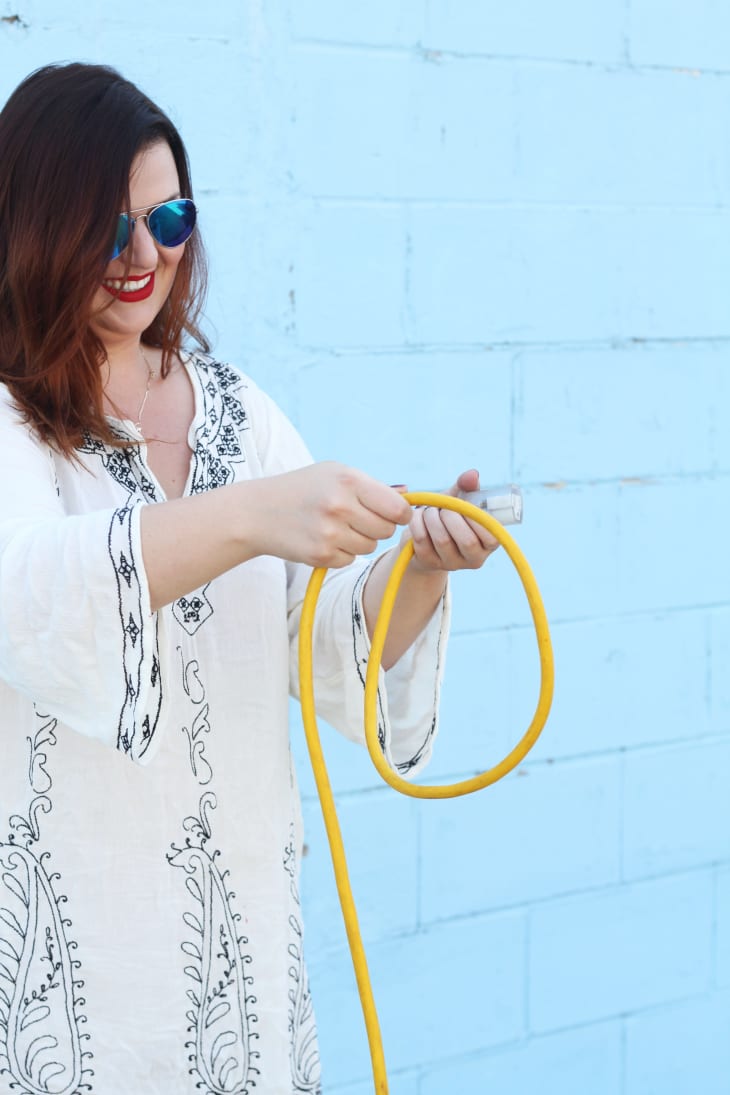
Bring the cord in your right hand over to your left hand.

The cord should naturally loop so it looks like the photo above. If it twists, just twirl the cord around until the twist falls out.

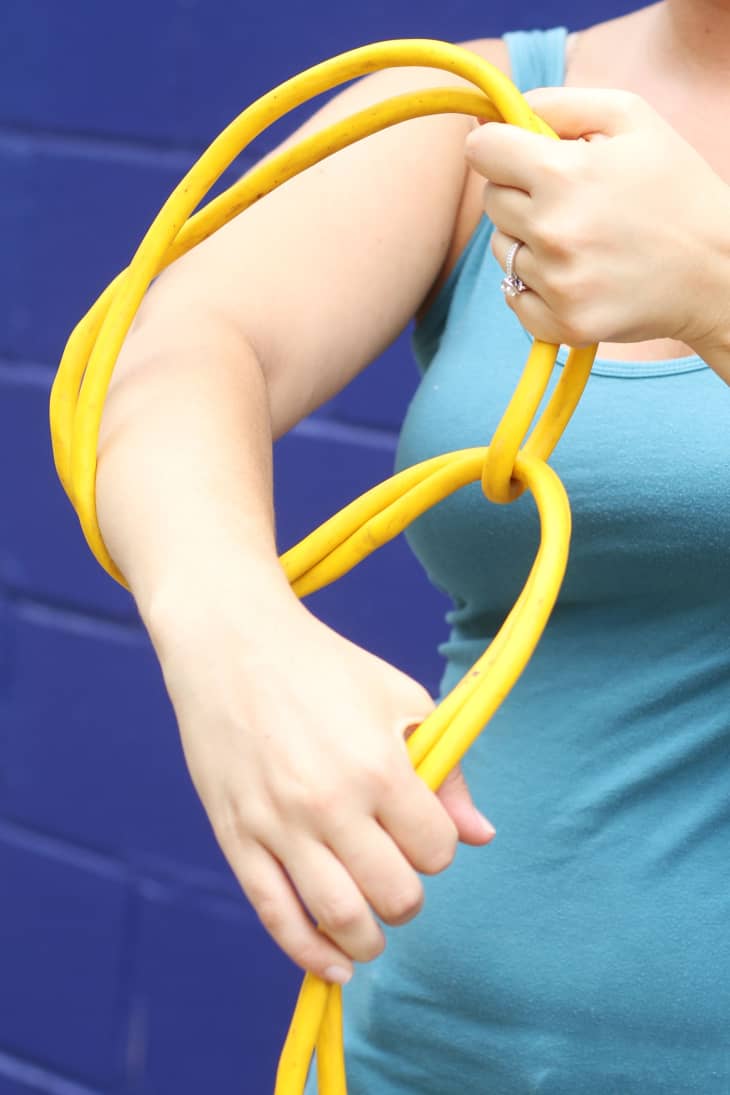
Pick the tail back up with your right hand and hold it palm facing up, so now your thumbs are pointing in opposite directions.

Turn your right hand over, so your palm is now facing down, creating a figure 8 like in the photo above.
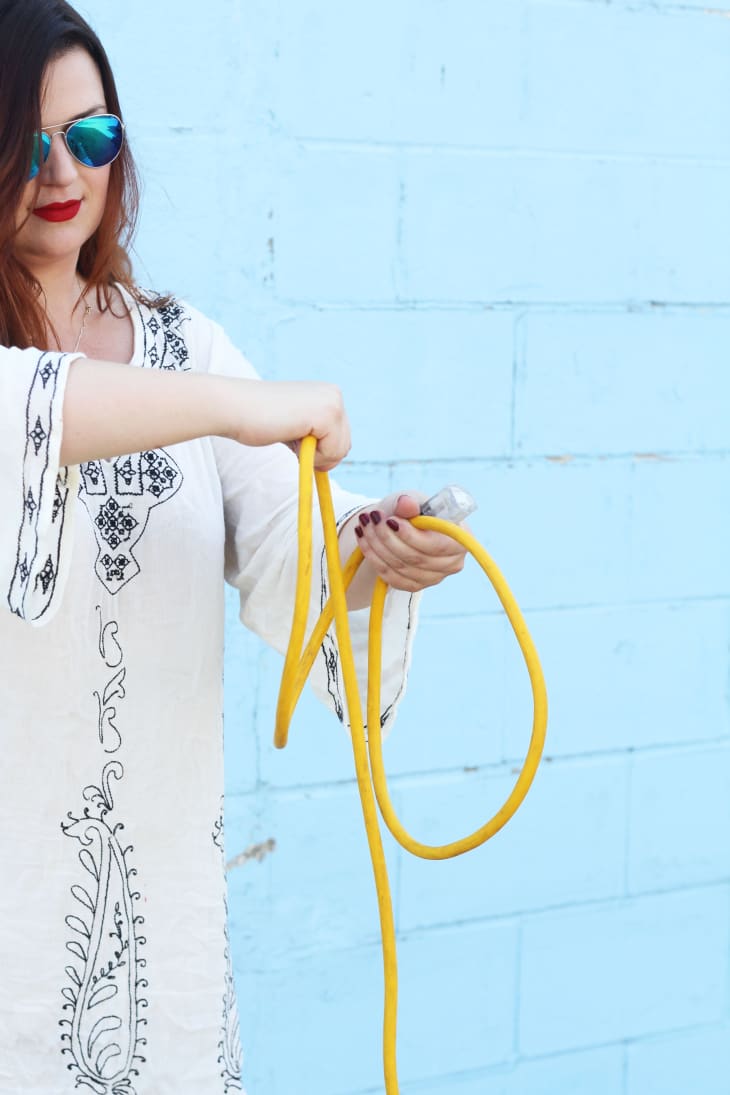
Transfer the cord from your right to your left hand.
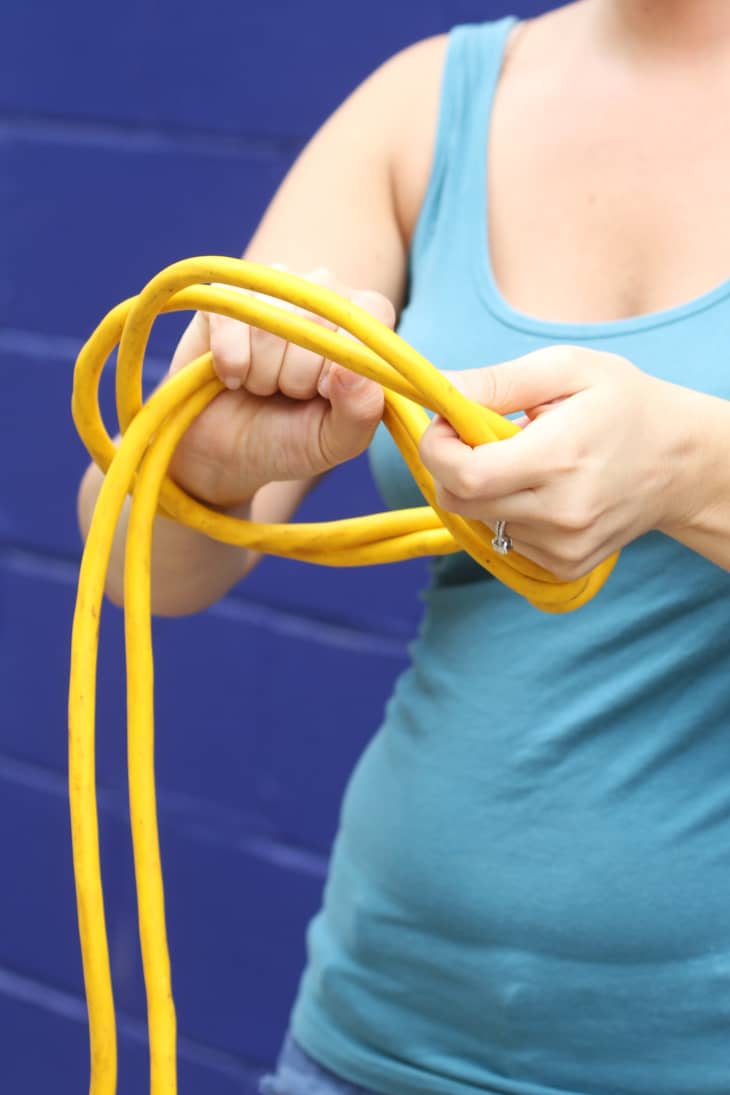
Pull the tail back out with your right hand, palm down, and transfer the cord over, into your left hand.
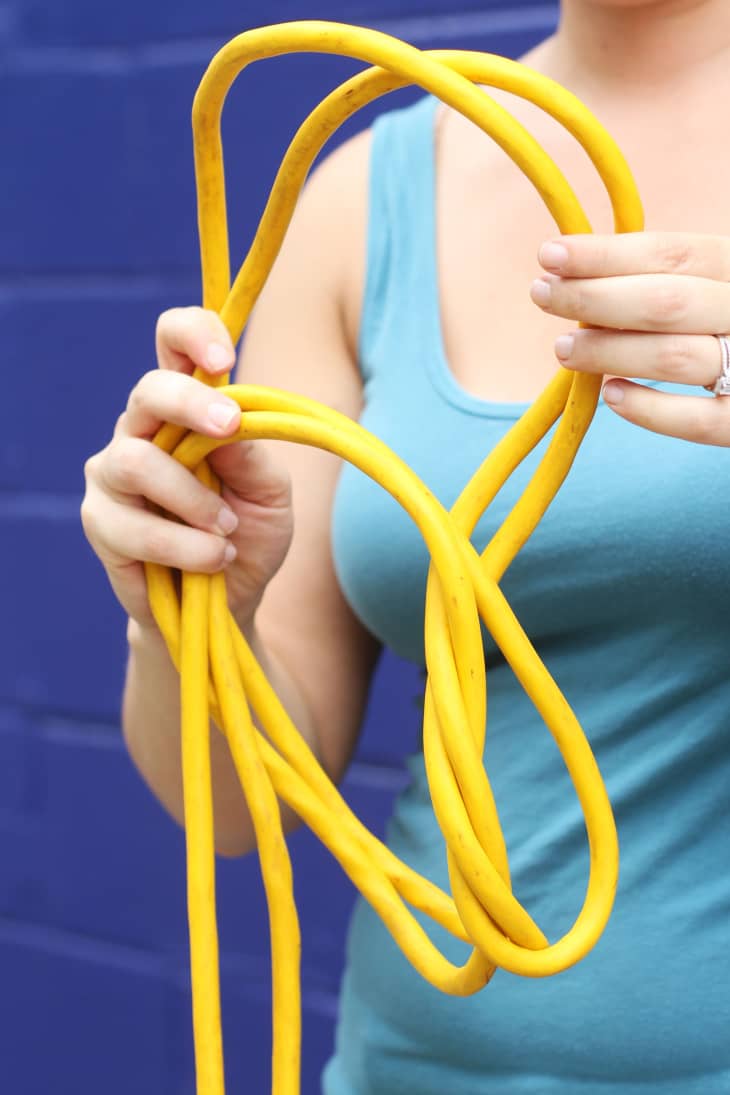
Repeat these steps, winding over for one loop, and under for the next until the cord is completely wound.
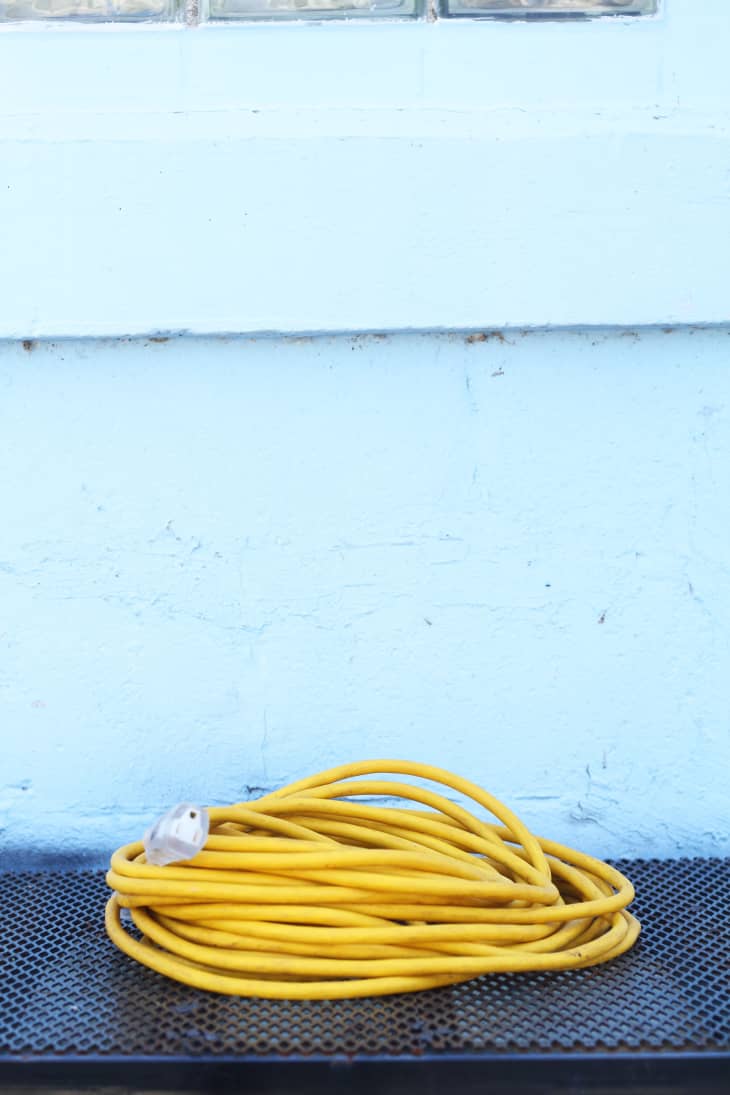
It might not look like much, but this method will allow the cord to uncoil much easier (and without tangles!) than if you had quickly wrapped it around your elbow.
The Contractor’s Wrap
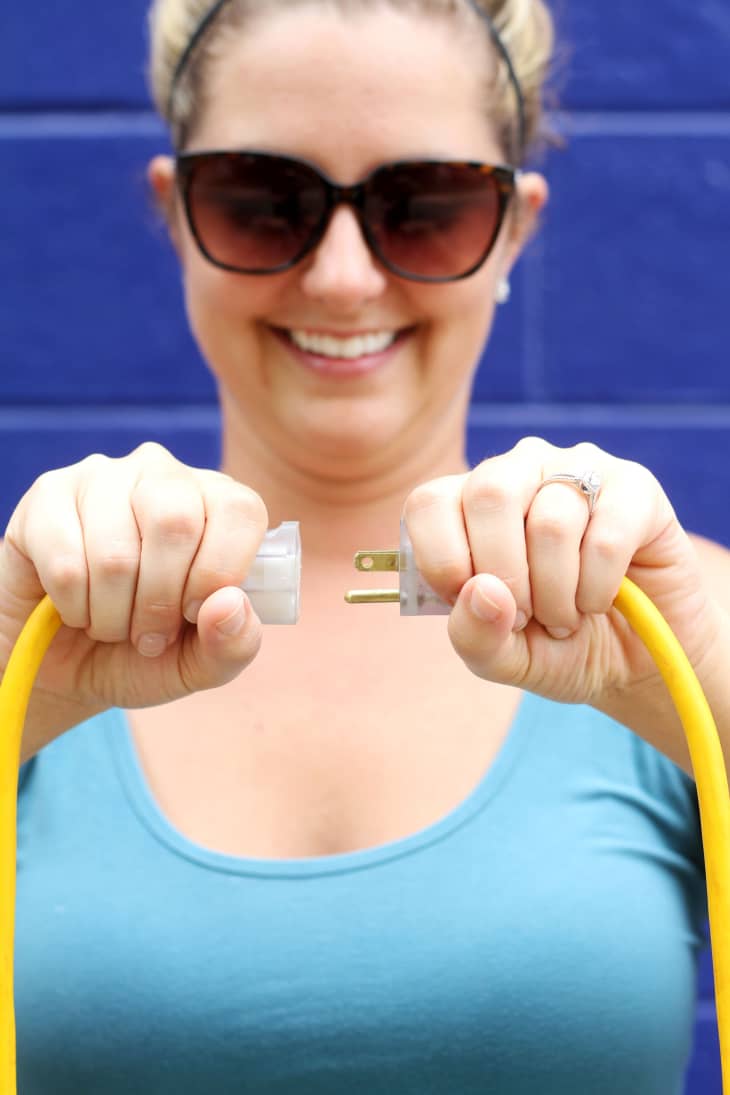
Start by removing any tangles in the cord and plugging the male end into the female end.
After you’ve connected the two ends, work your way down to find the middle of the cord.
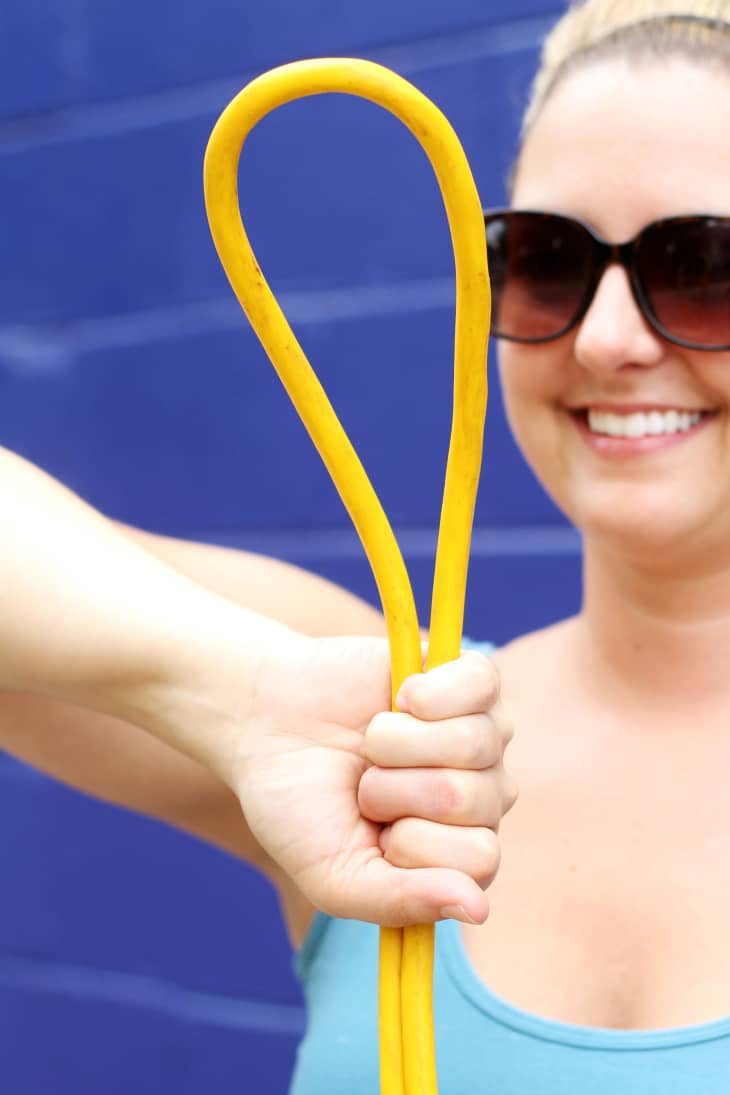
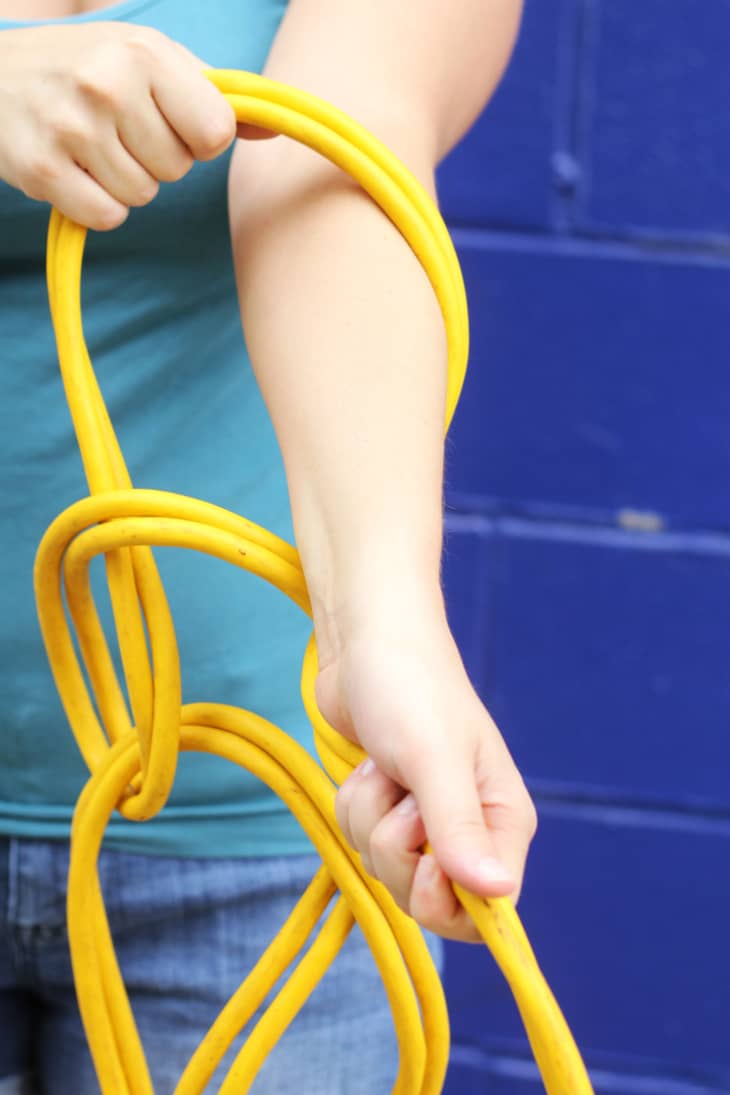
Hold the middle of the cord 6″-8″ from the base of the loop, with your palm facing out, so the loop end is pointing up.
Rotate your hand so that your palm is facing you. The loop end of the cord should now be pointing down.
Keeping a firm grasp on the loop with one hand, use the other to push the tail cords through the loop to the front from the backside (or reach around from the front and pull the tail cords through).
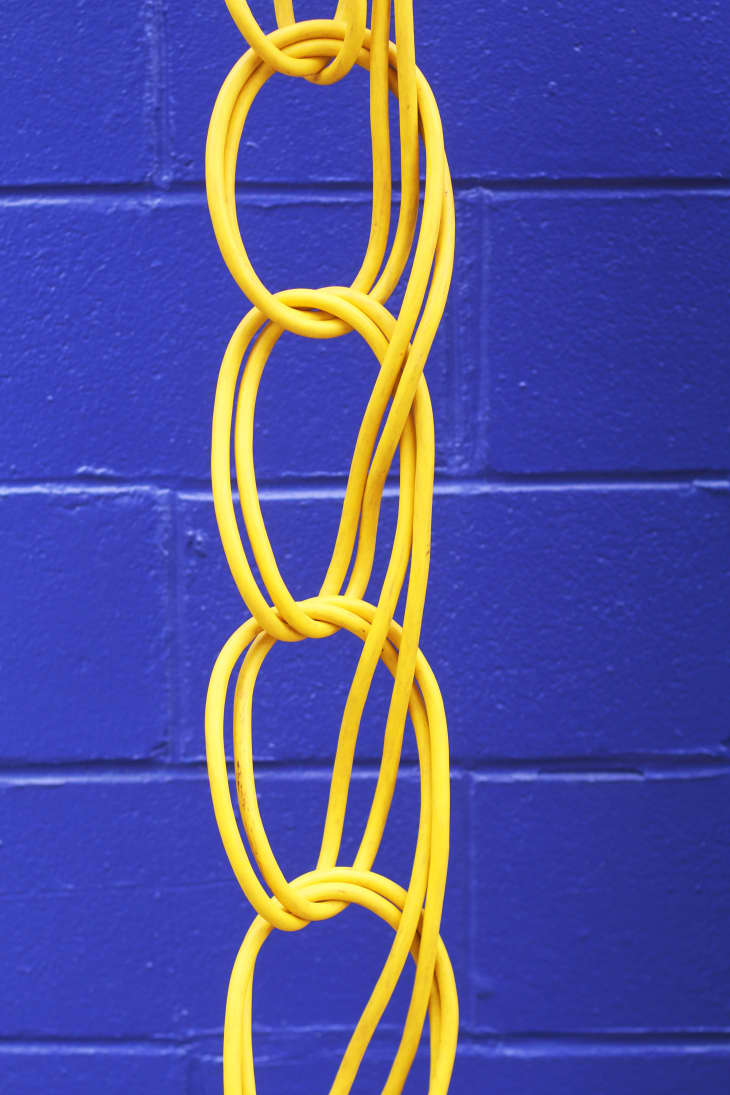
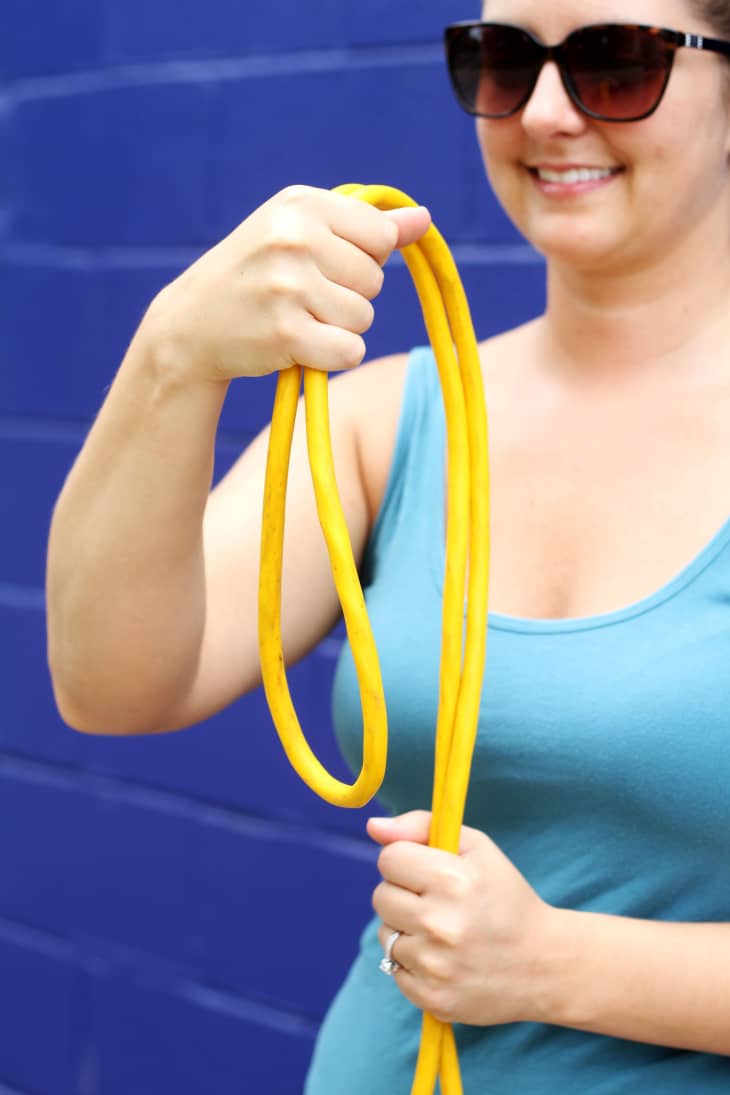
You should now have the first loop in your chain. Adjust the size of the loop to your liking by sliding the end of the loop up or down.
Hold one end of the new loop, and reach through to the front to pick up the tail cords.
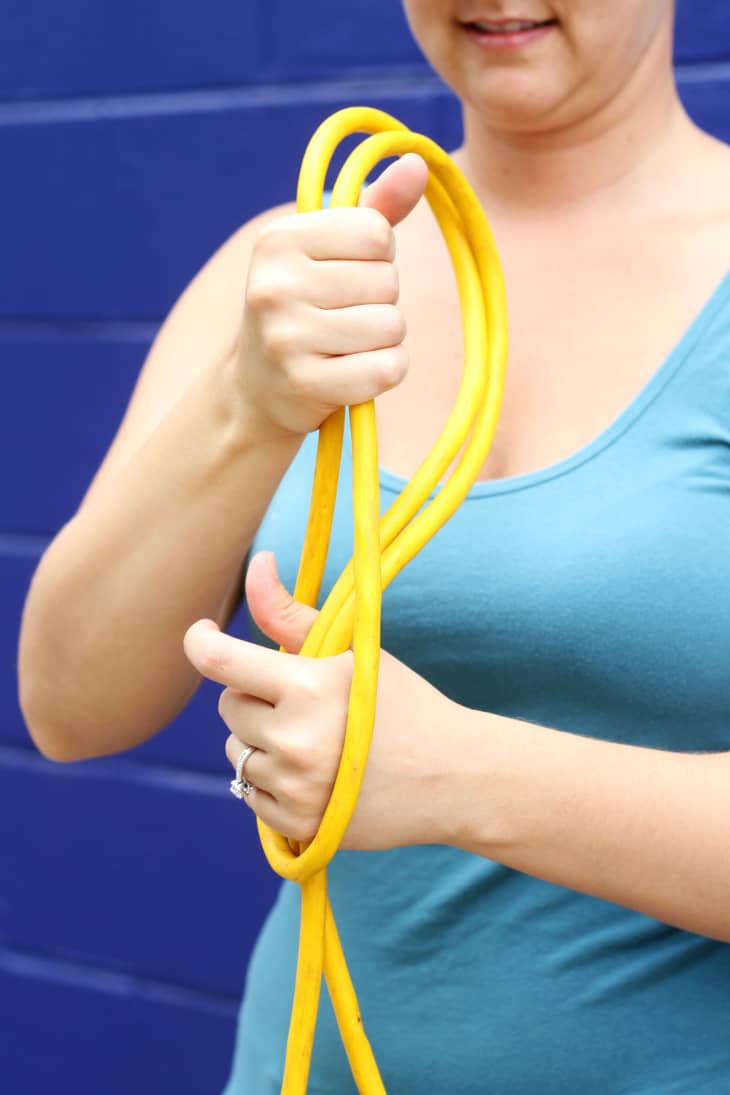
Pull the tail upwards so that it sits about 6″-8″ above the first loop to create the second loop.
Adjust the cords as you wind so that they stay at even lengths.

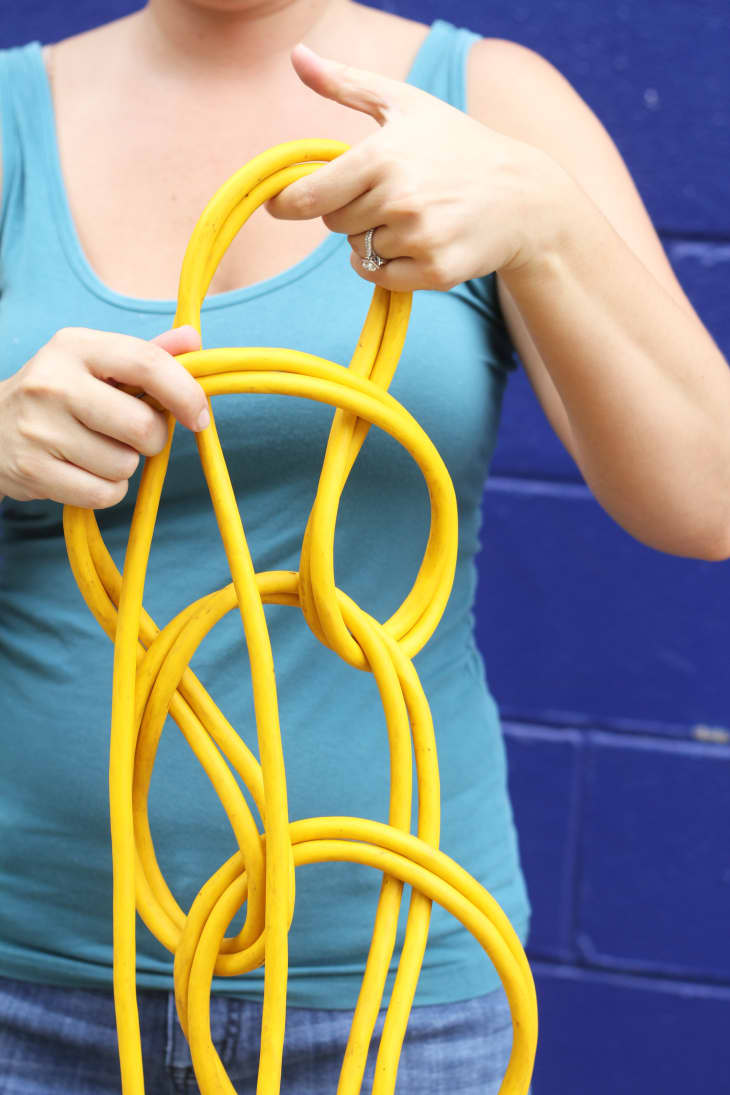
After pulling one loop through the next, reach down, grab the tail, and pull another loop up through the last until you’ve looped the entire length of cord into a chain.
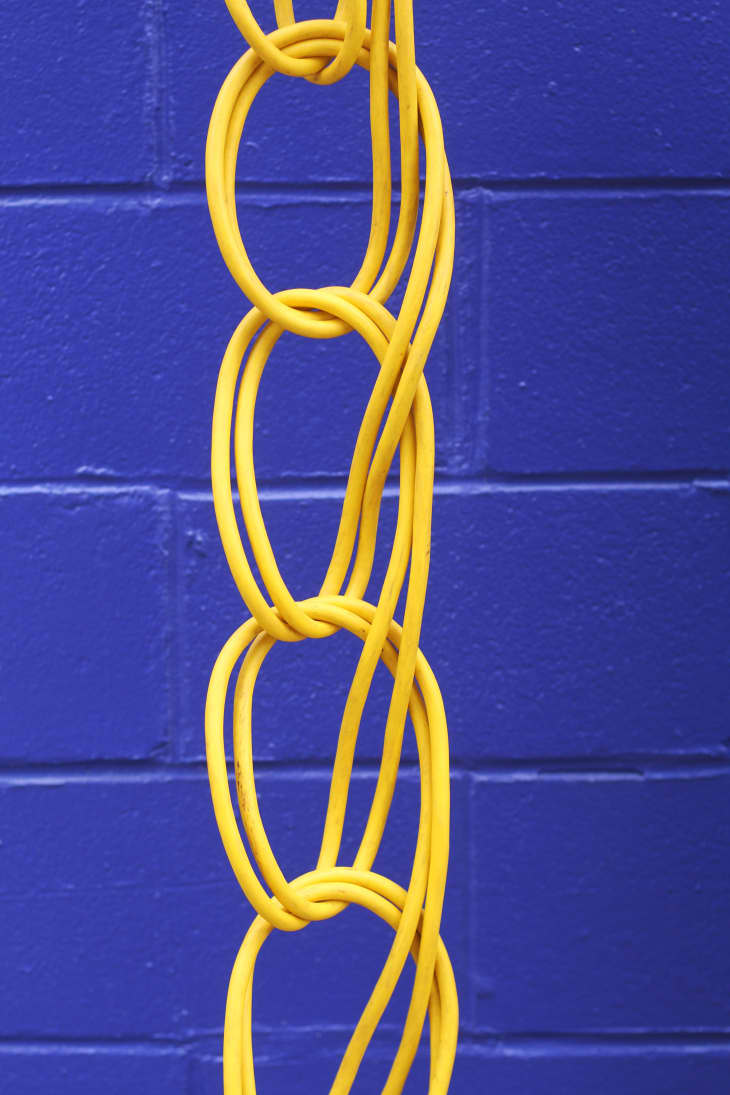
Once you’ve finished, store the cord by hanging it on a wall, or fold it up and place on a shelf.
Have a really great DIY project or tutorial that you want to share with others? Let us know! We love checking out what you’re making these days, and learning from our readers. When you’re ready, click here to submit your project and photos.