

Before and After: IKEA BILLY Built-ins Give a Living Room Tons of Functional Storage

A few great things aboutIKEA hacks? They’re super clever; they’re often wallet-friendly, given the retailer’s low price points; and IKEA pieces serve as great building blocks if you don’t know how to build furniture from scratch. That last point is what Courtney Sjoberg (@thecourtneysjoberghome) loves so much aboutIKEA BILLYs, which served as the foundation for her new living room wall of built-ins. “I didn’t feel super confident in myself to build full-blown shelves, but I plan on doing that in the future,” she says. In this redo, “I wanted to challenge myself as Construction Courtney (that’s what I call myself),” she says.
Construction Courtney grabbed her drill, circular saw, miter saw, some paint, fasteners, caulk, and, of course, safety goggles to make it happen. It was her first time using the saws. “I was quite literally terrified of using a saw,” she says. “But one night I just ordered both of them from Amazon and decided I was going to go for it.” Not to mention, the living room was begging for the built-ins.
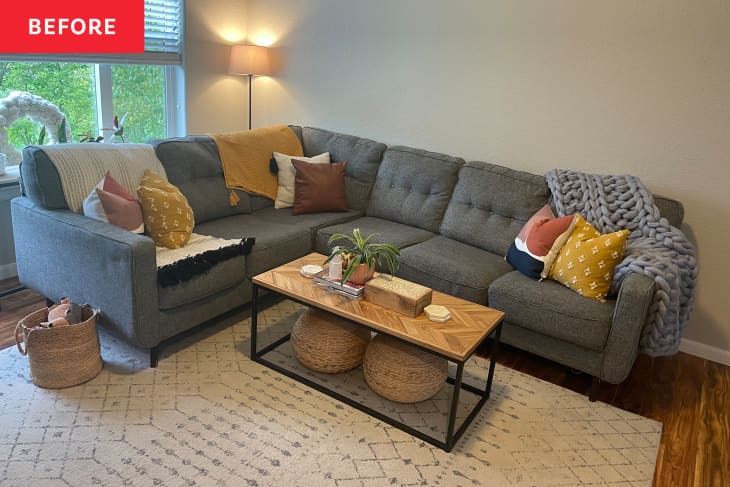
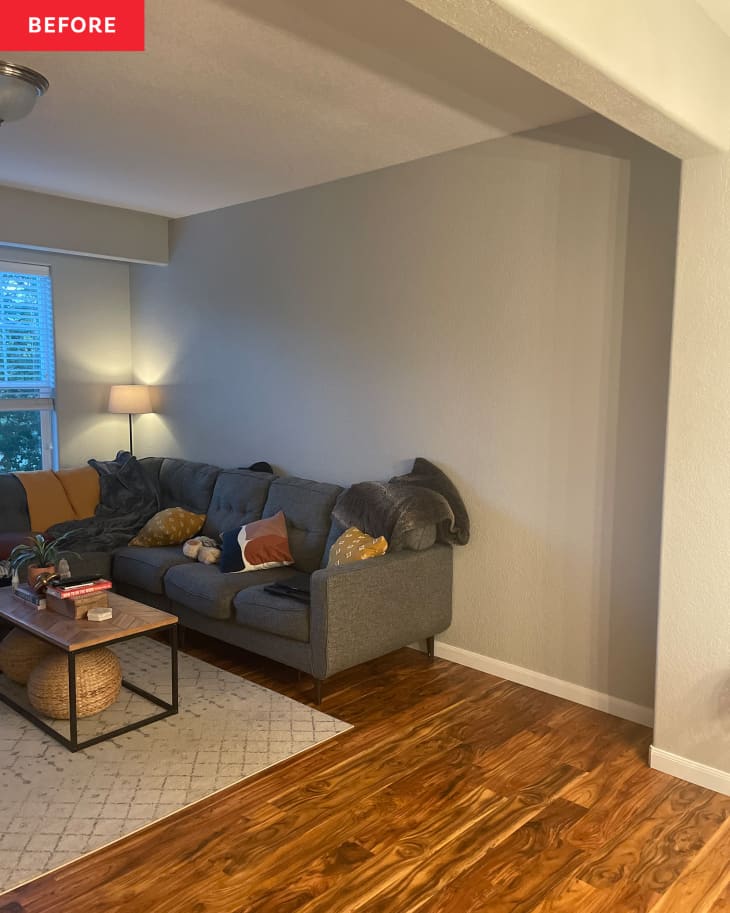
“When I moved into this house, it was very 2000s,” Courtney says. “Brown, boring, outdated — and to top it all off, this space has zero storage. You have to either go upstairs or downstairs to store many items. I have a lot of books, and things that I wanted to keep on the main level, so I decided that creating some built-ins would be my best option for a functional and beautiful space.”

The first step in the built-in process was measuring to figure out how many shelves were needed. Courtney learned she’d had room for four BILLYsplus extenderson the top to make them taller. The second step was assembling the shelves. Pro tip: Courtney flipped the backs of the shelves so that the raw “wood” side faced front because that would be easier to paint.
From there, Courtney created a platform for the shelves to sit on — one of the most crucial steps of the project for making it look built-in, she says. She built that out of 2x4s and plywood from Home Depot, put the bookcases on top once the platform was securely fastened to the wall, and also bolted the backs of the bookcases to the walls.

一旦考特尼的四个比利(加上填充剂)atop the base, she made a frame that connects the tops of the shelves to the ceiling. She then added wooden boards and trim to the front of the frames and in between the bookcases for a seamless look. Courtney says another crucial step in the process was caulking. “To make it look super custom, fill in all the holes that the IKEA shelves came with,” she advises. It takes a lot of steps, and being meticulous is going to create a better end result,” she says.
She then caulked and painted everything white (color-matched to the doors). In part, the white paint choice was to avoid having to paint the doors, and in part, it was because she had timelessness in mind. “We’re not going to live in this house forever, so everything that I’m doing in this house, I’m trying to add value that other people will like,” shesaid on Instagram.
Then, Courtney added her doors and decorated the open shelving. Down the line, she might add some sconces up top, too!
But she’s super proud of her results as they stand now, and she’s proud of the steps it took to get there. “Honestly, using the saw was really fun and super empowering,” Courtney says. “Sometimes I just sit on my couch and stare at [the shelves] because I’m so proud that I did that.”
Courtney’s project total was $2,500 and added so much storage — plus style — to her living room. “I love how much life it’s brought to my main floor,” she says. “I renovated my kitchen about a year ago, and it’s on the other side of this main floor, and this makes the room feel complete.”
Inspired?Submit your own project here.