

Inside or Outside: Which to Choose When Starting Plants From Seed


Inlesson seven我回顾了你开始加尔省的利弊en from seeds or starts. If you’re feeling ambitious and want to start all (or at least a few) of your plants from seed, the question is:should you start them indoors or outdoors?
Well, that depends on when you’re getting started and how long your growing season is. Refer to ourprevious lessonondetermining your first and last frost datesand let those guide you when choosing the appropriate seeds for the season you’re in.
When in doubt, always check your seed packets for instructions, as they’re a valuable source of information for learning when to set out your seeds, what kind of soil they like, how deeply to sow them, and how long they take to germinate and grow.
Starting Seeds Indoors vs. Outdoors
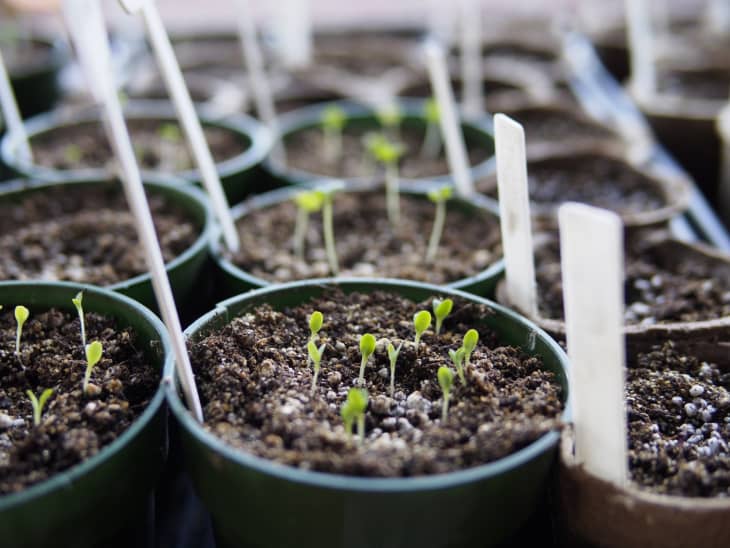
Indoor Seed Starting
The Good:Indoor seed starting gives you the most control over your seedlings. You can easily track the germination rate of your seeds, and give them more moisture or more warmth as needed. In a contained environment, seedlings are less prone to pests and diseases.
The Bad:Indoor seed starting requires a decent amount of space in a fairly warm room and, at the very least, a sunny window that’s preferably south-facing. If all you have is a cold, dark basement, which necessitates the need for an indoor grow light system, you’re probably better off buying seedling plugs or starter plants, or waiting until you can sow your seeds outside.
Outdoor Seed Starting
The Good:Outdoor seed starting is quick and simple, provided your soil has been prepped. Whether you’re sowing all your crops in neat and evenly spaced rows, or broadcasting handfuls of flower seeds over a wide area, it’s a natural way to garden and lets the seeds decide when to sprout.
The Bad:Outdoor seed starting can be finicky and unpredictable if you’re not diligent about watering, the weather doesn’t cooperate, or a critter decides to dig up your freshly seeded beds. You’ll also need to keep a close eye on weeds that may compete with seedlings in the first few weeks.
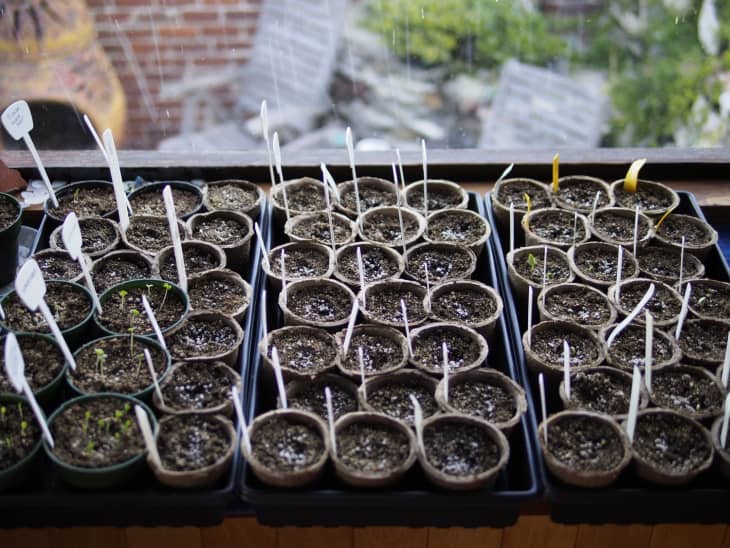
How to Start Seeds Indoors
Make sure you clear some space in front of a sunny window that receives at least eight hours of light per day for your seed starting pots.
Supplies Needed
- Seeds
- Seed starting mix
- Large container for mixing
- Small containers for seeding
- Plastic plant tray, baking sheet, or other suitable “saucer” for drainage
- Plant markers
- Fine-mist spray bottle
Instructions
- Pour your seed starting mix into the large container and wet it thoroughly. You want all the water to be absorbed and the mix to be moist before you start.
- Scoop the seed starting mix into each of your small containers, leaving about 1/2 inch at the top, and place the small containers in your plant tray.
- 撒上几颗种子,种子开始(一个组合bout three to four if they’re large, or a hefty pinch if they’re small). Repeat with the remaining containers and seeds. Don’t forget to label each container!
- Following the seed packet instructions, cover the seeds with seed starting mix. As a general rule of thumb, seeds should be covered with a thin layer equal to their height, anywhere from 1/8 inch to 1/2 inch or more. Some seeds don’t need to be covered at all, as they need light in order to germinate, so simply press them into the seed starting mix.
- Tamp down gently on the seed starting mix with your fingers (or the back of a spoon) and thoroughly mist the surface with your spray bottle.
- Place the plant tray, with all of your newly seeded containers, in a sunny window in a warm location. Keep the seed starting mix evenly moist until you’re ready to transplant the seedlings into your garden. Use the spray bottle to avoid dislodging the seeds or damaging your seedlings as they grow.
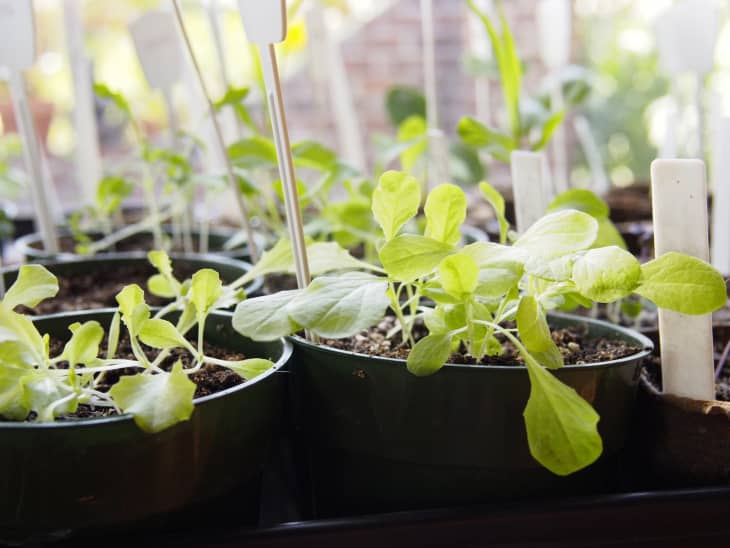
Hardening Off Your Seedlings
Before you transplant your seedlings outside, they’ll need to go through a simple process of “hardening off.” Hardening off is garden lingo for acclimating your plants to the outdoors so they can survive sun, wind, cold, and other elements they weren’t exposed to while growing indoors.
You can start to harden off your seedlings once they’ve grown at least two to three sets of leaves. At that point, they’re mature enough to move outside.
- About 7 to 10 days before your seedlings are ready to be transplanted, take them outside and leave them in the shade for a few hours in the morning or afternoon. Bring them inside before nightfall. Repeat for the next day or two. If the weather is exceptionally windy or cold, wait until it clears up before attempting to harden off your seedlings.
- After their two- to three-day introduction to the outside world, place the seedlings in dappled sunlight for a few hours in the morning or afternoon. Bring them inside before nightfall. Repeat for the next day or two.
- Next, leave them outside all day in direct sun and bring them inside before nightfall. Repeat the next day. If the weather is exceptionally hot, shelter your seedlings during the harshest part of the day or move them into partial shade.
- Finally, let your seedlings live outside all day and all night until they move into the garden.

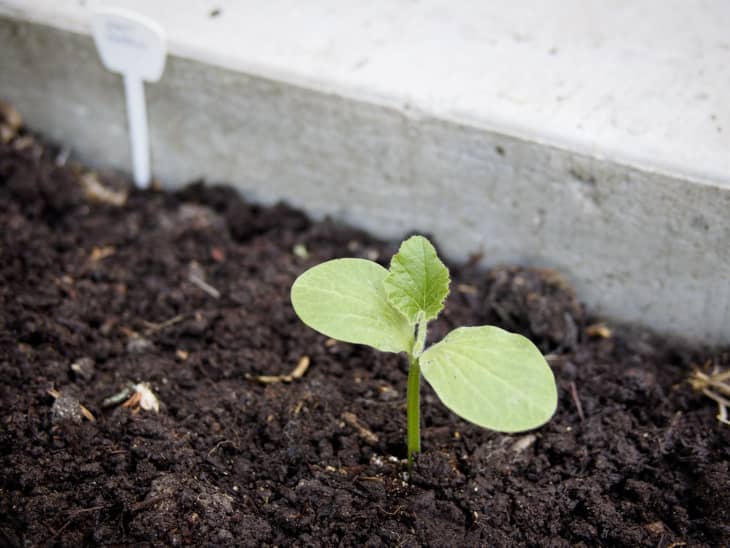
How to Start Seeds Outdoors
Always start with properly prepared soil, whether you’re growing in the ground, in raised beds, or in containers.
Supplies Needed
- Seeds
- Trowel, weeder, hand hoe, or other tool for making furrows
- Plant markers
- Hose with gentle spray nozzle, watering can, or sprinkler
Instructions
- Wet the soil thoroughly until the first few inches are drained and saturated.
- Refer to your seed packets for instructions on how deeply to sow your seeds and how far apart to space them. Using your preferred tool, make a shallow furrow in the soil.
- Drop the seeds into the furrow at the recommended spacing.
- Sweep the soil back into the furrow, over the seeds, and gently tamp down with your tool. Label each row that you seed.
- Lightly water the soil with a gentle spray, being careful not to displace the seeds. You may need to water once or twice a day (depending on weather) to ensure the surface of the soil stays moist until your seeds germinate. As the seedlings grow and their roots become more established, gradually reduce the watering.
Expert Tip: Store your seed packets properly so they last.Ideally, they should be stored below 40°F with less than 10% humidity, but any cool, dry, and dark place (such as a shelf in your closet or a cupboard in your basement) will work. Check out thischeat sheet on seed storage lifefor specific varieties of plants.