

Want a Pro-Level Kitchen Cabinet Paint Job? Never Skip These 6 Steps
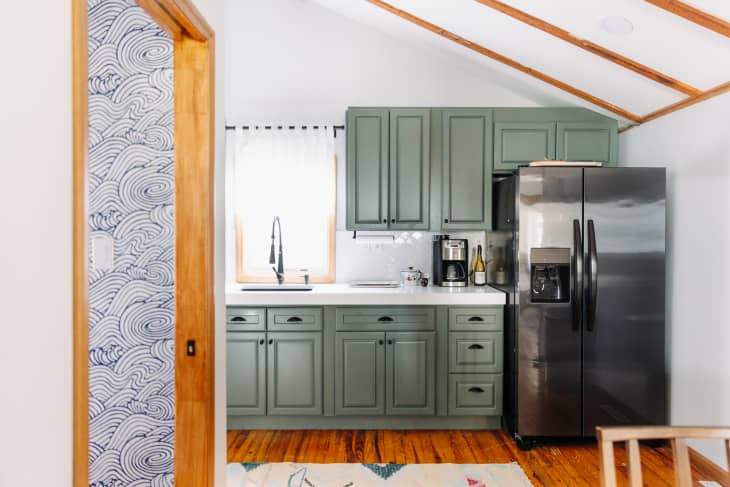

If you’re looking for a way to update your kitchen without having to take on a major renovation, one tip from designers pops up over and over again: paint your cabinets. Paint them bright white, paint them sleek black, or paint them in a2023 trending colorlike terracotta, sage, or maroon. No matter what you choose, it will make a huge difference in the look and vibe of your kitchen — and even though it’s intimidating, it’s a project that’s totally DIYable.
The key to making your DIY kitchen cabinet paint job look like a pro did it? It’s all in the prep, says designer Jenna Pilant ofRoom Bloom Design. Here’s what she does every time to ensure even adherence, a smooth coat, and a durable finish.
Remove the hardware, doors, and drawers.
Taking the doors off their hinges (and then the hinges off the doors, plus any pulls and knobs) involves some upfront work, but it means you will spend less time taping off anything youdon’twant to get paint on. It will also help you keep your roller straight and even to ensure no visible lines later.
Degrease with a hardcore cleaner.
Dish soap is fine, but what’s even better is the hard-core degreaser that’s a standby for Pilant and other pros:Krud Kutter. This cleanser will help remove any lingering dust, grime, and grease that will prevent your primer (and later paint) from adhering to the cabinet surfaces. For next-level surface prep, try thede-glossing version— it helps break down ultra-slick finishes like shellac to give primer a better grip. In both instances, make sure to wipe down and dry thoroughly before moving on to the next step.
Tape off edges with painter’s tape.
Pilant prefersFrogTape, which you can pick up online or at most hardware and paint stores. Apply your painter’s tape to any edges where you don’t want your fresh color, like along countertops or inside the cabinet frames. Go over your tape with the edge of a credit card or gift card so it’s firmly stuck in place.
Prime.
For Pilant’s blue cabinets, she reached for a gray primer, which helps give the new color a bit more depth than your standard white primer would. No matter if you choose a white or tinted primer, though, it’s important that you select something that’s water-based if you’re painting with latex paint (which is also water-based). Trying to mix an oil-based primer with a water-based paint is like, well, trying to mix oil and water.
Use a small 3-inch roller with a low nap for the priming job, and make sure to prime every area of the cabinet that will be painted.
Fill in any dents.
Once your cabinets are primed, you’ll be able to spot any nicks or dents on the surfaces that would prevent a smooth, even paint finish. Use a plastic putty knife to level those withwood filler.
Do a light sanding of the surfaces.
Skip sandpaper, and steal Pilant’s secret weapon: a brown paper bag. A grocery bag has just enough texture in it to sub in for an ultra-fine sandpaper, and will help smooth out surfaces without adding any roughness to the wood that you might create with a too-coarse grit.
Paint.
After all that, it’s time to paint! Use your 3-inch roller to squeeze into small spaces, and make sure not to forget things like the backs of drawer fronts or the insides of the cabinet doors. For your final coat, make sure to use your roller in just one direction — downward — to avoid any paint ridges. Allow at least a couple of days for the paint to cure before reinstalling the doors and drawers to prevent denting or sticking.