

填补一个空白的墙在家里:劳伦的生活Room Art Wall Progress

It’s the first weekend of our newhome project series, and Apartment Therapy blogger Lauren is here to show you her process onthis weekend’s assignment: Filling a blank wall in your home! From Lauren:Some people might appreciate the fact that their small space doesn’t offer much wall space for art, but I’m not one of them. You see, I’m a bit of an art hoarder. A result, I’m sure, of being completely addicted to both Etsy and Pinterest. Thus, I always seem to have a collection of homeless paintings and prints sadly waiting in a stack on my desk, just dreaming of being framed and hung.
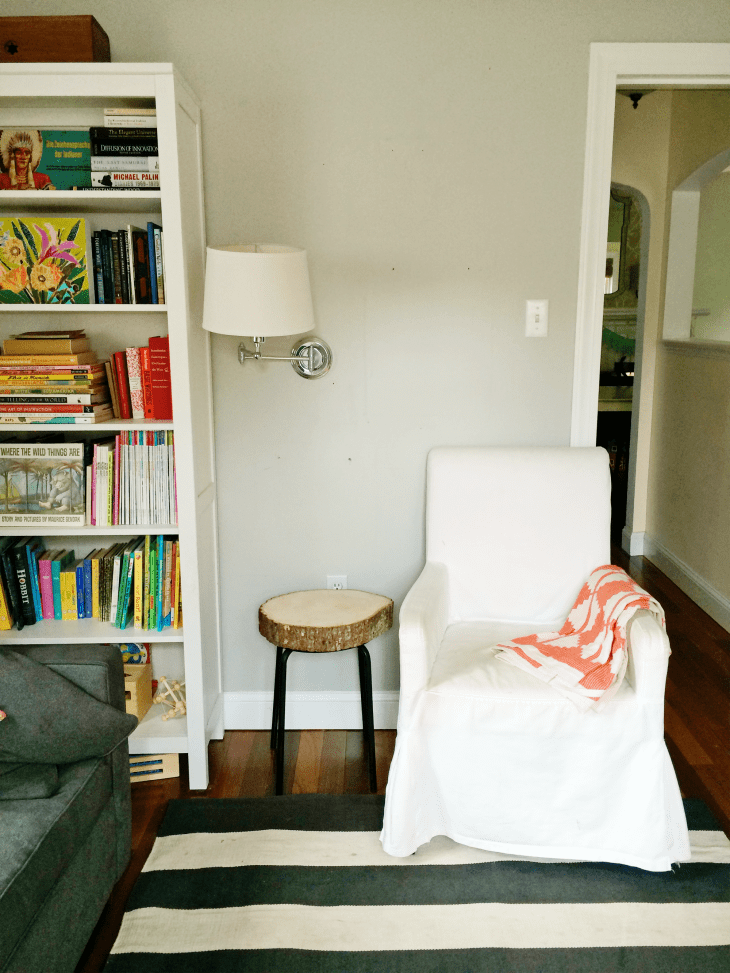
When I sawthis assignment, a space didn’t immediately come to mind — until I remembered the odd bit of wall space between the chair and bookshelf in our family room. Art used to hang here, but I ended up stealing 95% of it to use inanother art wall that I created elsewhere in the space. The wall has a strange layout due to a sconce and light switch that prevents one large piece of artwork from being properly hung. So I decided to cobble together my collection of vagrant artwork and see if I could create another gallery wall of sorts.
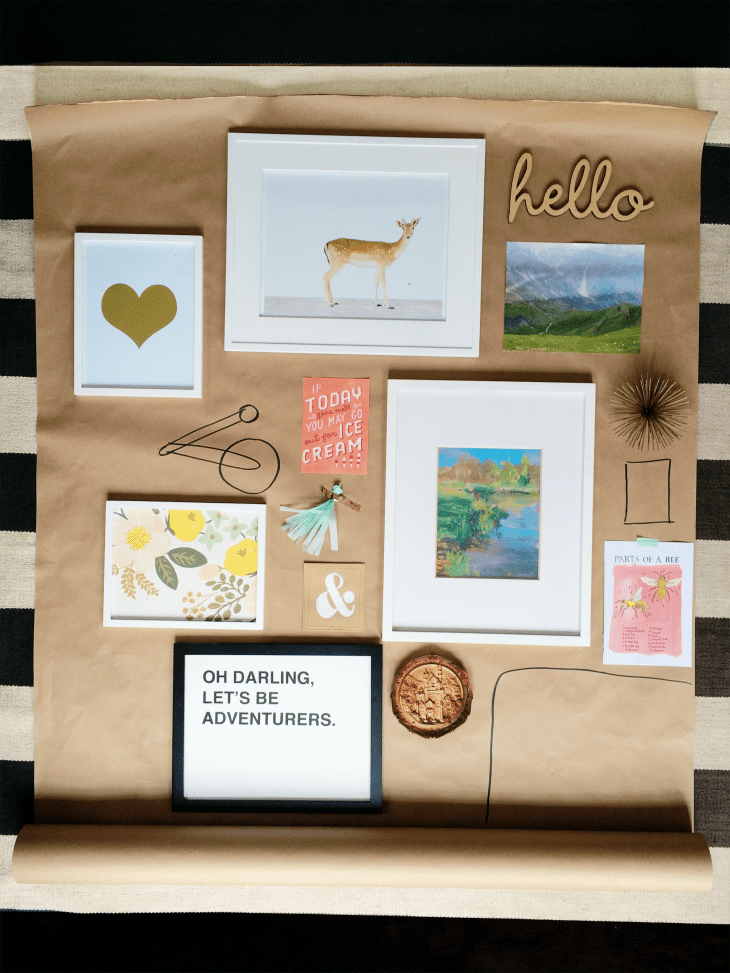
First I measured out the wall and rolled out a large section of craft paper that had about the same dimensions. Next, I went through my pile of artwork and chose pieces that worked well together and that complemented the color scheme of the space.
After purchasing a few inexpensive frames, I began laying the artwork out on the craft paper until I found an arrangement that might work. I used a Sharpie to draw on the furniture items and light fixtures that were already taking up space on the wall. It was all fairly approximate – nothing crazily accurate, but it helped me to figure out the arrangement.
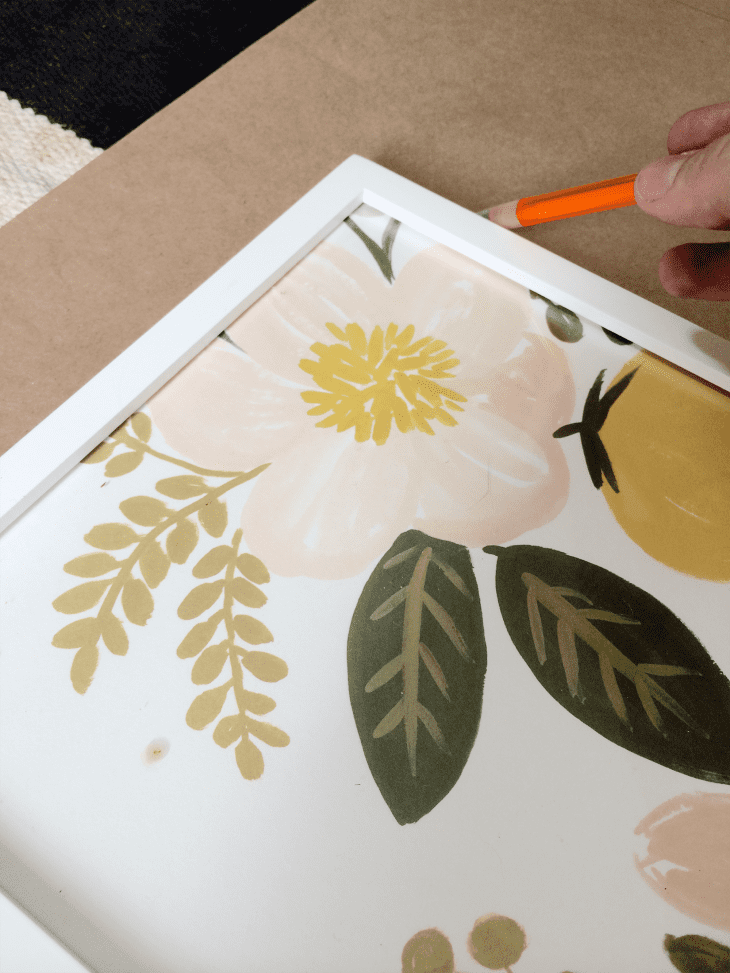
After I found a layout that worked, I traced the frames and prints onto the craft paper, cut them out, and taped the craft paper up on the wall in the same way that I had laid it out on the floor, just to be sure it would work in reality. This also was really helpful when actually hanging the artwork.

To hang the artwork itself, I just used a good ol’ hammer, ruler, level, and nails. A few of the smaller lighter pieces I just hung with washi tape and/or sticky tack. I like to do this a) because I like the look and b) if I want to switch out or rearrange the smaller pieces, it’s very, very easy.
Stay tuned tomorrow for the final result and sources for all of the artwork, and if you’d like to see more of our home, you can visit my personal blog,A Lovely Lark!
SHARE YOUR PROJECT!We’d love to see “before” or “in progress” pics of your project anddefinitelywant to see the “after”! Tag photos on Twitter, Instagram, Pinterest, Facebook and Tumblr with#atweekendproject.We’ll be looking for you!