

Before and After: A $200 Redo Turns a Bare TV Zone into a Luxe-Looking Focal Point

Areas that have TVs can be some of the trickiest to design. You want to create a space that puts theTV in a prime location for viewing, and that allows for plenty of seating around it, but you also want to make sure that everything looks good when the TV isoff, too.
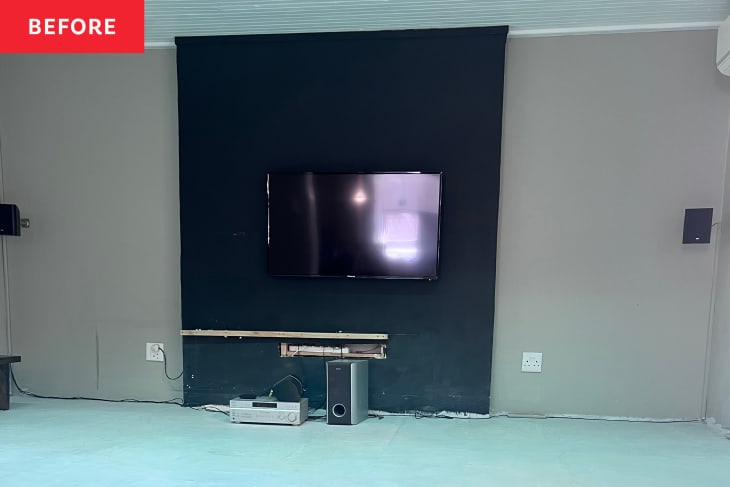
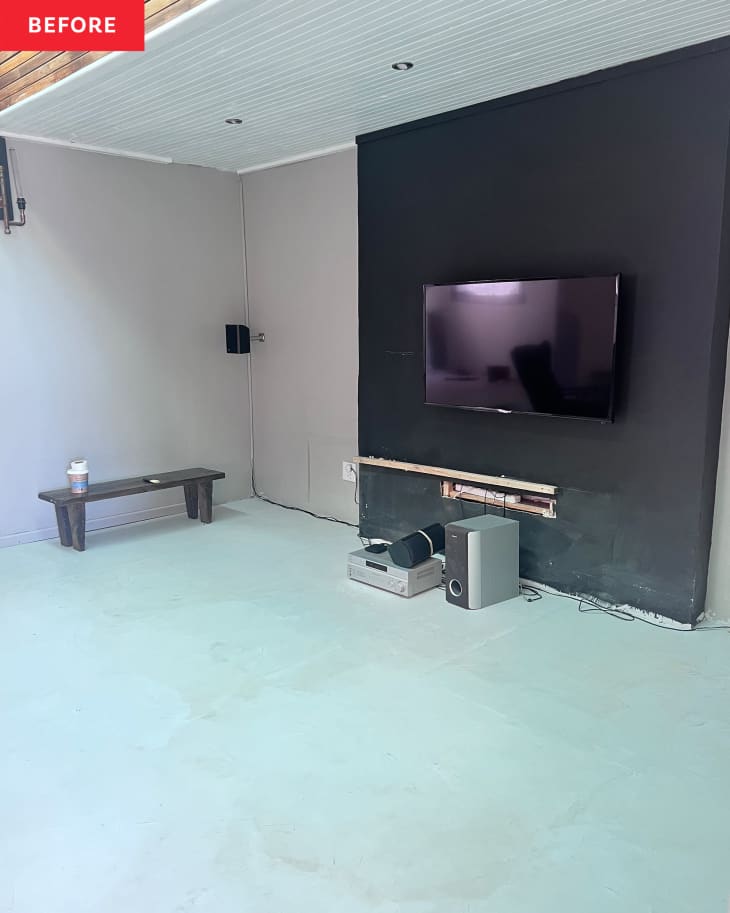
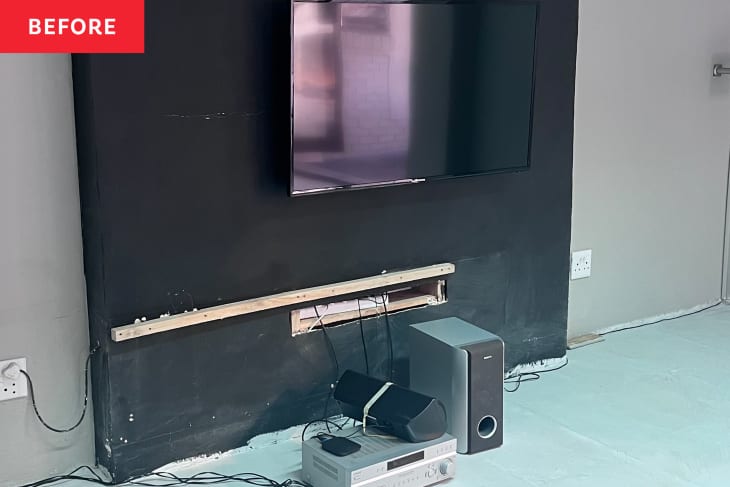
DIYer Ndandu Khavhadi (@justamomwithadrill) knows that balancing act well, and managed to strike all the right notes with her own newly redone TV wall. Her “before” photos show the space as it existed in between stages, after she tore out the previous media cabinet she’d DIYed a few years ago but before she’d decided what to do next.
“I wanted a space we could all enjoy as a family,” Ndandu says. “Having three kids, it was not ideal to have all the electronics and cables all over the place. My husband loves his sound and gadgets and I’m always trying to find ways to hide everything and keep a clean look.”
Ndandu knew she wanted the new design to include the bump-out that the TV was already positioned on; she also knew she wanted the new TV stand to feature a curved shape. So she set to work transforming her 1980s TV wall, starting by repairing any holes in the wall before skim coating and sanding it smooth.
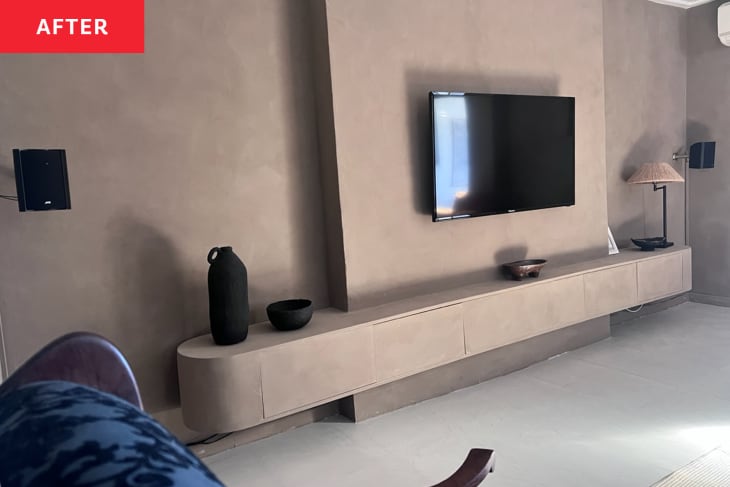
To build her new curved TV stand, Ndandu used a router to cut arches onto both ends of a piece of MDF, which would create the top of the stand; she did the same to create the bottom. As for the sides, Ndandu used something called the “kerf bending method,” which required her to cut lots of small notches into her MDF to help give the material more flexibility so she could wrap it around the curves at each end of the TV stand. “I had only practiced to do the kerf bending technique once on a small piece of wood a while ago,” Ndandu says. “Doing it on an actual project was a bit scary for me because I did know how it would turn out.” Thankfully, all went according to plan!
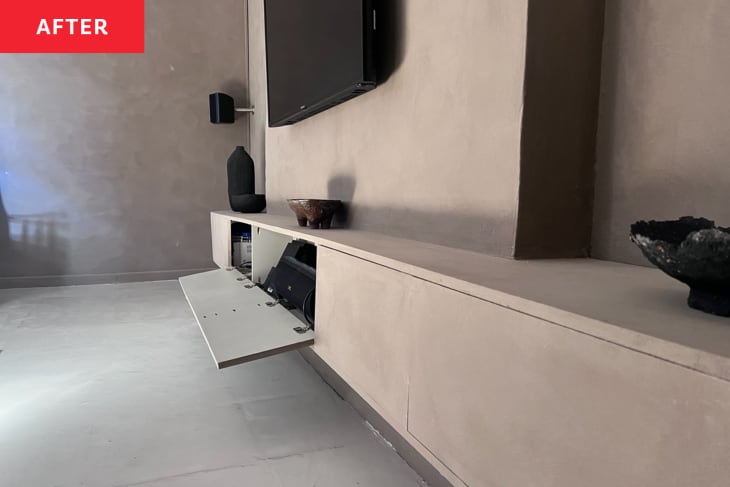
Ndandu added doors to her stand but didn’t want to alter the sleek appearance of the front with hardware. Instead of adding knobs or pulls, she installed push-to-open mechanisms that stay hidden from view. Then, she attached the stand to the wall and masked any seams with drywall tape and drywall compound to give it a built-in look.
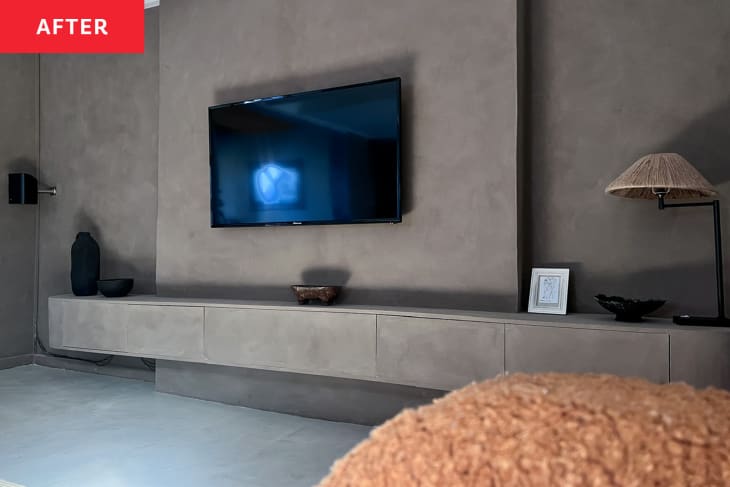
Finally, Ndandu painted both the stand and the wall in a matching tan shade. She made sure to use an oil-based primer on her MDF first, to help give her paint some grip. The suede finish paint she chose (African brandFired Earth’s Suedette paint in Fresh Flannel) gained even more interest and texture with a crosshatch painting technique, which gives the whole wall and TV stand the look of hand-finished plaster. While she loves the look Ndandu does warn that it comes with some setbacks: “The paint is slightly rough to the touch and not so easy to clean,” she says, adding that if she were to do it again she might opt for something with a similar look but a smoother finish.
Even so, Ndandu says, she’s happy with the results of her DIY, which only cost about $200. “It’s simple and functional,” she says, especially with the seamless look of the hardware-free cabinet fronts. “I ran all the cable in there and hid all electronics. No clutter truly makes me so happy.”
Inspired?Submit your own project here.