

Modern Chic Halloween Decor: DIY Moon Garland
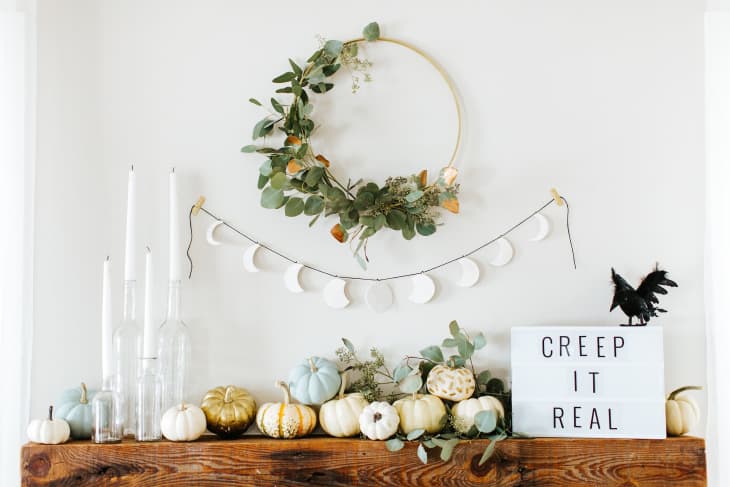

For the minimal and modern decorator, Halloween decor doesn’t have to scare you. Go for muted tones and more understated details, like this easy to make a celestial moon garland that can easily stay up way past the last trick-or-treater.
For more content like this follow
What You Need
Materials
- Air dry clay in white
- Circular cookie cutter
- 擀面杖
- Parchment paper
- Gold paint
- Toothbrush
- Gold jump rings for jewelry
Instructions
1. On a piece of parchment paper, roll out your air dry clay using a rolling pin. The clay should be about 1/4-inch thick.
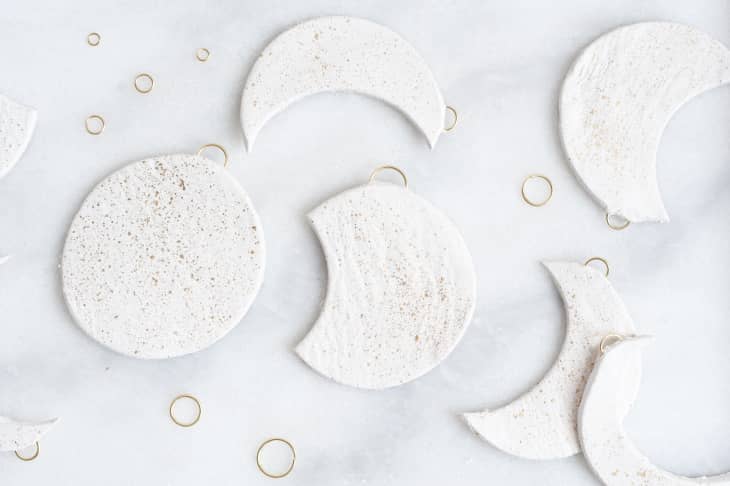
2. Use your circular cookie cutter to cut out 8 or more circles.
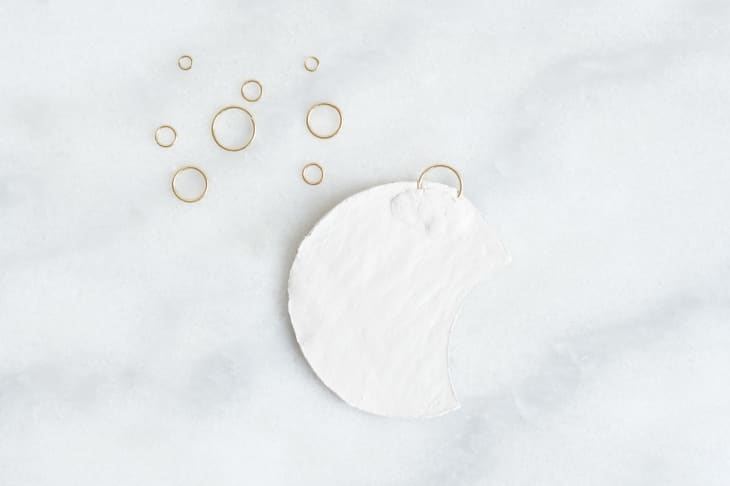
3. Use the circular cookie cutter to then cut the whole circles into crescent moon shapes, each showing a different phase of the moon.
4. Flip each moon over and carefully attach a jewelry ring to the top of each. Press the ring gently into the clay. Then, with a bit of water, press a small clay scrap on the back of the moon to secure the ring. You can smooth it out by adding a little more water (I just dipped my finger in a cup of water and rubbed it out until smooth).
5. Set the moons aside to dry completely.
6. Once they are dry, you can dip a toothbrush into a small amount of gold paint and “spray” each moon by brushing your finger along the bristles near the surface of the clay. This will give it a nice celestial look.
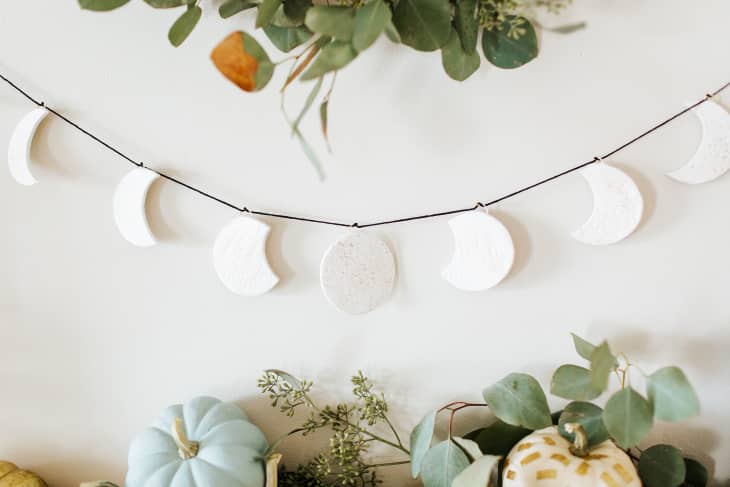
7. Attach each moon (in order) with string, and hang above yourmantel, on your front door, or in a Halloween wreath.

*Styling byHayley Sheldonin collaboration with Arlyn Hernandez; special thankstoSocial Housefor sharing your beautiful cottage with us for this shoot.
Have a really great DIY project or tutorial that you want to share with others? Let us know! We love checking out what you’re making these days, and learning from our readers. When you’re ready, click here to submit your project and photos.