

Olivia’s Caribbean-Inspired Nursery


Name:Olivia
Location:Arlington, Virginia
Room Size:143 square feet
When Kimi and George found out they were having a girl, they made one thing clear: the nursery wouldn’t be pink.
“We wanted to have fun with the room and, like the rest of our home, we wanted it to represent things that are meaningful to us as a family,” said Kimi. “We are both from the Caribbean — George is from Puerto Rico and I’m from the Dominican Republic — so an island or beach theme was our first thought.”
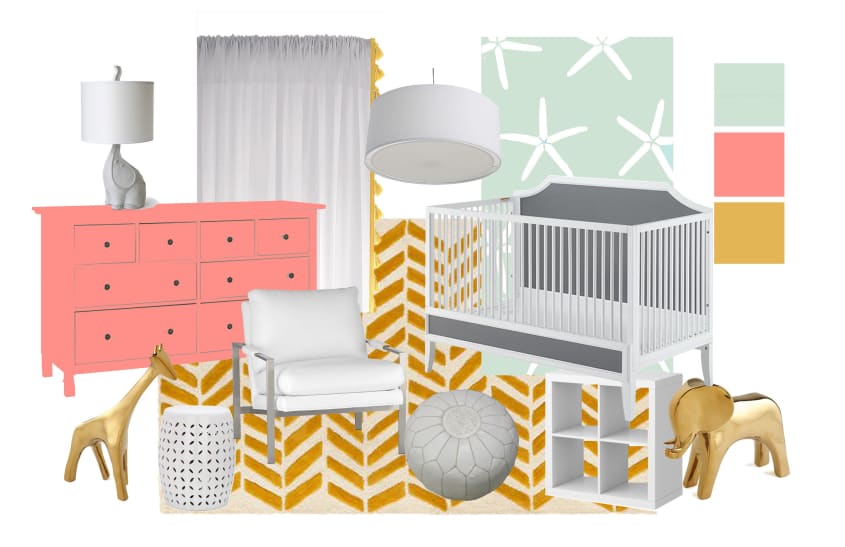
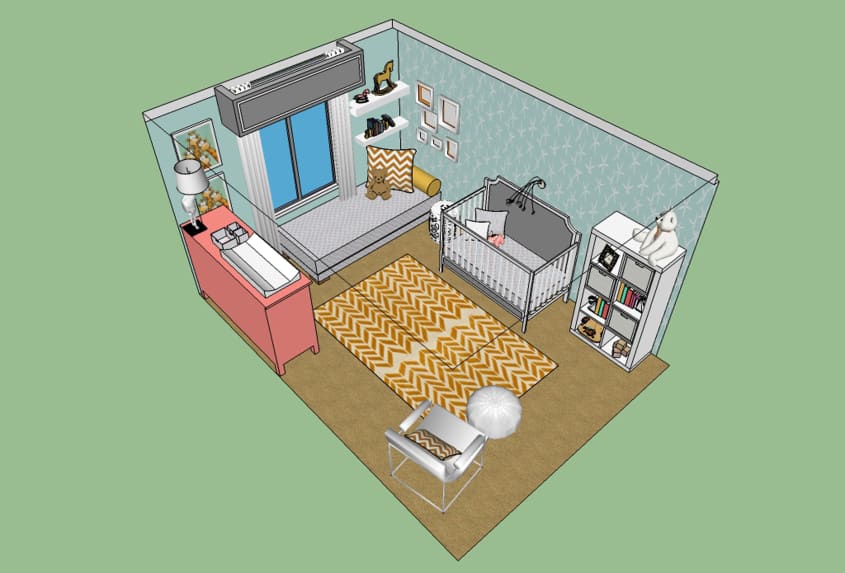
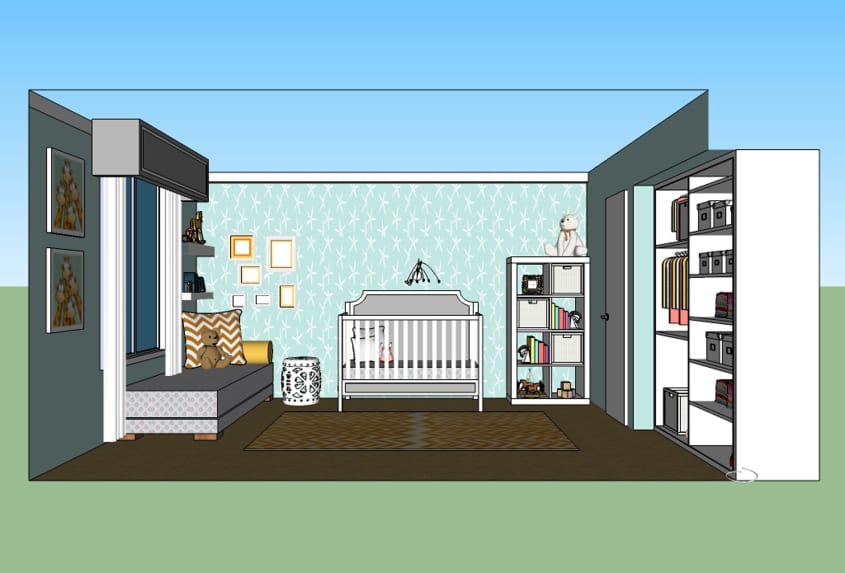
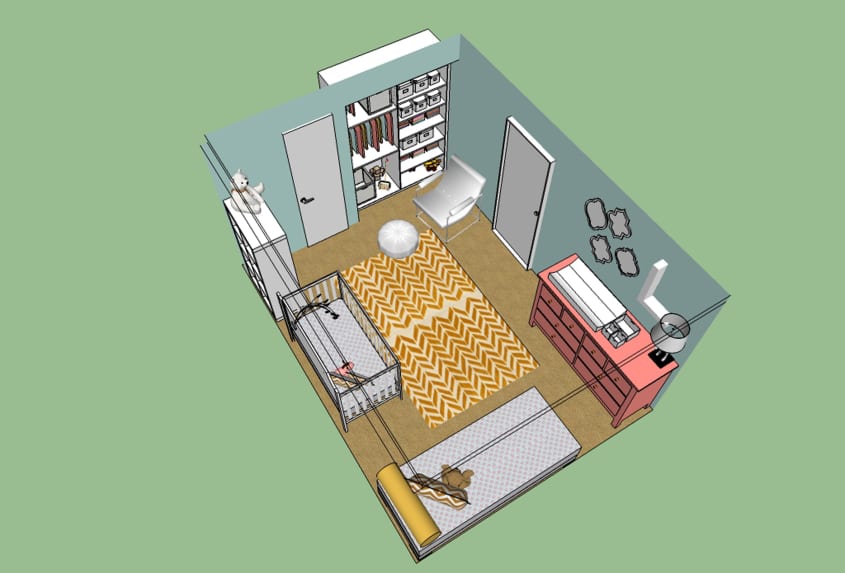
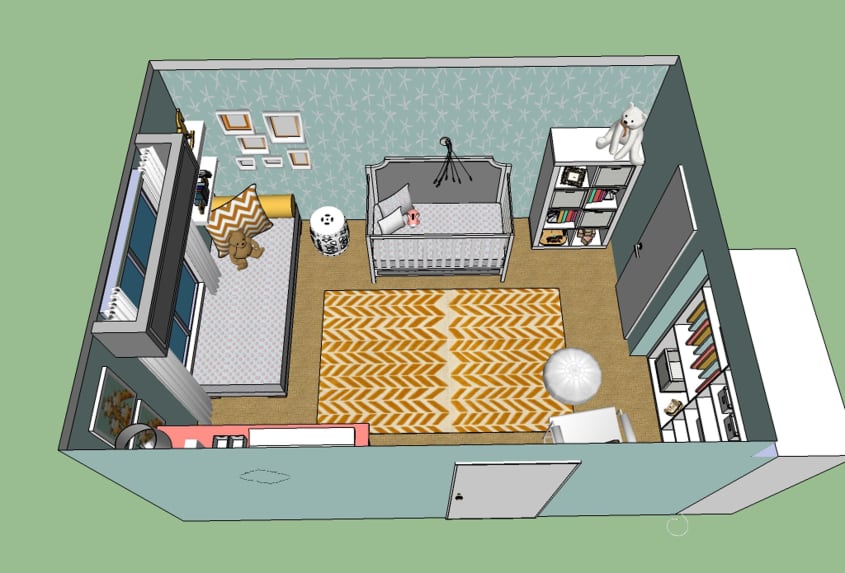


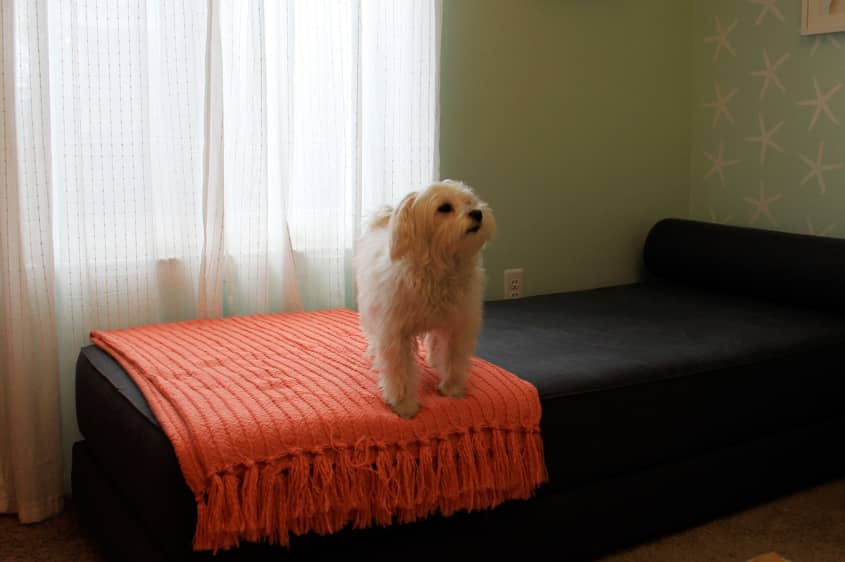
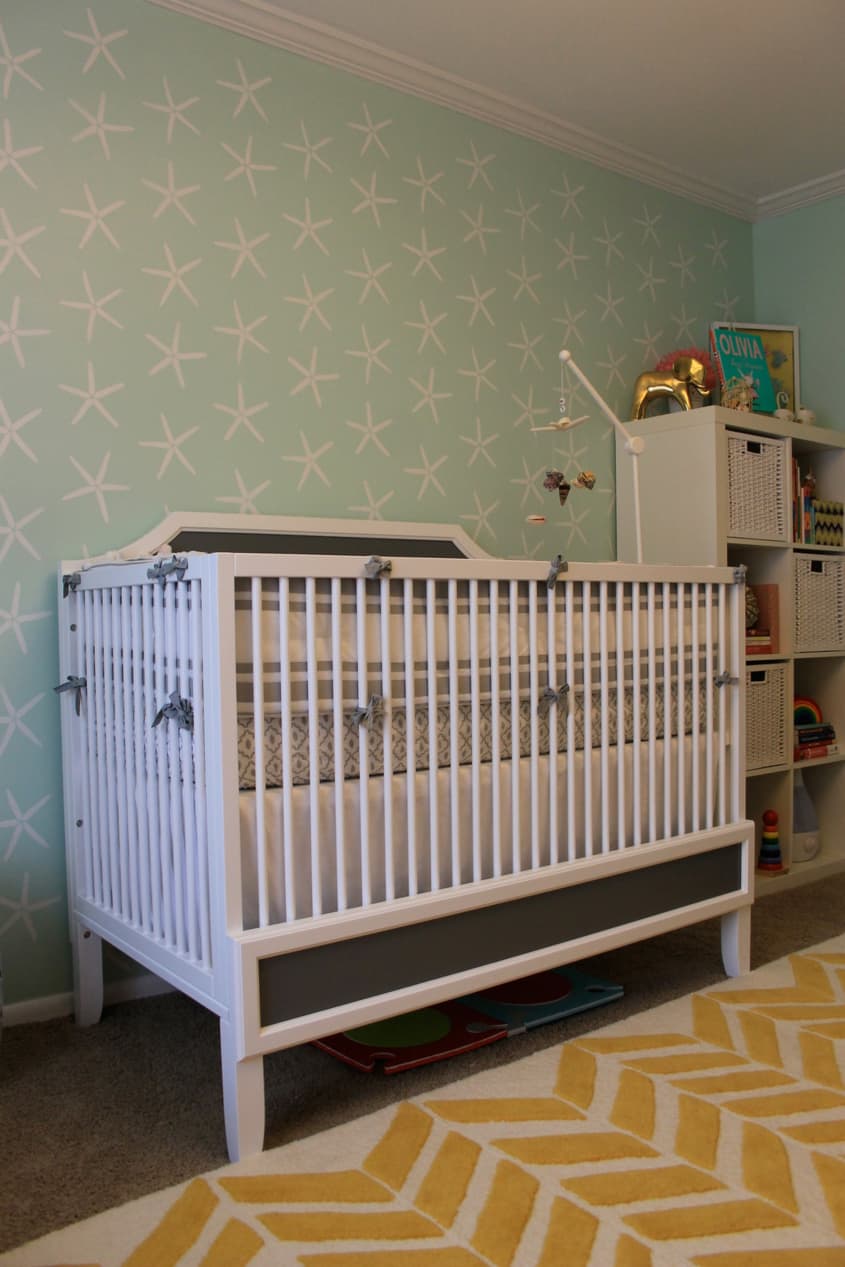

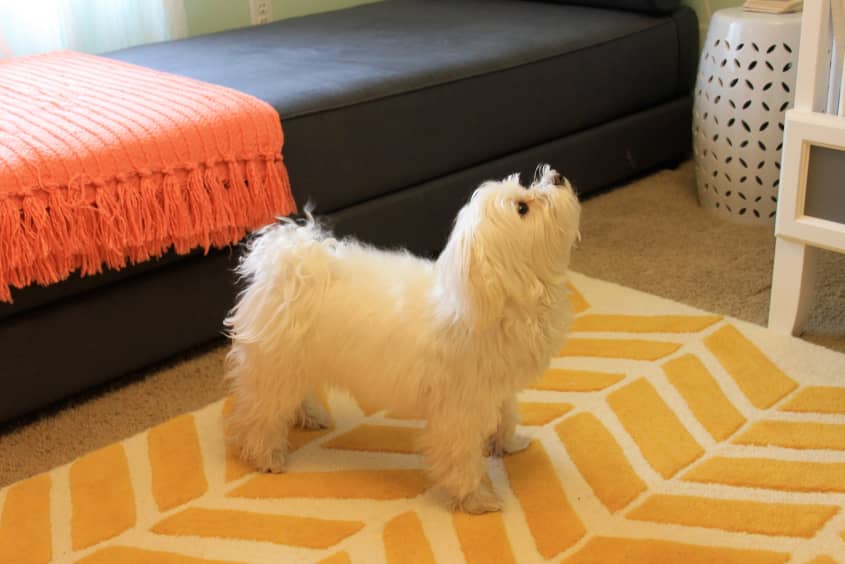

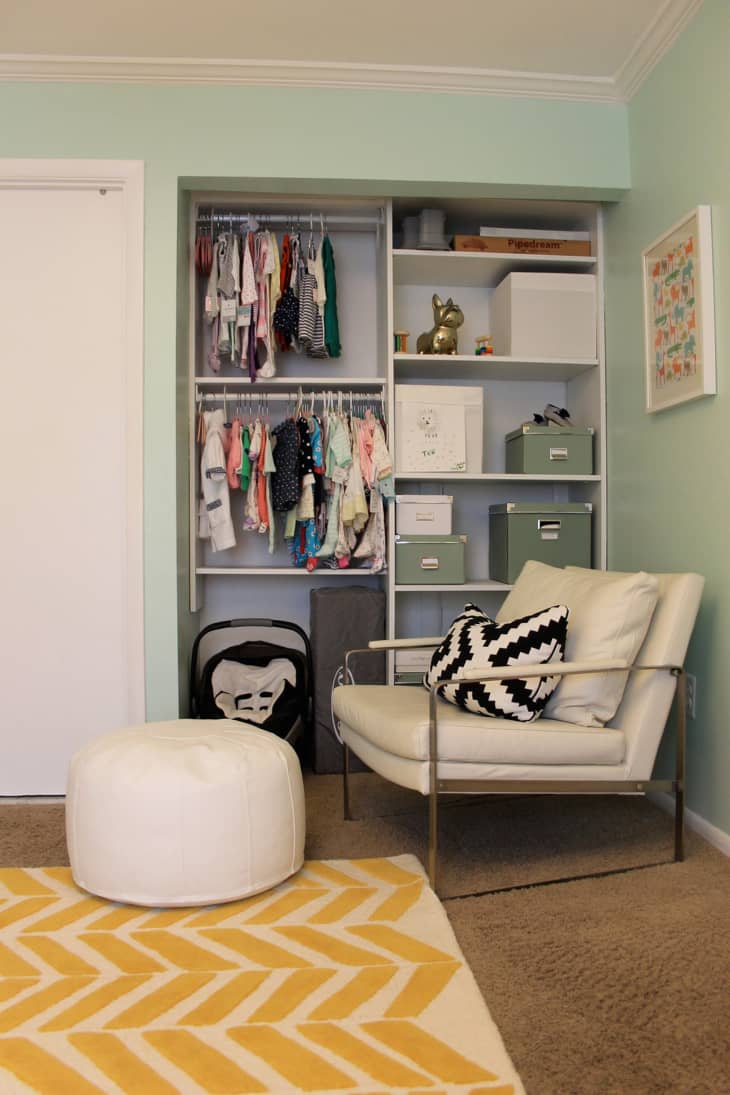
Thus inspired, they settled upon a color scheme of mint and coral accented with brass and gold. Kimi is in the master’s program of interior design at the Corcoran College of Art + Design and, like any good designer, she popped her palette and furniture ideas into SketchUp for reference throughout the project. After months of planning and DIYs (see Kimi’s description below detailing the stenciling and pelmet process), the room was ready just in time for Olivia’s February arrival. And the family — 2-year-old Maltese, Tèo, included — couldn’t be happier with the results.
“The most rewarding thing is the fact that people like spending time in the nursery,” she said. “We find ourselves just hanging out there with our friends when they come over to see Olivia.”
How would you describe the look and feel of this room?
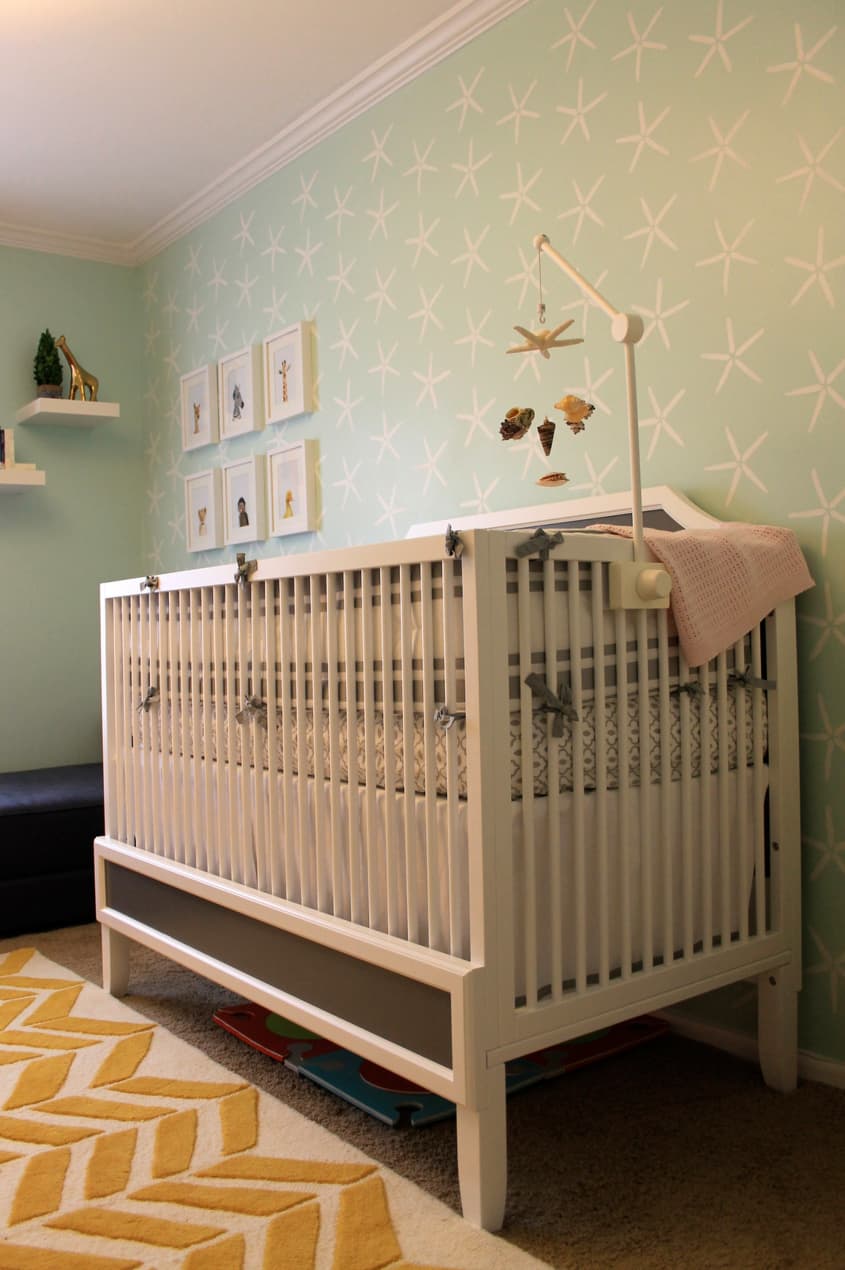
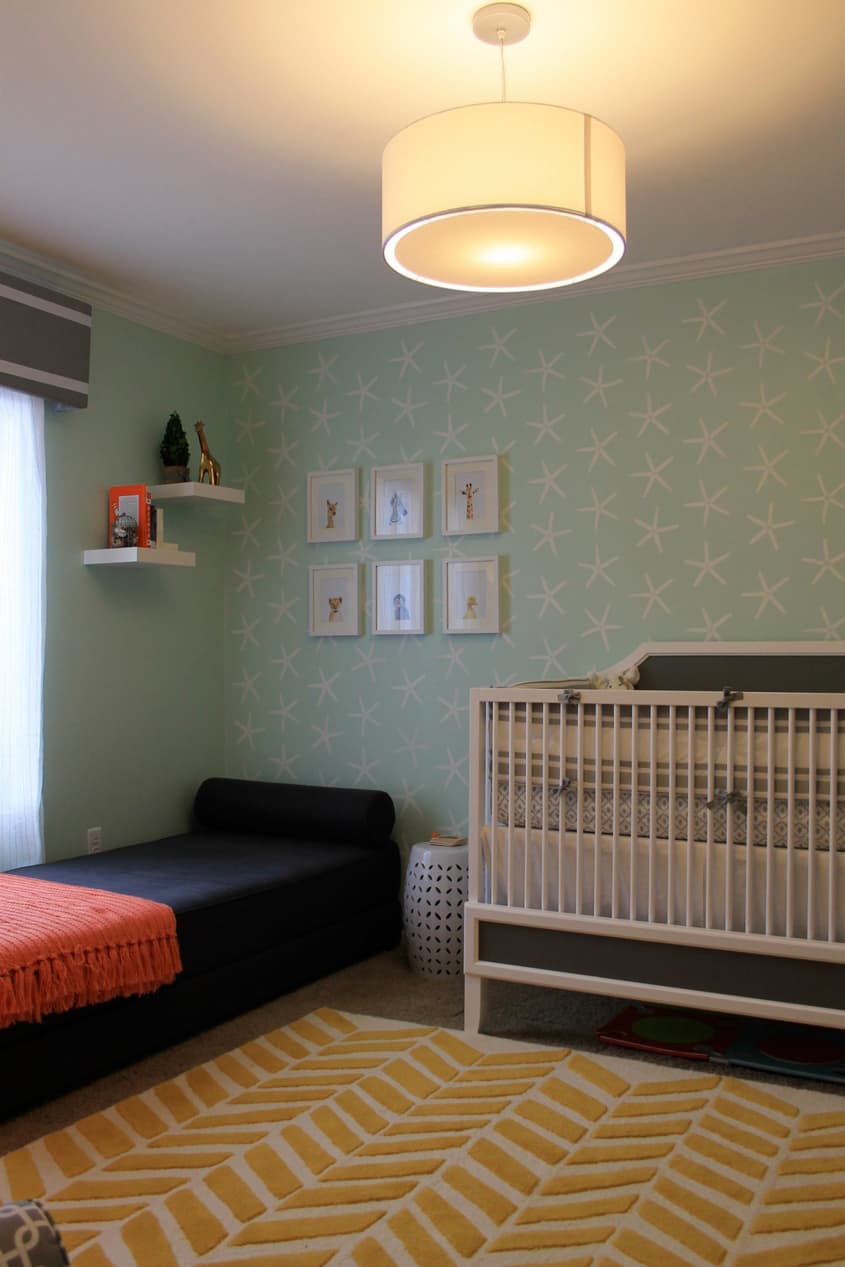
The end result turned out to be an airy, refreshing and calming contemporary space that is fun and sophisticated with subtle references to our original theme of the sea. We also added animal prints and accessories and geometric patterns to provide visually stimulating elements that are great for the baby’s development.
What is your favorite piece or element?
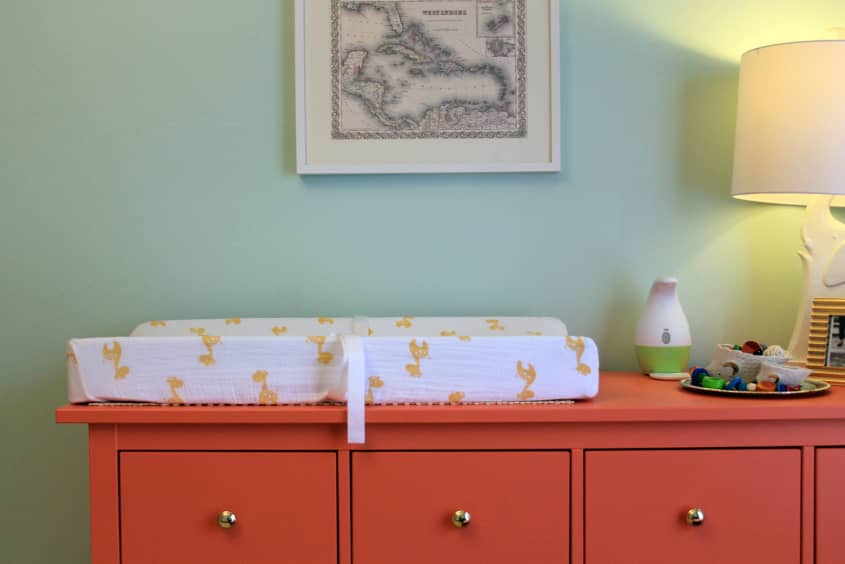
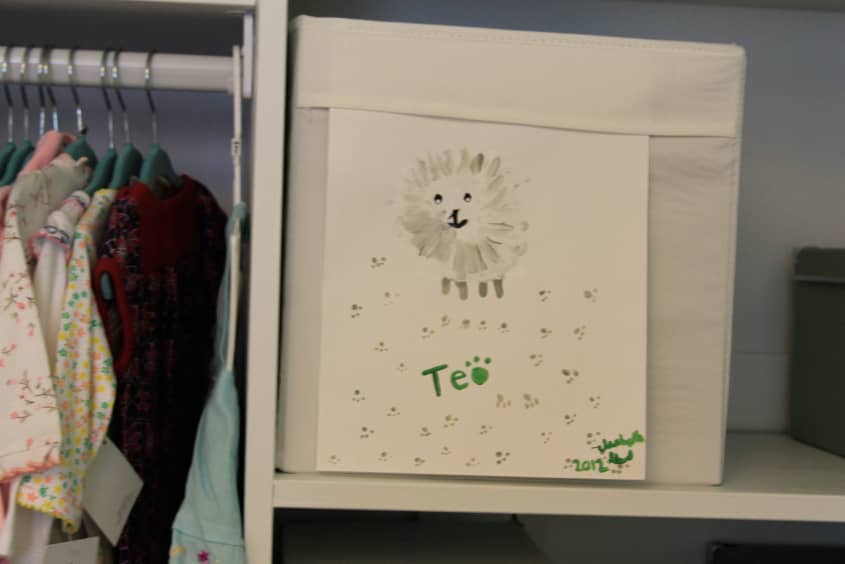
很难选择一个因为我们把这么多的爱and effort into this room, from the DIY window treatments, painted dresser and crown molding to the starfish stencil on the walls, we just love it all as a whole. But if there’s one piece that I think is very special its the vintage map of the Caribbean that hangs over the dresser. It’s a copy of a late 19th century original, which we obtained on eBay from a collector in the UK. As the baby grows we want her to know where her family comes from and learn about her heritage so this piece is not only perfect as far as a decorative element but it also has a lot of meaning to us.
What was the biggest challenge decorating this room?
The biggest challenge was definitely installing the crown molding ourselves. George and a close friend dedicated about two full days to that process, and as it was their first time installing such molding, they found the corner angles to be particularly challenging. The other big challenge is that we discovered that our walls are not 100% straight and flat so making the moldings conform to the surface took more than a bit of patience, elbow grease and artistry. Once it was all said and done the we were very pleased with the outcome. The crown molding transformed the room giving it that subtle touch of elegance that we were seeking.

What do your friends say about the room?
So far everyone has had a really great reaction when they walk into the room. They immediately react to the stencil, dresser, crib and the window treatment, and the most common response is that they love all of the colors and how well they work together. Our friends Angel and Patricia — who helped us with the painting and molding — were totally amazed when they came and saw the final product, they mentioned how it just all seems cohesive, that you could tell it was all very well planned.
Do you have any advice for parents creating a room for their child?
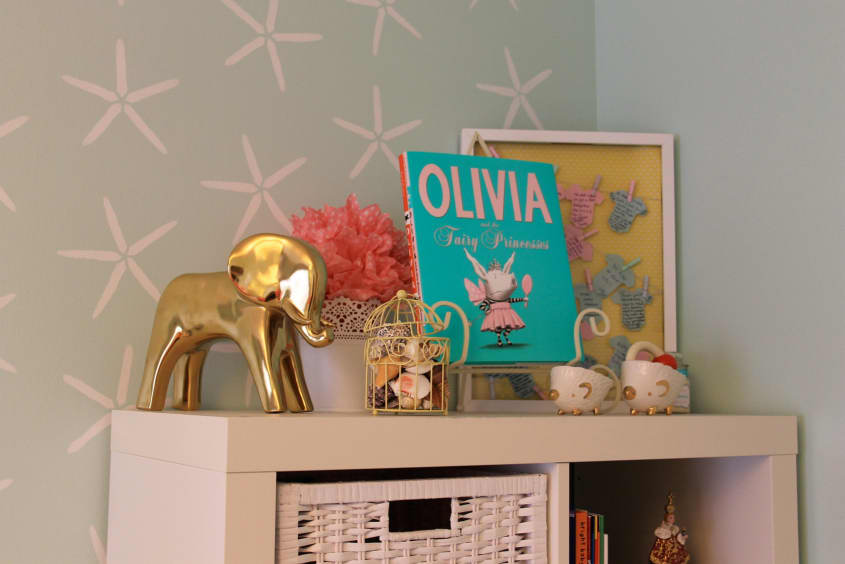
Have a plan ahead of time and decide how you want the space to feel. I always start my projects by deciding the color scheme and then everything else falls into place. It’s also good to develop a budget and an overall wish list of the items you would like in the nursery — that way you focus your energy on obtaining items that complement your design and not get too carried away with all of the baby stuff that’s out there. Since I had a specific design in mind I was able to come across pieces that were part of that plan at random times. For example, the elephant lamp was a great, unexpected find at HomeGoods. I knew I wanted an animal-shaped lamp and I had my eye on the giraffe and elephant lamps by Jonathan Adler, which run around $400. But when a friend of mine and I were shopping one day we spotted a similar elephant-shaped lamp for $30! The lamp shade was white and blue but I purchased it anyway and took a white drum shade that I had on another lamp at home to make it work with the room design.
Would you describe the processes of stenciling the starfish and putting together the window treatment?
This is our third time stenciling a wall in our home so we’ve had some practice and know some basic tricks to get through the process. We ordered the stencils fromCutting Edge Stencils. You can also buy a kit with the necessary tools to complete the process from their website. The first step is choosing your base color and painting the entire wall that color, then you apply the stencil with whatever color you choose. Our base color was mint and our stencil color white. The key to good stenciling is to accept up front that it will not come out perfect or the same every time. Applying the stencil requires time and patience, too, because to get the colors right you need to apply more than one coat of paint (we applied three coats each time). Controlling the amount of paint on the brush is also important because if you have too much you risk having drips and if you have too little then the coat of paint will be too light and the base color will still show. To make the process go by faster my husband used a hair dryer to dry the wall between coats. You also need to have a good sturdy ladder or stepping stool so that you can reach the part of the wall near the ceiling. Finally, you must keep track of the alignment and spacing of the stencils so that you don’t end up with a crooked pattern. We loved the idea of applying patterns on our walls, however, wallpaper tends to be expensive, you have to deal with adhesives and most of the time you have to get it professionally installed, then if you get tire of it you have to get it professionally removed. So for us stenciling just seemed like the right move, we could do it ourselves and the day we get sick of it we can just throw some paint over it.
The window treatment is one of my favorite DIY projects in the room, it came out just how I had envisioned it. First and foremost you have to measure your windows width. This will determine two things: how much fabric you’ll need and the size of the plywood box you need to build. Once I sketched out the pelmet box with the right dimensions, my next step was finding the right fabric. I decided on a gray silk that was very similar to the gray color on the crib. With help from a friend my husband assembled the plywood structure for the pelmet box and created two solid wood mounts that would function to affix it to the drywall over the wood studs underneath. Once the plywood box was constructed I upholstered it by first applying a layer of batting and then laying the fabric on top using a staple gun. Finally, I used a white ribbon to add the two stripes.How do you plan for the room to change as Olivia grows?
We think that the room can remain the same in terms of wall colors and furnishings for a while. Part of the reason why we went with a more “grown-up” look and feel is so that the design can continue to be attractive as she gets older. The crib actually converts into a full size bed with a conversion kit that we went ahead and purchased, so when she’s a bit older and ready for a big girl’s bed all we will need is the mattress. The day bed by the window also turns into a double bed which she can eventually use for sleepovers. We also decided to use a dresser as a changing table instead of an actual changing station because it will be more functional long term.
Source List:
- Paint colors –Mint Condition,Ardent Coral,Pure Whiteall from Sherwin Williams
- Rug –Gold Bars Rug, Land of Nod
- Day bed –Lubi Graphite Sleeper Daybed, CB2
- Garden Stool beside day bed – HomeGoods
- Prints over day bed –Little Darlings, The Animal Print Shop
- Shelves over day bed –LACK Wall Shelf, Ikea
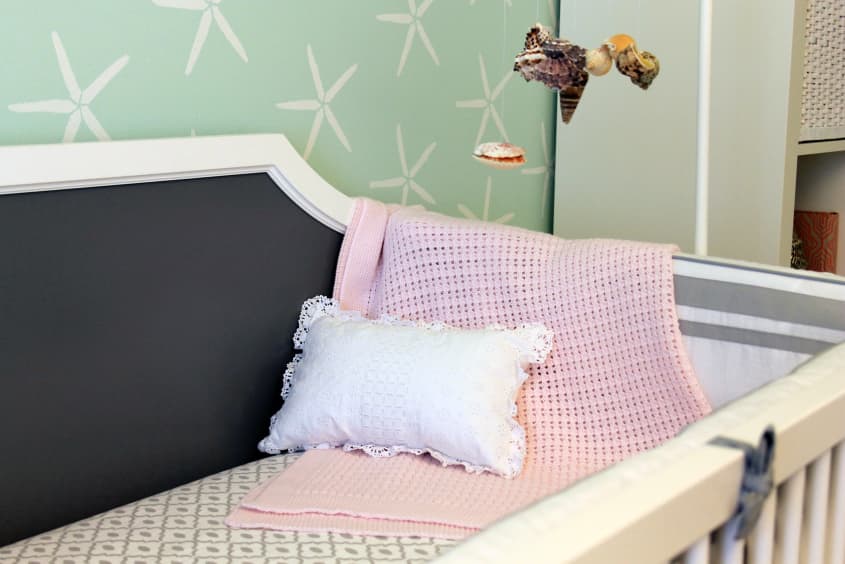
- Crib –Verona Crib, ducduc for Land of Nod
- Moroccan pouf –Faux Leather Pouf, Land of Nod
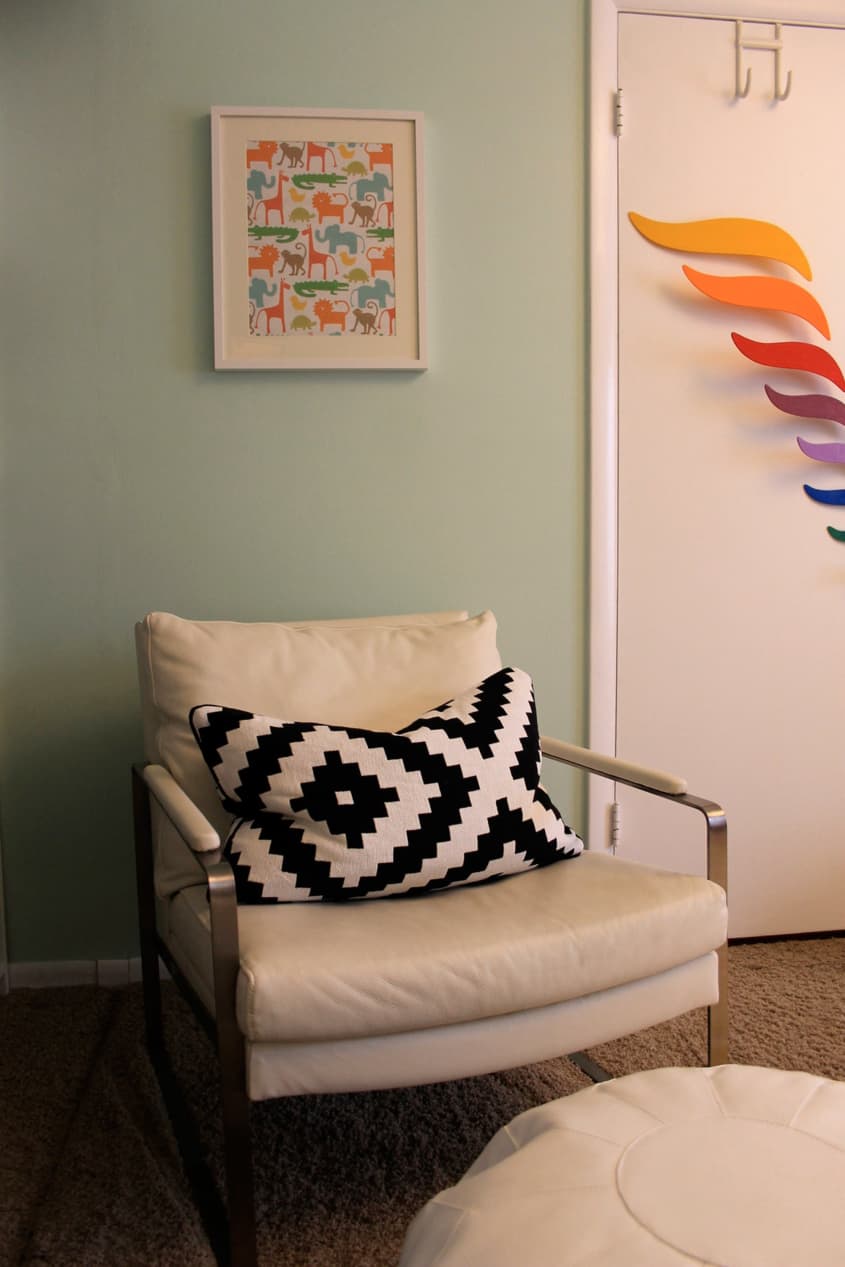
- White chair – We owned it for a while, purchased from a local furniture store called Desi Living Innovations which went out of business.
- Black and white pillow on chair –LAPPLJUNG RUTA Cushion, Ikea
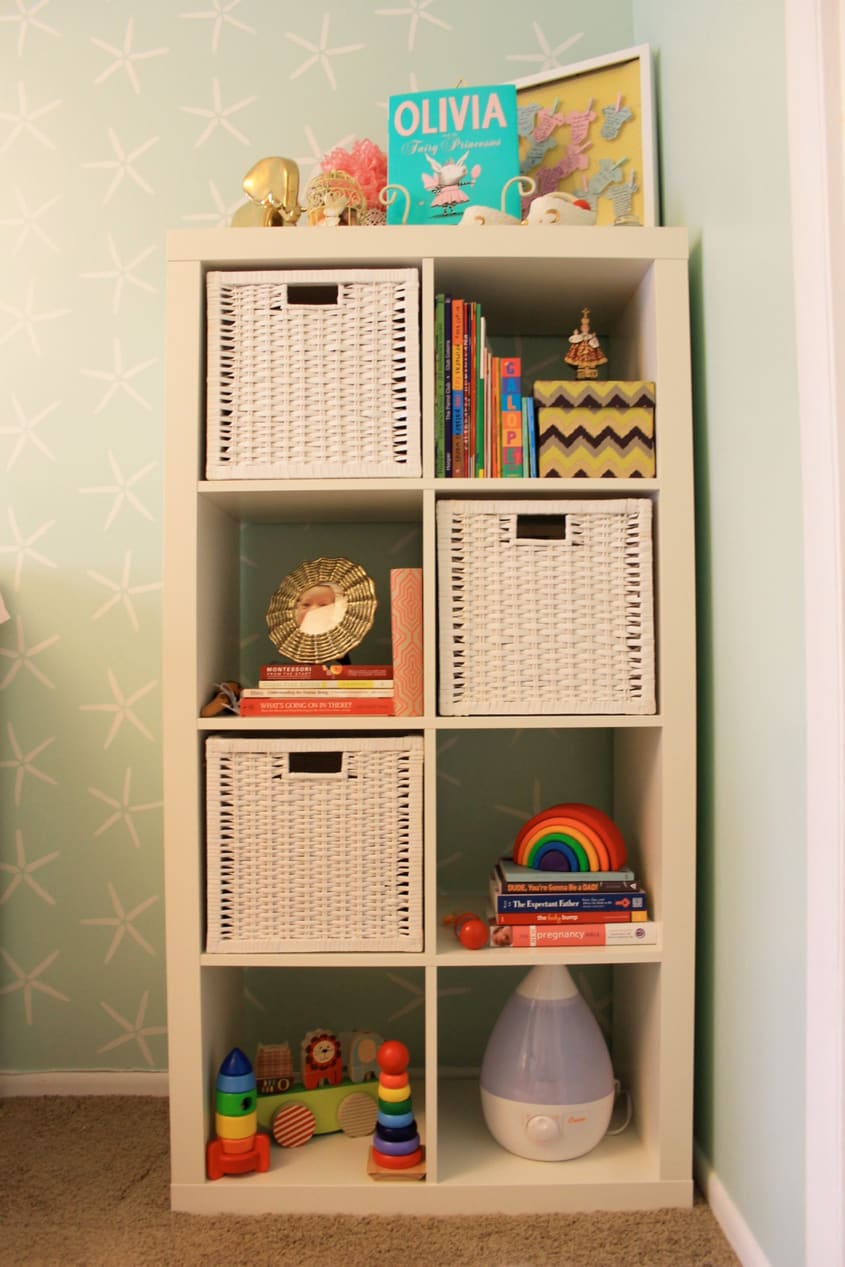
- Shelves beside crib –EXPEDIT Shelving Unit, Ikea
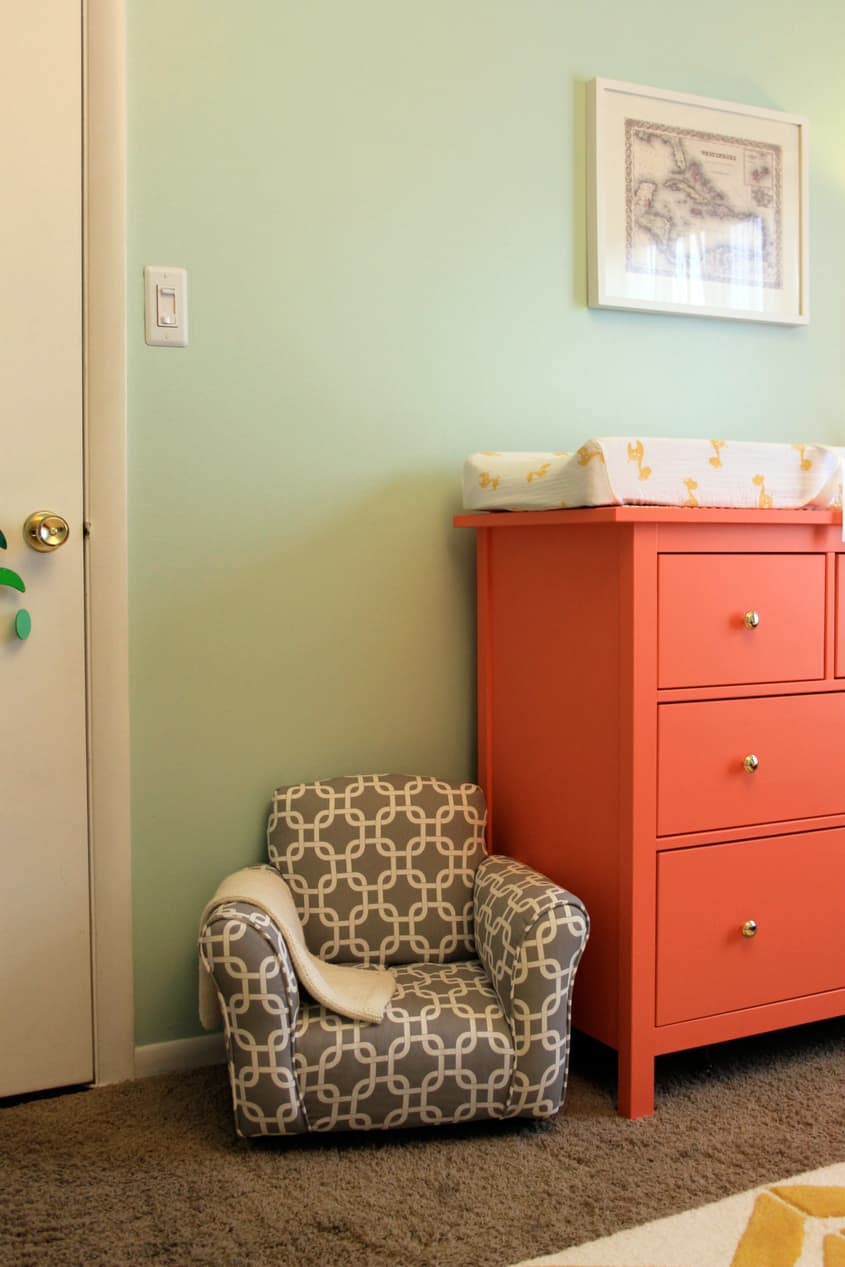
- Dresser –HEMNES Dresser, Ikea(painted inSherwin Williams Ardent Coral)
- Little gray chair – HomeGoods
- Seashell mobile – DIY project, materials purchased atA.C. Moore
- Pendant Lamp –Eden Pendant Lamp, CB2
- Elephant Table Lamp – HomeGoods
- Gold Giraffe Object –Layla Grace
- Stencil –Cutting Edge Stencils
Thanks, Kimi and George!
•MORE KIDS’ ROOMS ON APARTMENT THERAPY
• SUBMIT A BABY OR KID’S SPACE