

This $0, TikTok-Famous Painter’s Tape Hack Is the Secret to Properly Getting Crisp, Clean Lines

For a simple tool that’s designed to make painting your walls easier,painter’s tapeis notoriously difficult to use properly. Whether you’ve experienced paint leaking out from underneath mid-project or peeling entirely with the tape when it comes off, anyone who’s attempted to usepainter’s tapeknows how frustrating it can be when it doesn’t work.
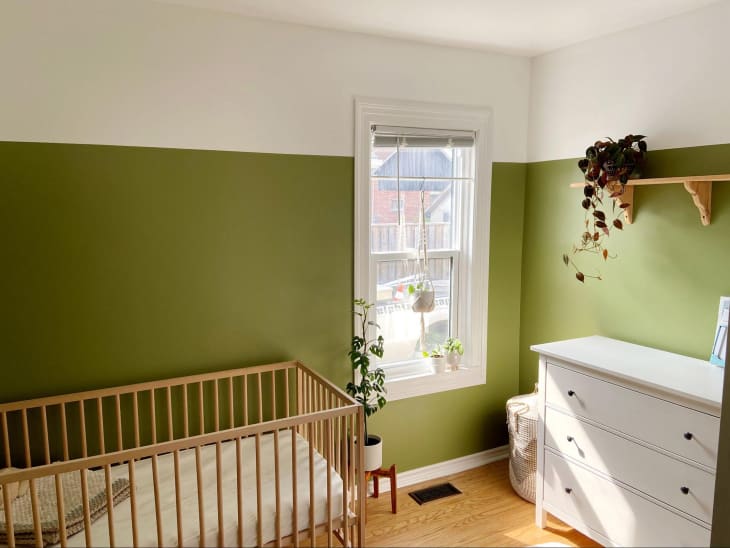
In my own pursuit of figuring out best practices, I’ve tried removing the tape when the paint is still wet (which, for the record, isthe “proper” way to do it), waiting until it’s almost dry, and a handful of other tricks, all to no avail. Eventually, I just gave up entirely and resorted to freehanding the cutting-in process around ceilings and baseboards. However, when I decided to paint a half-wall in our daughter’s nursery, I knew I needed a way to make tape work for the cleanest lines possible in my colorblocked design. Then, I stumbled upon a super-simple trick, shown in theTikTok below from user @afterthefire2018, that totally leveled up my technique and officially putpainter’s tapeback on my good list.
Let’s say you’re working with two very different shades, just as I did — I’ll refer to my white paint as color #1 and the green as color #2. I started by painting the walls entirely with the lighter color, aka color #1, and let that dry for 48 hours. Then, I measured out where I wantedthe half-wall去美联plied painter’s tape. I used a laser level to keep this dividing line straight and the same height all the way around the room, but you could easily measure by hand, as well. Whatever your method, make sure you press the tape down firmly along the edges so that it doesn’t lift.
Now, here’s the important part:Before starting with color #2 on the remaining lower half of the wall, take color #1 and paint a thin coat along the bottom edge of the tape; this effectively “seals” the tape, which prevents any paint leakage once you add the next shade.Allow this to fully dry to the touch before continuing, and then apply a layer of color #2 to the bottom of the tape as well. Next, while that paint is still wet, use a brush to edge along the tape before carefully removing it by pulling along the wall (rather thanawayfrom the wall). Finishpainting the rest of the area with a rollerafterward, and say hello to the crispest lines you’ve ever seen!
Since discovering this trick, I’ve even used it along ceiling lines, too. In that case, I apply the painter’s tape to the ceiling itself, around the top edge of the wall, and use ceiling paint to seal the wall portion. I find this trick particularly useful when you’re using two drastically different colors — say, a lighter shade and a darker shade that have a lot of contrast — and a lack of line crispness would look super-obvious. You could also try it along baseboards or moldings, too.