

Before and After: A Four-Phase Playroom Project Brings More Color and Less Clutter


There are tons of beautifulkids’ room and nursery redosout there, but the truly brilliant ones are versatile, design-wise, andcan change as the kids grow and change. In other words, they’re not locked into one specific age or phase a kiddo goes through. When Natalie Park (@parkplaceabode) was revamping the playroom shared by her two daughters, she wanted it to “grow with them over the next decade at least.”


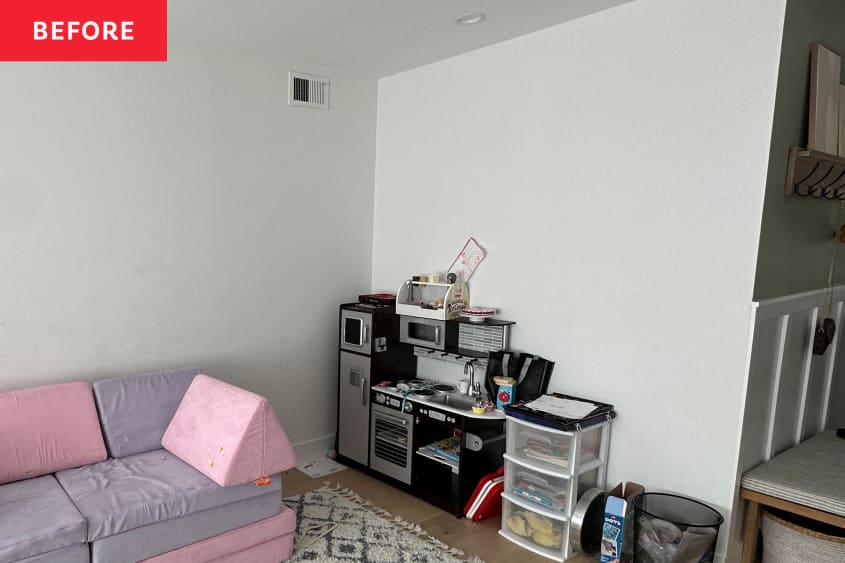
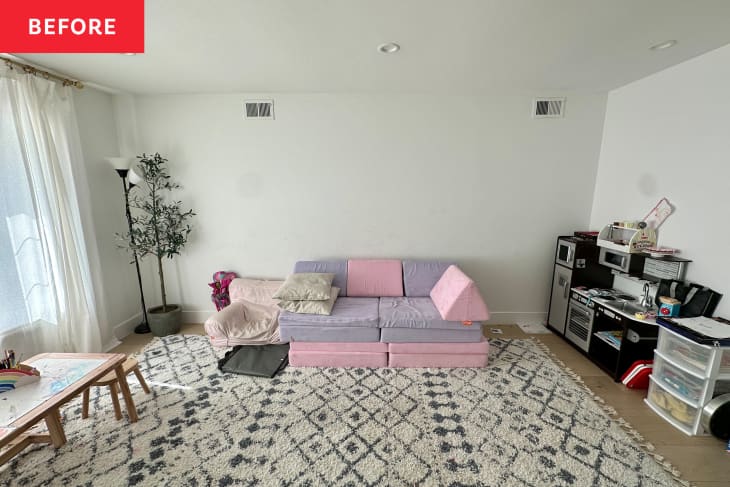
Before,”It was bland, characterless, and had no real intention,” Natalie says of the space.
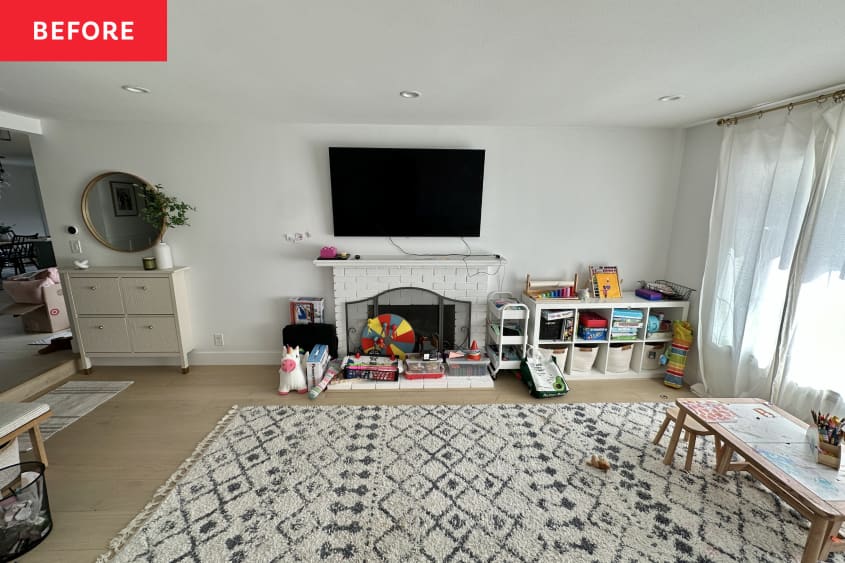
“The entire room was just painted white as well as had an outdated painted fireplace,” she adds. “I didn’t like how the toys were all visible and constantly looked cluttered.” Natalie’s goal was to add color and combat clutter, and she did so during theSpring 2023 One Room Challenge.
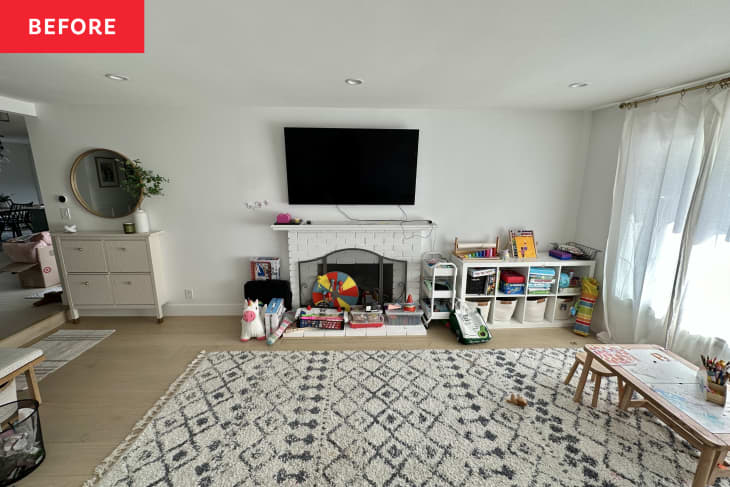

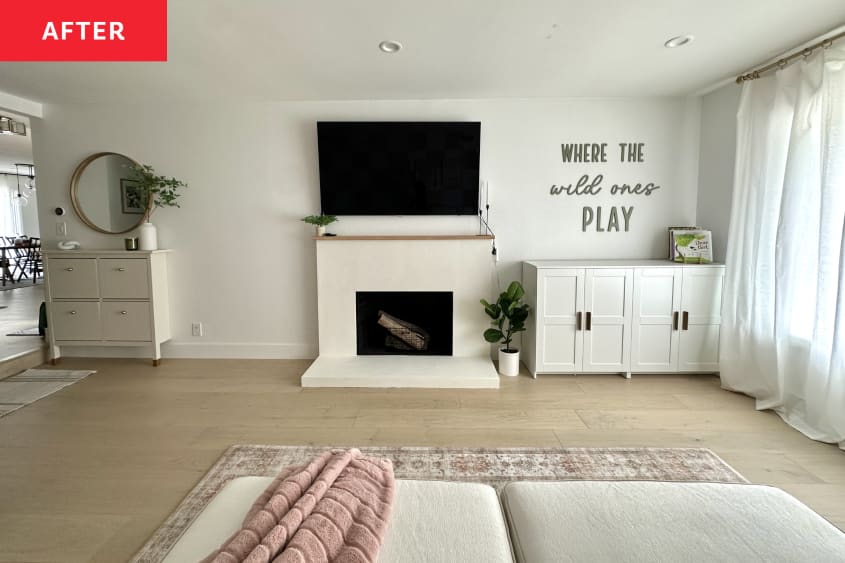
“This playroom has four main DIY phases to its transformation,” Natalie explains. First, she addressed the old fireplace in the room. She cleaned it out and removed its old mantel, and then she totally covered all the brick with cement board, skim coating, and Roman clay. To finish it, she built a new skinny mantel “to give it an overall cleaner and more modern look.”
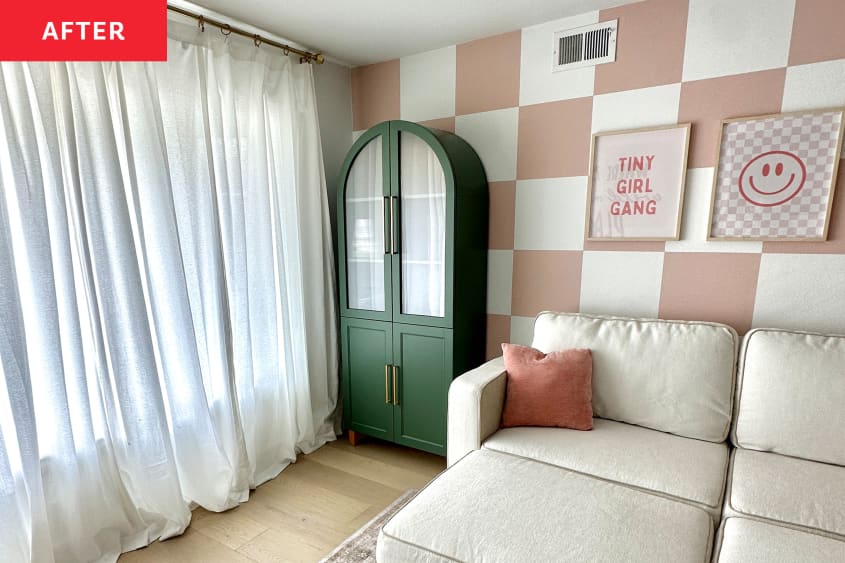
The second phase of the project was maybe the most noticeable change: the checkerboard accent wall. “I used my laser level to draw out the grid and then used a lot of painters tape to tape out the squares before painting the pink squares,” Natalie explains. Her pink paint color of choice wasSherwin-Williams’ Pink Shadow, and the fun pattern can be a backdrop in a room for any age.
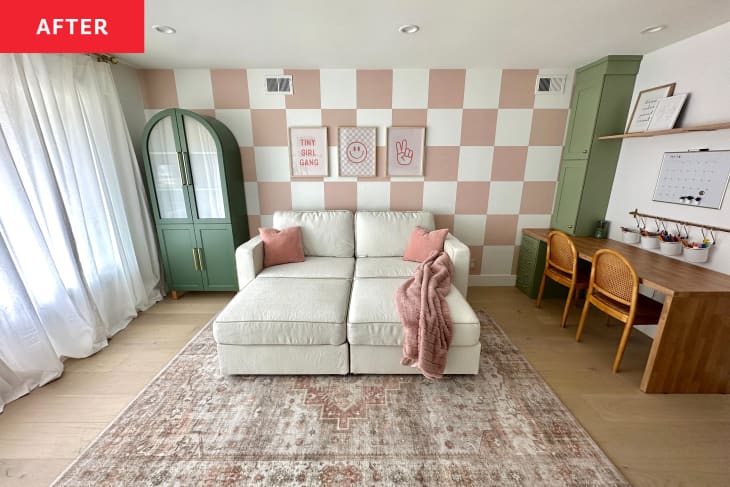
For parts three and four, Natalie turned to green paint choices (Sherwin-Williams’ Green OnyxandBenjamin Moore’s Peale Green) plus IKEA products to create a cool corner desk setup and an expensive-looking arched cabinet. For the desk, Natalie used anALEX drawer unitand anIKEA countertopand IKEA cabinets to make it into a waterfall desk. She added a shelf overhead attached with simple L-brackets.
To create the dark green cabinet that stores additional toys, Natalie used anIKEA KALLAXas the base. “This one took the most woodworking skill, as I bent plywood to make the arch and made brand-new arched doors and shaker doors as well,” she says, and it’s the DIY she’s most proud of in the space. “It looks so high-end,” she says — not to mention it’s timeless and ageless. As a matter of fact, plenty of adults love this style of dresser, too! (Natalie’s version cost about $475, but if you want to skip the DIY and still get the high-end look, you can find a similar green arched beauty atUrban Outfitters)
Bending plywood was a DIY first for Natalie, as was the entire Roman clay treatment for the fireplace, which cost about $300. Her secret to DIY success? Watching YouTube tutorials. “When I do anything DIY, I just dive in and try,” Natalie says. “And if there is a mistake, (like breaking the arch the first time I tried it), I just try again!”

Natalie’s best DIY advice is this: Don’t be afraid to just start. “If redoing an entire room, break it up into smaller projects, and tackle it one project/phase at a time,” she says. “You will be surprised what you can accomplish and do if you just try!”
Natalie finished off her daughters’ room witha Lovesac sectional, aLoloi rug, and fun Etsy prints behind the couch. “I love the vibe and feel of the room now,” she says. “It’s now fun, playful, and inviting!” she says. Pretty perfect for a playroom!
This project was completed for theSpring 2023 One Room Challenge, in partnership with Apartment Therapy. See even more of theOne Room Challenge before and afters here.
Inspired?Submit your own project here.