

Before and After: A Cookie-Cutter Powder Room Gets a Sophisticated New Look

Sometimes, to zhuzh up a space, it’s easiest to think about it in one small project at a time. For instance, for apowder roomin need of TLC, you might start with the wall color first, and then move on to the vanity, and then address the lighting. For Christina Fowler (@christinafowlerdesign), the big project of redoing her powder room was something that she broke up into smaller pieces: first wainscoting, then wallpaper, then decor.
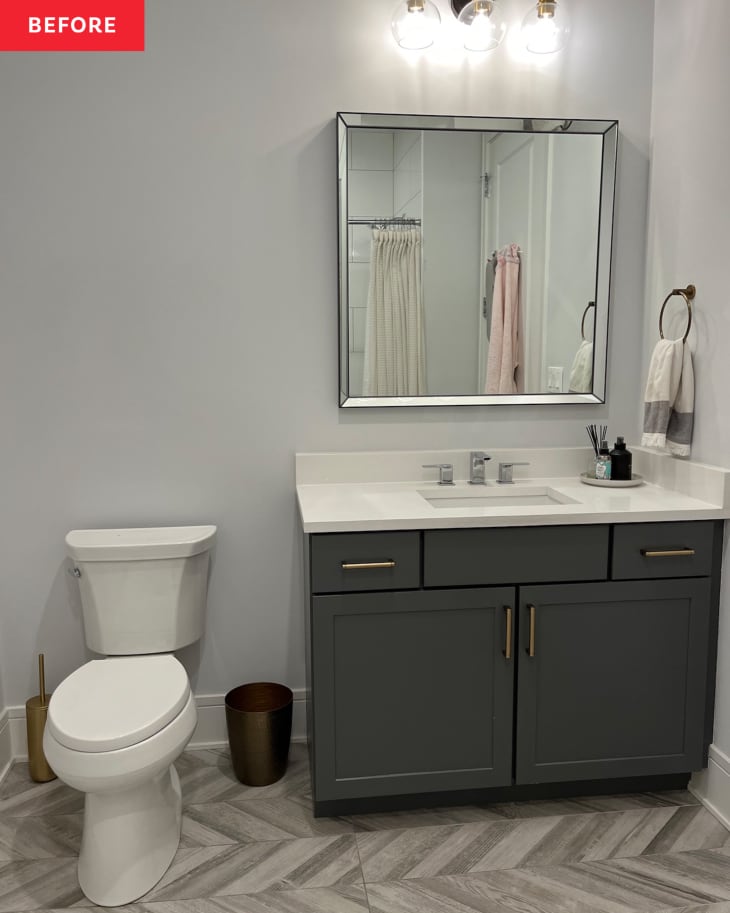
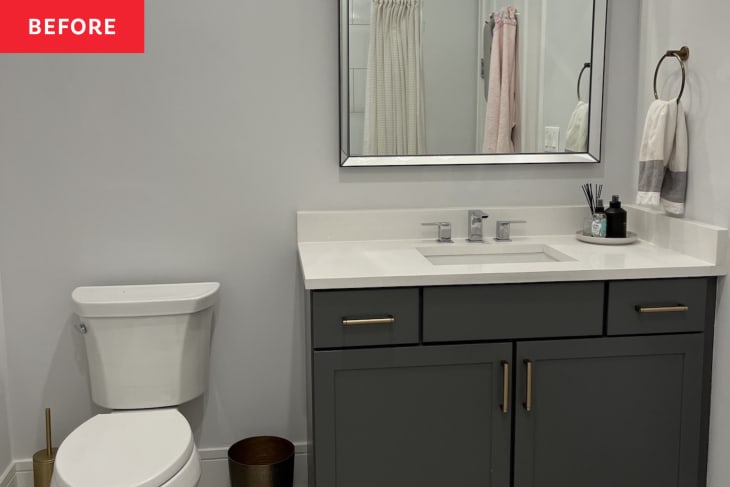
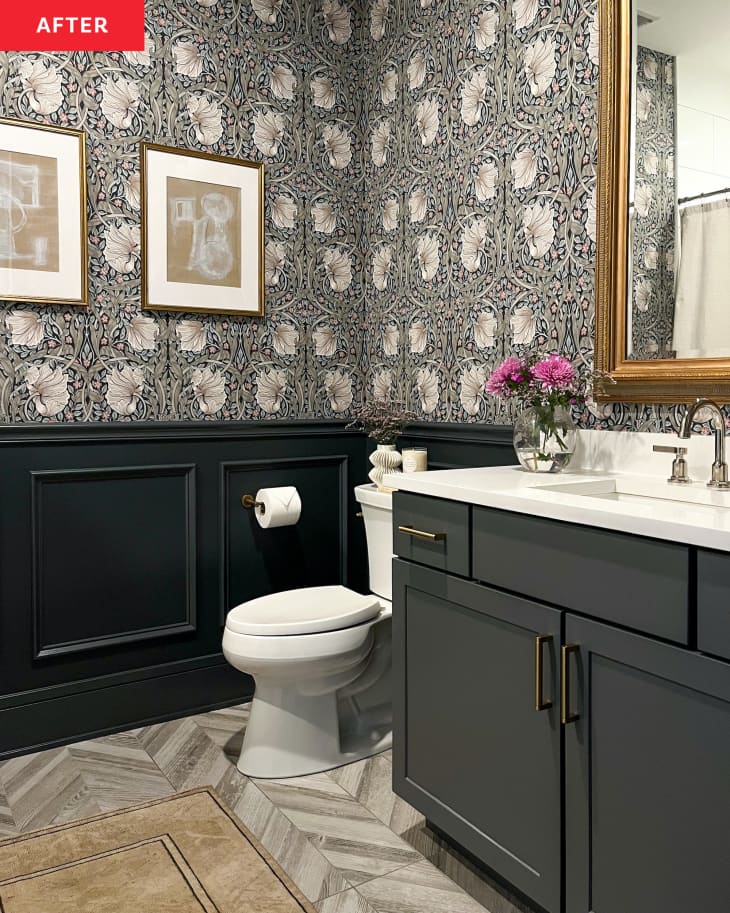
No demo was needed for Christina’s condo bathroom, which she completed for theOne Room Challenge. It just needed a bit of individual flair. “It was like every other new-build bathroom in city condos: a modern, good base, but boring!” Christina says. “My goal was to personalize the space and add character by incorporating traditional elements like wainscoting, beautiful wallpaper, new faucet, mirror, lighting, and mixing in some vintage pieces.”
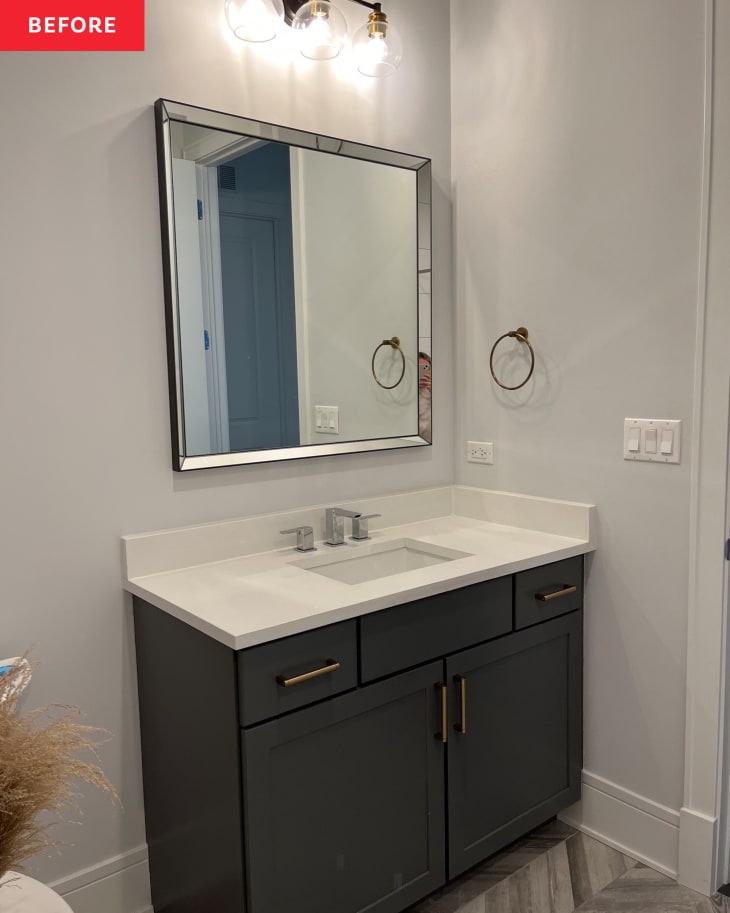
Christina addressed the gray walls of her 2020-built bathroom first, choosing wainscoting and wallpaper to add some sophistication to the plain space. Installing molding was a first for her; she followed an online tutorial and says she “was surprised how much [she] enjoyed the whole process and how relatively easy it was.”
“I will definitely be doing this again in other spaces in our home, as I now have all the tools needed,” she adds. Christina used the tutorial to figure out her measurements and how many picture-frame molding boxes she wanted on each wall, then used that info to buy her trim and picture rail from the hardware store. Taping the design on the wall before installing it minimized the room for error.
Because Christina lives in a condo, she’s got a great tip for those also wanting to DIY molding in small spaces. “Without space to easily use an electric miter saw, we used a miter box saw, which happens to also be super cost-effective,” she says. She spent $17 on the box saw, compared to several hundred for an electric one, and says because she didn’t have many pieces to cut it was worth the extra elbow grease and extra savings.
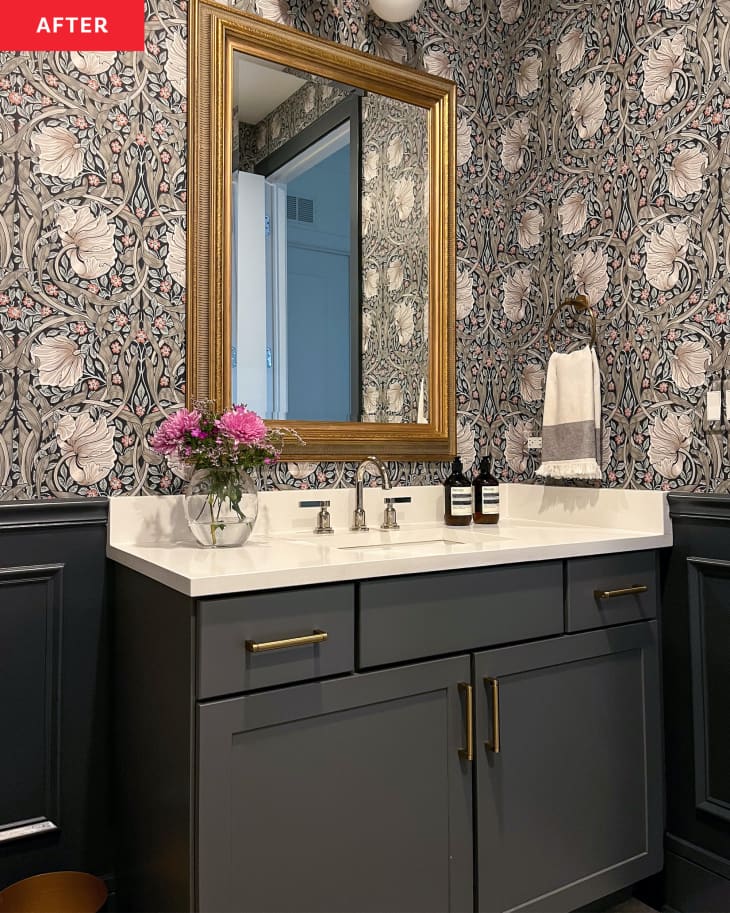
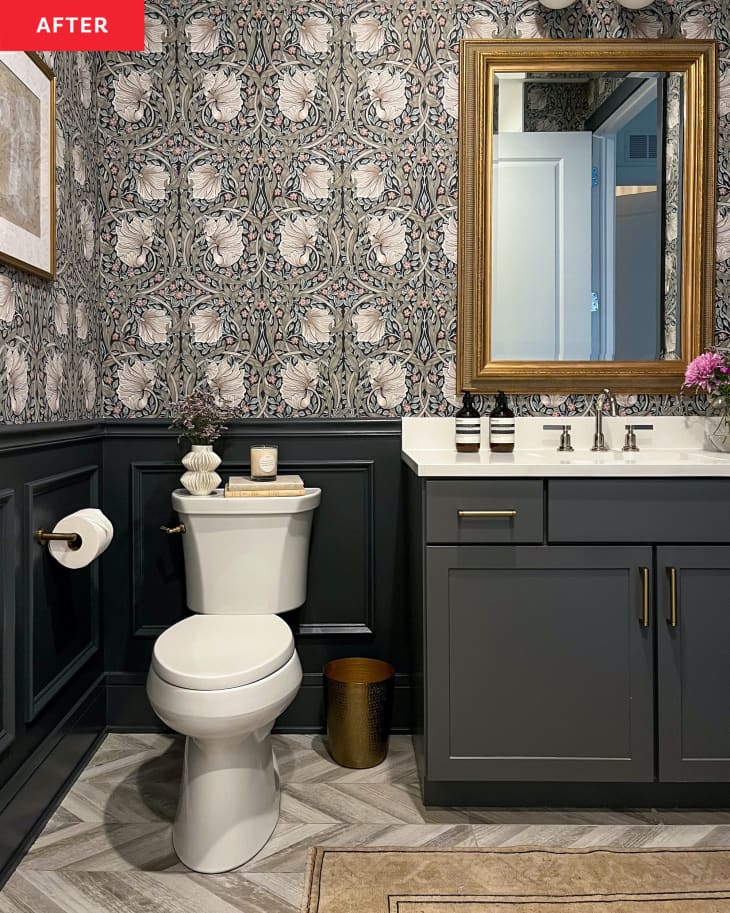
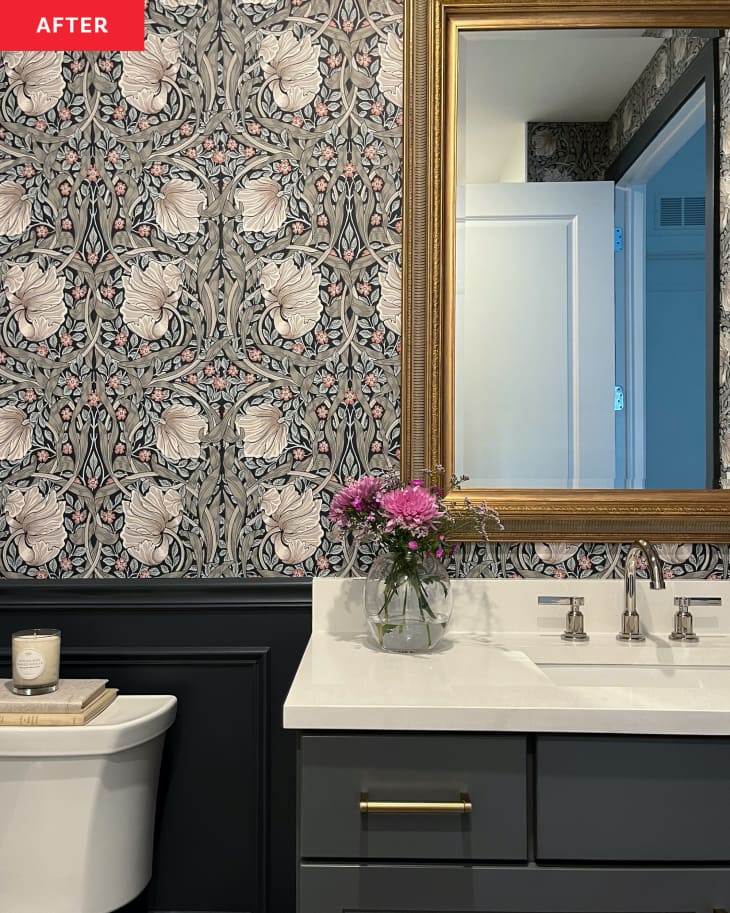
After the molding was up, Christina painted it navy (Benjamin Moore’s Hale Navy), and she hadWilliam-Morris wallpaperprofessionally installed above that. At first, Christina planned on painting the wainscoting white, but once she saw the darker colors in the wallpaper, she decided to go for something more dramatic.
diy不停止:克里斯蒂娜也采购a vanity mirror on Facebook Marketplace and addedRub ‘N Buffto it to give it an antique look. “You can’t beat the character it adds to the space and pop of color to the darker tones,” she says of the gold beauty. Christina installed anew light fixtureoverhead, replacedthe fauceton the vanity with one she bought on eBay for about half the retail price, and added new framed artwork that she painted with acrylic paints.
“Overall, I love the balance of vintage elements like the antique gold frames, vintage mirror, and traditional wallpaper pattern that adds contrast to the modern space,” Christina says. “I love how it feels like a little jewel box in our condo!”
Christina’s powder room redo cost $3,155 all-in, but breaking it into pieces helped make it manageable. For anyone else taking on a reno, “I recommend to start by creating a list of all the changes/updates you want to make and a budget,” she says. “Then, gather quotes for any professional work if you are not DIYing it all. That will help you understand what you can afford to do from your list based on your budget or what you should consider to DIY. Then, break down the tasks by day or week to help keep you organized and on track.”
Where will you start foryournext room redo?
This project was completed for theSpring 2023 One Room Challenge, in partnership with Apartment Therapy. See even more of theOne Room Challenge before and afters here.
Inspired?Submit your own project here.