

Upholstery Project: How To Make a DIY Headboard with Fabric Slipcover


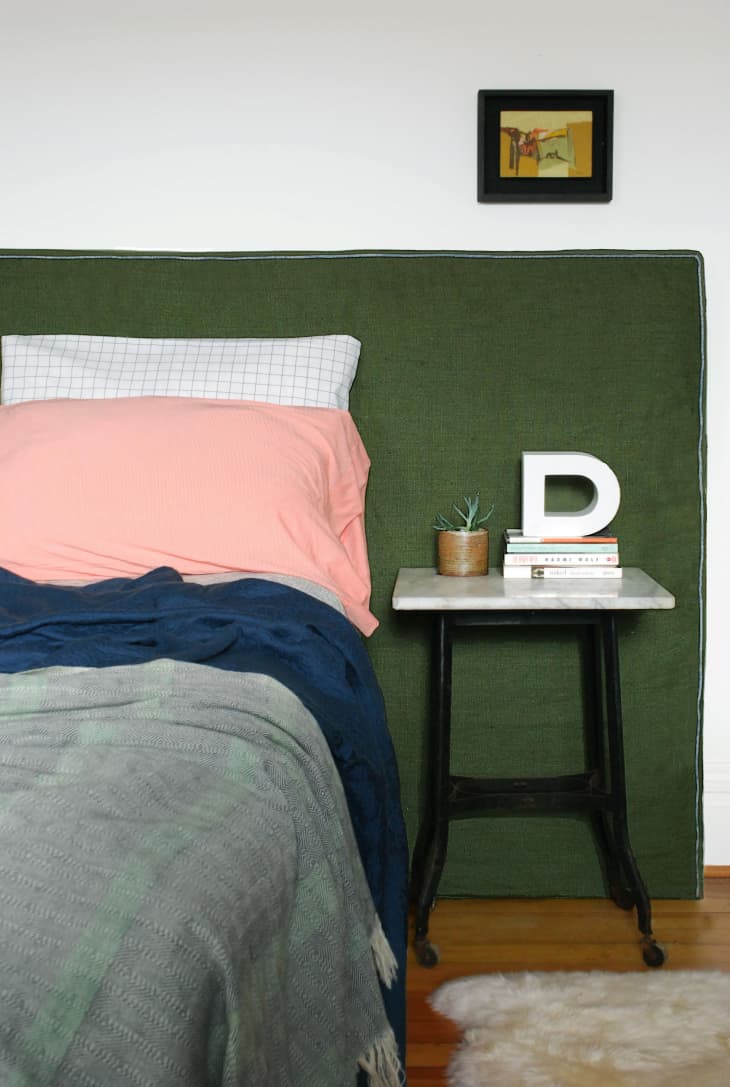
I get obsessed with things I see on Pinterest, andthis padded headboard(okay, thewhole place) is one of my recent fixations. I like the modern, streamlined look of it— but that it’s also more relaxed than a lot of the tufted, nailhead DIY headboards I see all the time. I have no idea where it’s from, so I set out to make my own version…
What You Need
Materials
- Upholstery fabric (I used a green slubby linen fabric)
- Piping or welting (seetutorial on how to make your own piping)
- Thread
- Plywood or hardboard, cut to desired size of the headboard
- Foam (thickness variable)
- Thin batting (optional)
- Spray adhesive
Tools
- Sewing machine
- Chalk pencil
- Good scissors
- Pins
- Seam ripper (if you are like me and make mistakes)
- Staplegun (with staples)
Instructions
For this project, you are essentially making a structured pillow (versus a traditional padded headboard) with a box cushion as the cover — just a really, really large one. The slip cover will only be sewn on three sides, and open on the bottom so you can easily slip it off.
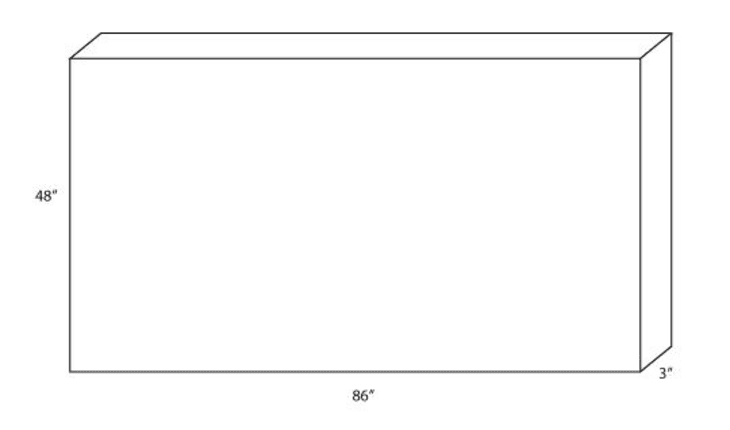
1. First, decide out how large you want your headboard to be, and then figure out how much fabric, foam, etc… you need. I wanted a large headboard that was as tall as possible, and that extended well past my mattress (about a foot) on either side.
This means I need two large pieces of fabric (one for the front and one for the back) and one very long strip to wrap around and become the three sides of the headboard. Piping (or welting) will go all the way around the three sewn sides of the headboard as well.
- 48″ (plus seam allowance of 1″) x 86″ (plus seam allowance of 1″) x 2 pieces = 49″ x 87″ x 2 pieces
- 3″ (plus seam allowance of 1″) x 182″ (plus seam allowance of 1″) = 4″ x 183″
- 48″ x 86″ piece of plywood or hardboard for some structure
- 24″ x 86″ x 2 pieces of 3″ foam
- At least 365″ of completed piping
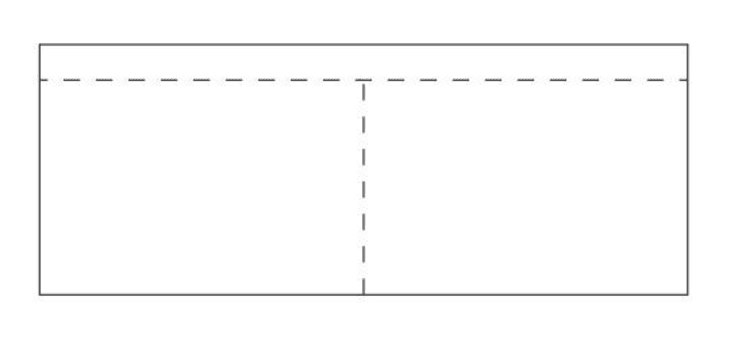
2. Cut out your fabric. Since most upholstery fabric is 54″ – 56″ in width, you can cut the large fabric panels side by side, making the long strip go across the top (see above).
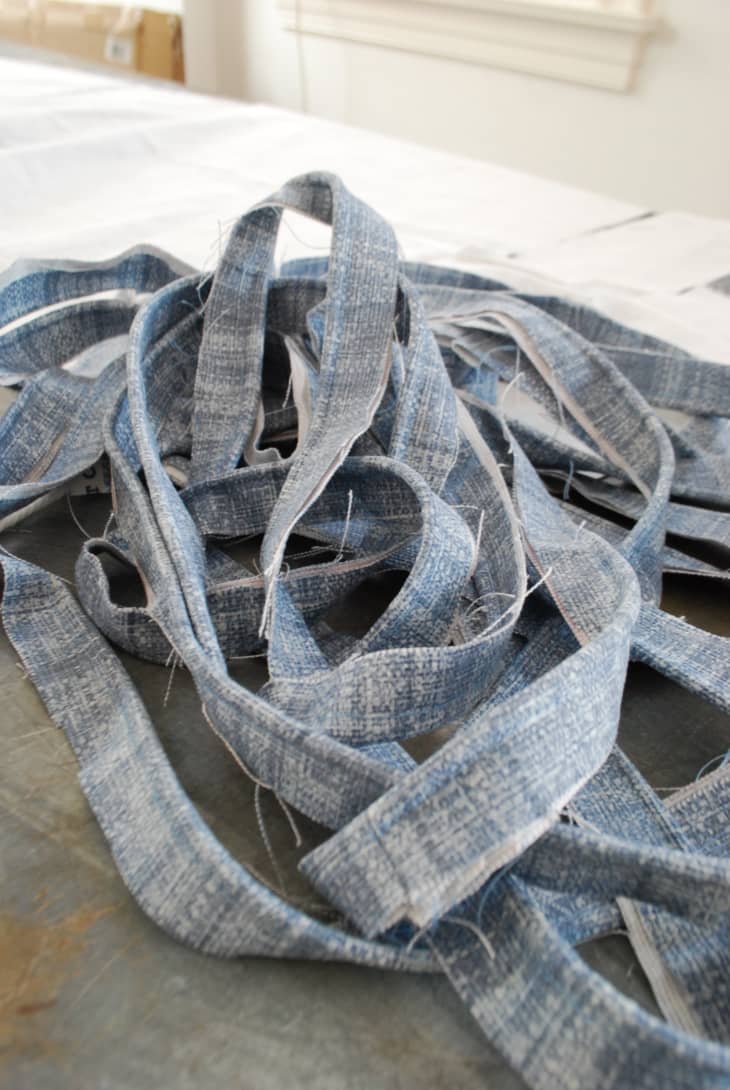
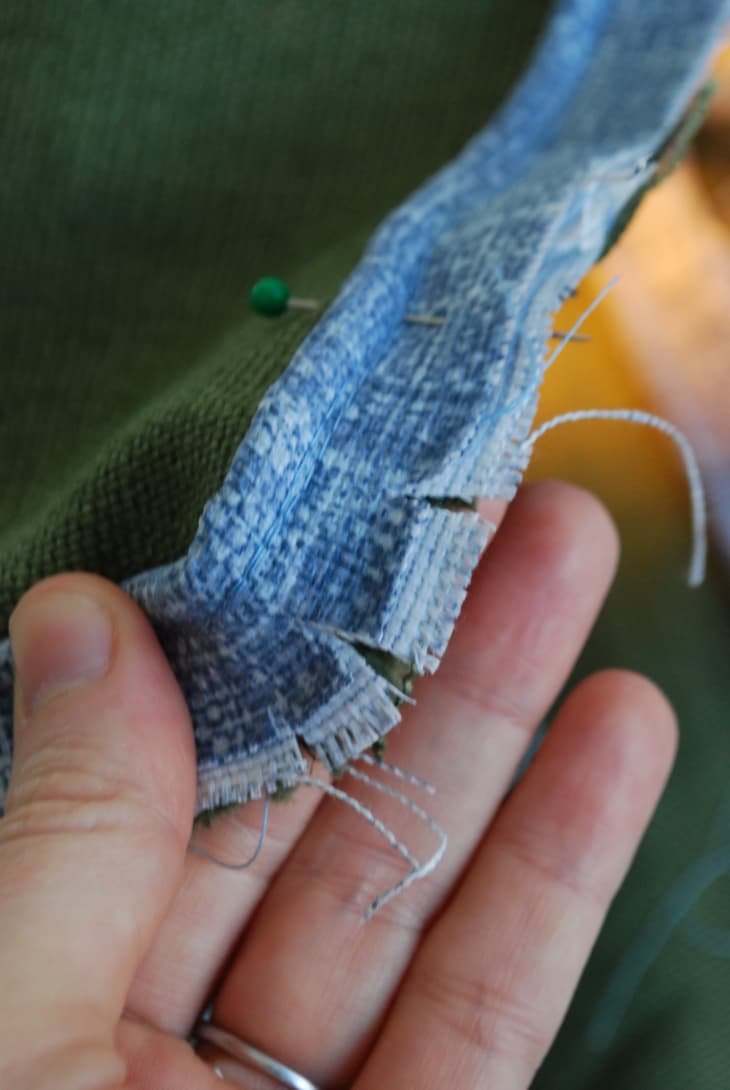
3. Make your piping. If you don’t know how to do this, head over to ourtutorial on DIY piping/weltingfirst.
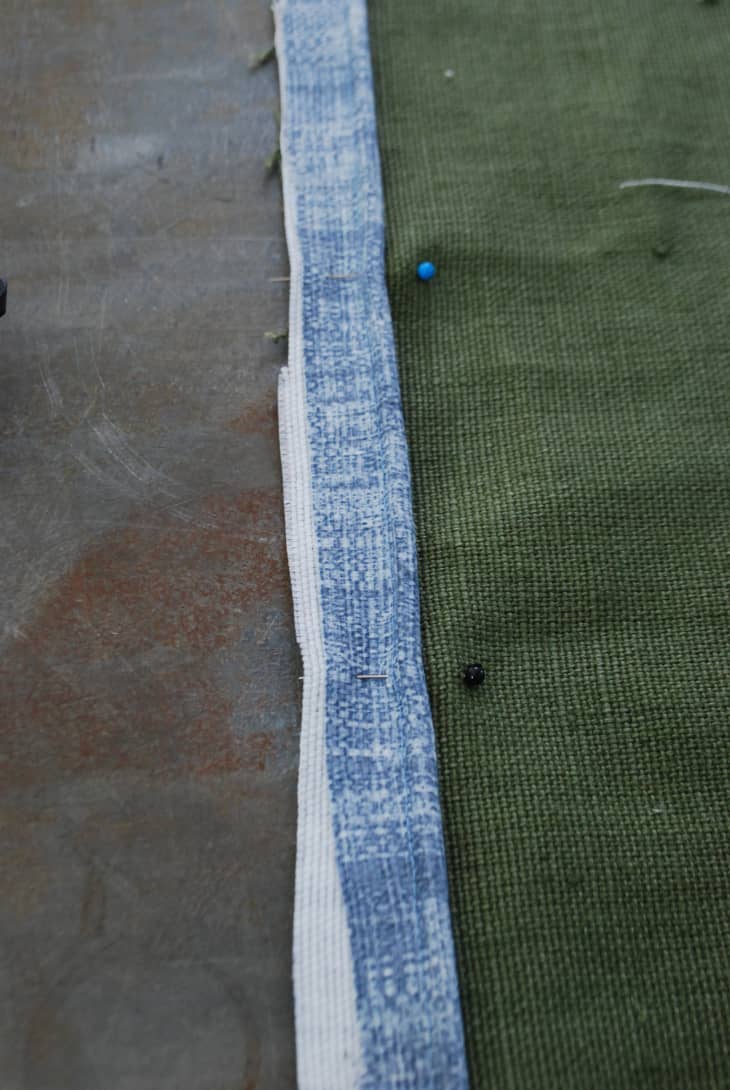
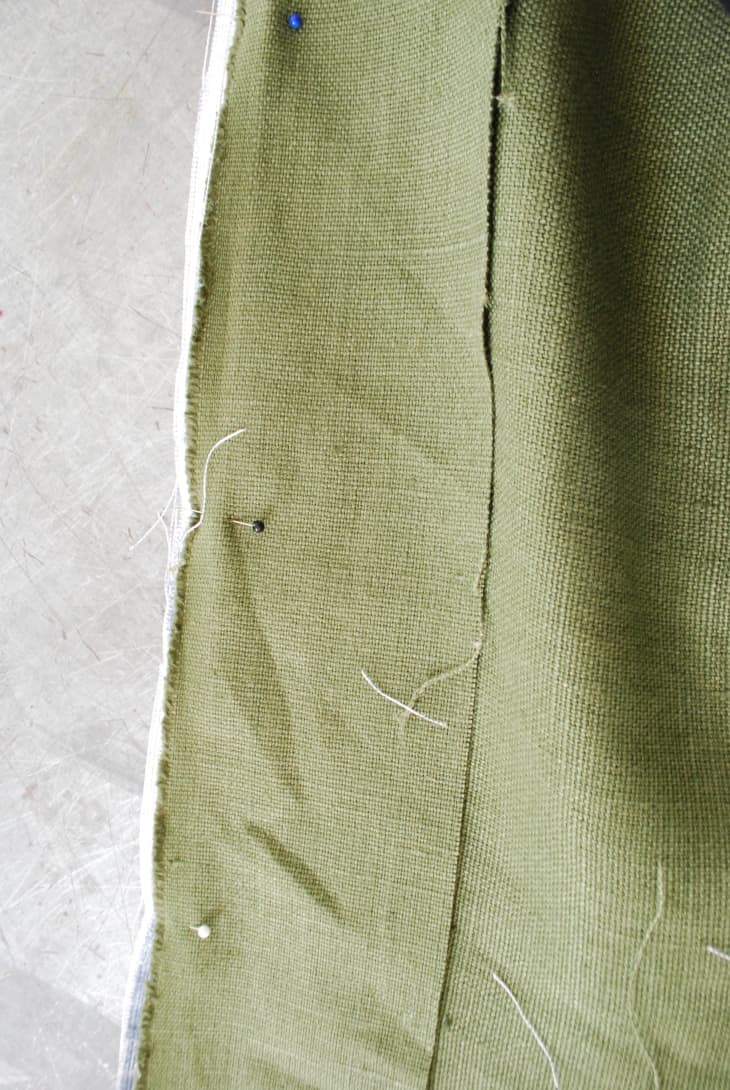
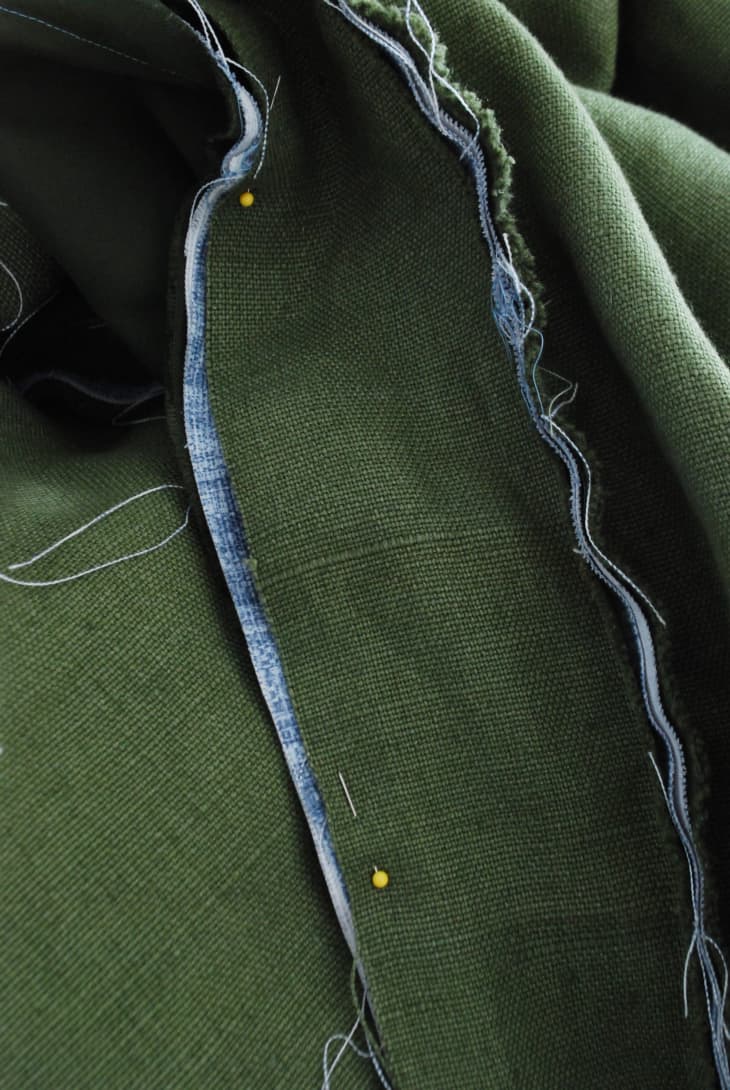
4. Next, pin your piping to the outside right side of one of the main fabric panels. The unfinished edges of the piping should be pointed out towards the edge of the fabric, with the corded part facing in.
Tip: If I originally cut 1″ fabric strips for the piping, I sometimes use the piping as a seam allowance guideand, instead of pinning, simplyline up the edge of the piping with the edge of the main fabric as I sew.
5. After you pin, go to the corners of your fabric, where the piping will make the turn, and make a handful of small perpendicular snips in the edge of the piping fabric. This helps the piping round the corner well.
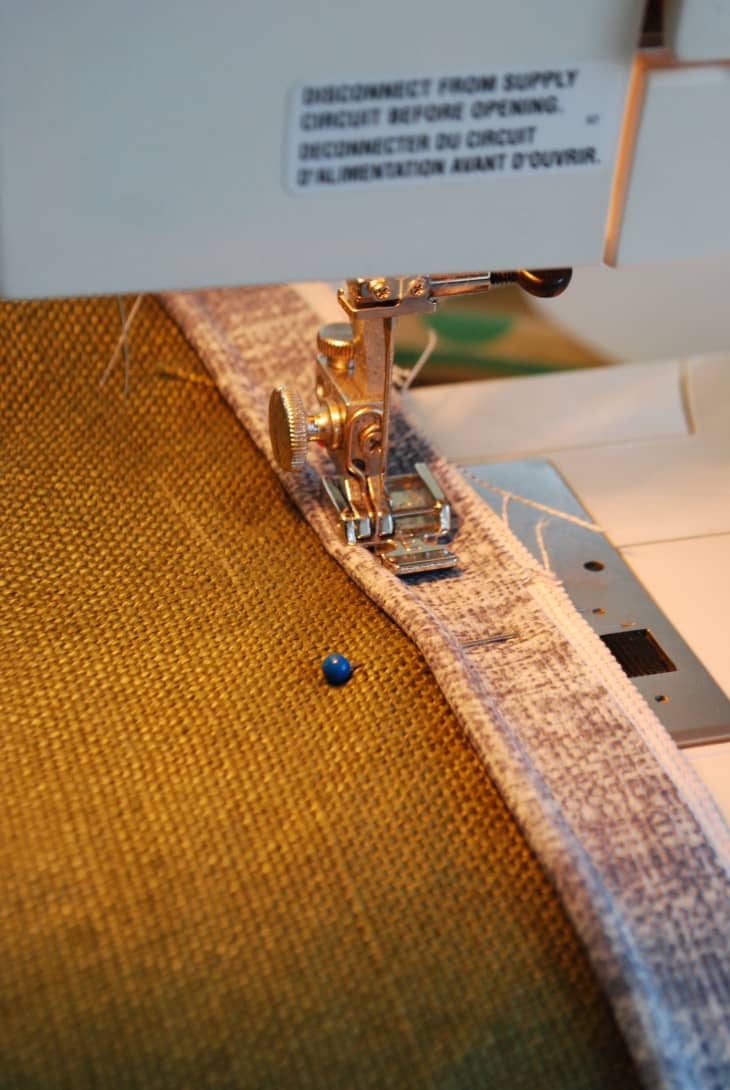
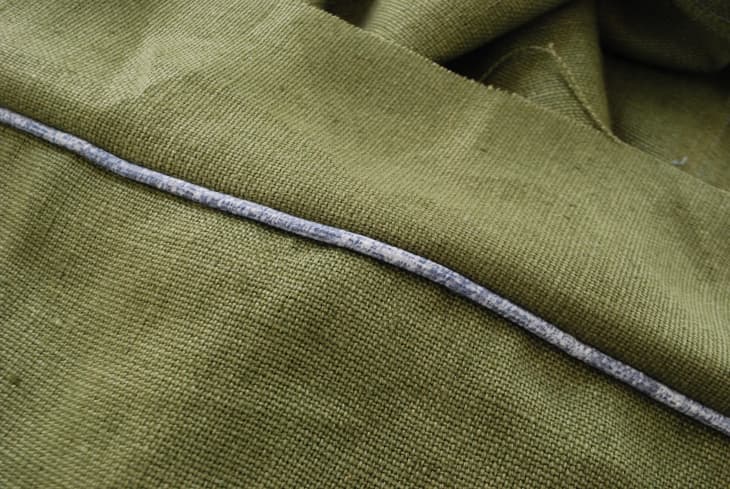
5. Start sewing the piping onto the fabric, again using the zipper foot, and stitching as close to the cord as possible.
6. When you get a couple of inches away from the first corner, pause a moment. If you forgot to make your snips on the corners while pinning, or if you didn’t pin in the first place, you can do those cuts now.
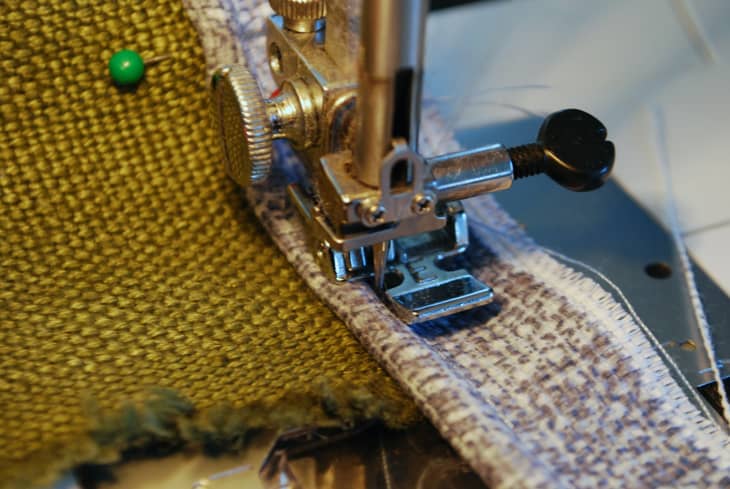
7. Going slowly, or with the hand wheel, move your needle to the exact spot where you want to make your corner. Leave the needle in the down position. With the needle still in the fabric, raise the pressure foot and pivot the fabric and piping 90 degrees. Repin if necessary, or make sure your piping edge is lined up with the edge of the fabric again. Then, lower the pressure foot and start sewing down the next side. Repeat at each corner and sew until the piping goes around all three sides of the fabric. Do the same for the next large piece of fabric.
8. Next pin and sew the 3″ fabric panel to one of the main pieces of fabric — right sides together. The piping will be sandwiched between the two when you sew. You’ll need to pivot at each corner again, as you did in the last step.
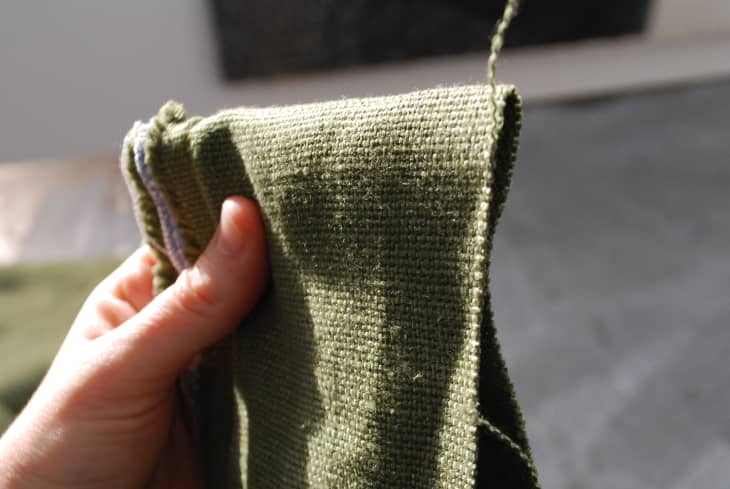
9. Once it’s sewn, flip the fabric over and examine to make sure all is well.

Especially look at the corners to make sure they look crisp and neat.
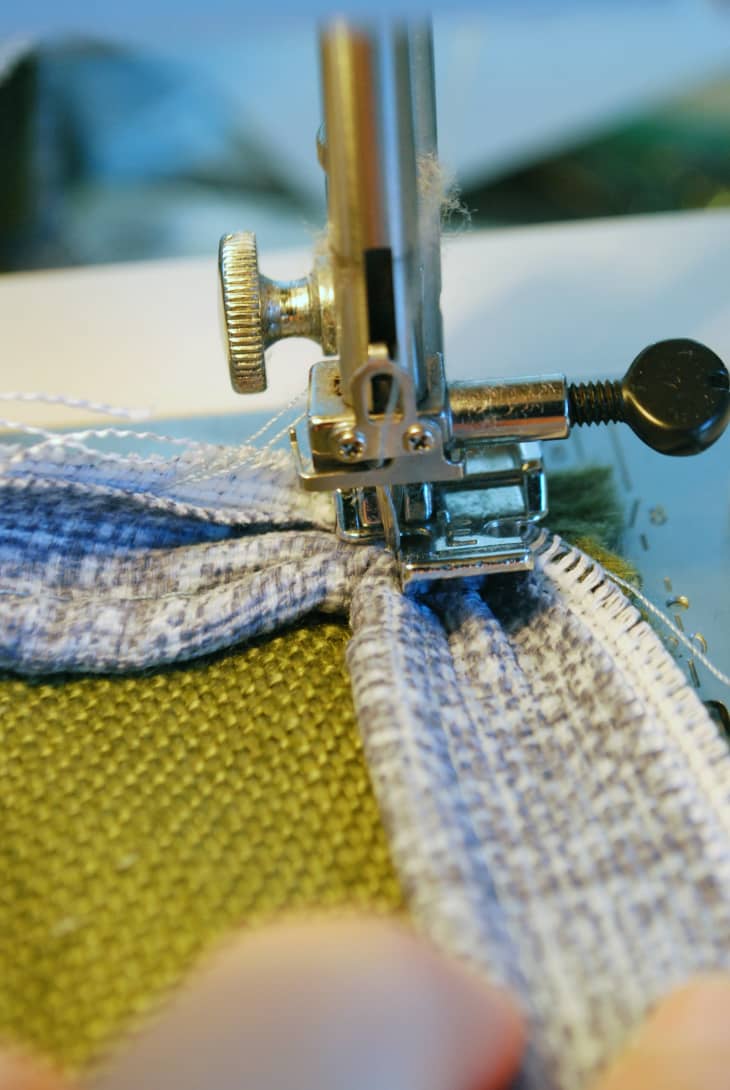
10. Next you’ll sew the panel to the second main piece of fabric. First, you want to make sure the respective corners of the two pieces are lined up nicely and squared off. To do this, fold the fabric at one of the corners you just sewed, make sure the edges of the middle panel are lined up on each side, and then crease the top of the fabric.
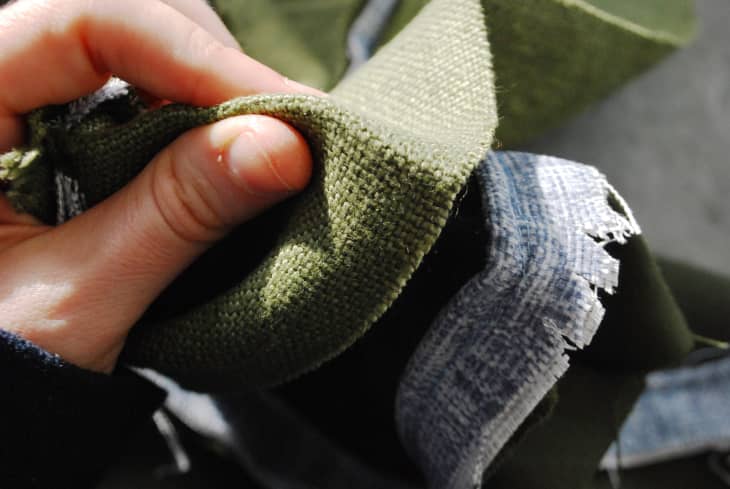
11. You then match up the crease with the corresponding corner on the second main fabric panel. Pin in place then repeat for the second corner.
12. Pin the rest of fabric all the way around, then sew. Flip right side out.
Tip: At this point, it’s a good idea to slip at least the plywood/hardwood piece into the fabric cover to make sure of the size. I wound up cutting my piece of wood down another couple of inches, due to an initially tight fit.
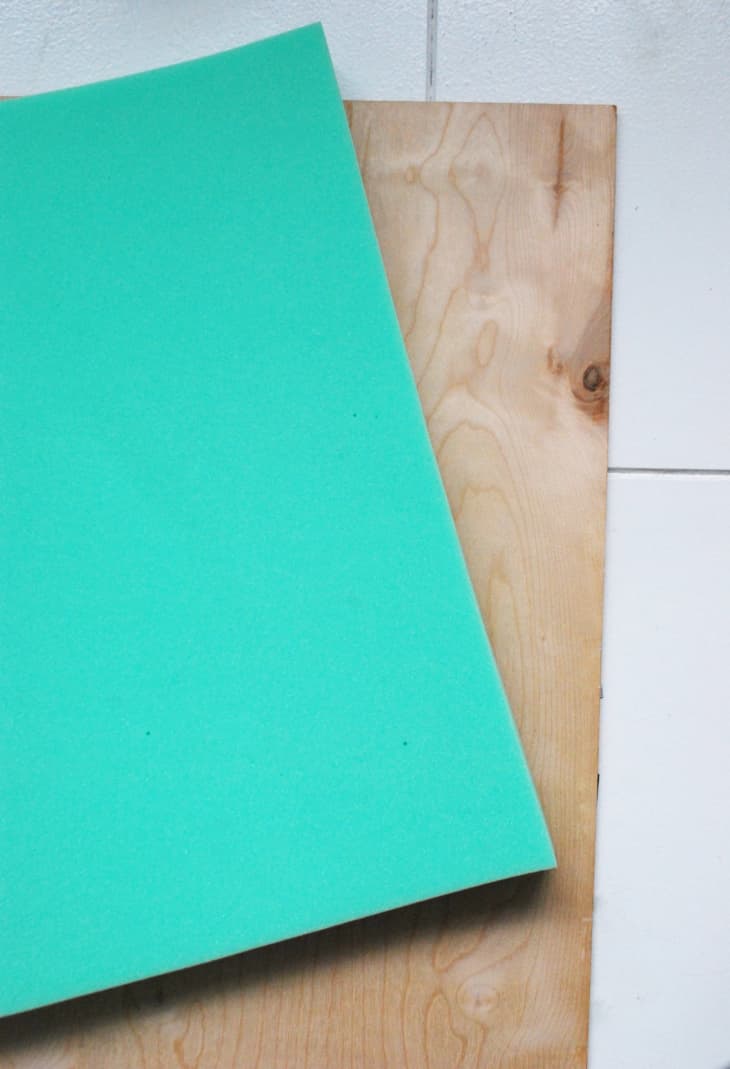
13. Cut your foam the same size as your plywood/hardwood backing, and stick it on using spray adhesive.
Tip: You may want to bolster the foam a bit with a layer or so of batting, wrapped around and stapled into the back of the hardboard. Batting evens things out, so the seams of the foam aren’t showing. Plus it adds another layer of cushion and comfort.
14. Slip the fabric cover over the headboard and pin the bottom for hemming. You want it to skim the bottom of the floor (without being too long).
15. Remove the cover, and hem it all the way around the bottom.
Have a really great DIY project or tutorial that you want to share with others? Let us know! We love checking out what you’re making these days, and learning from our readers. When you’re ready, click here to submit your project and photos.