

A No-Fuss Holiday Decoration that Lasts Forever & Doesn’t Take Up Space
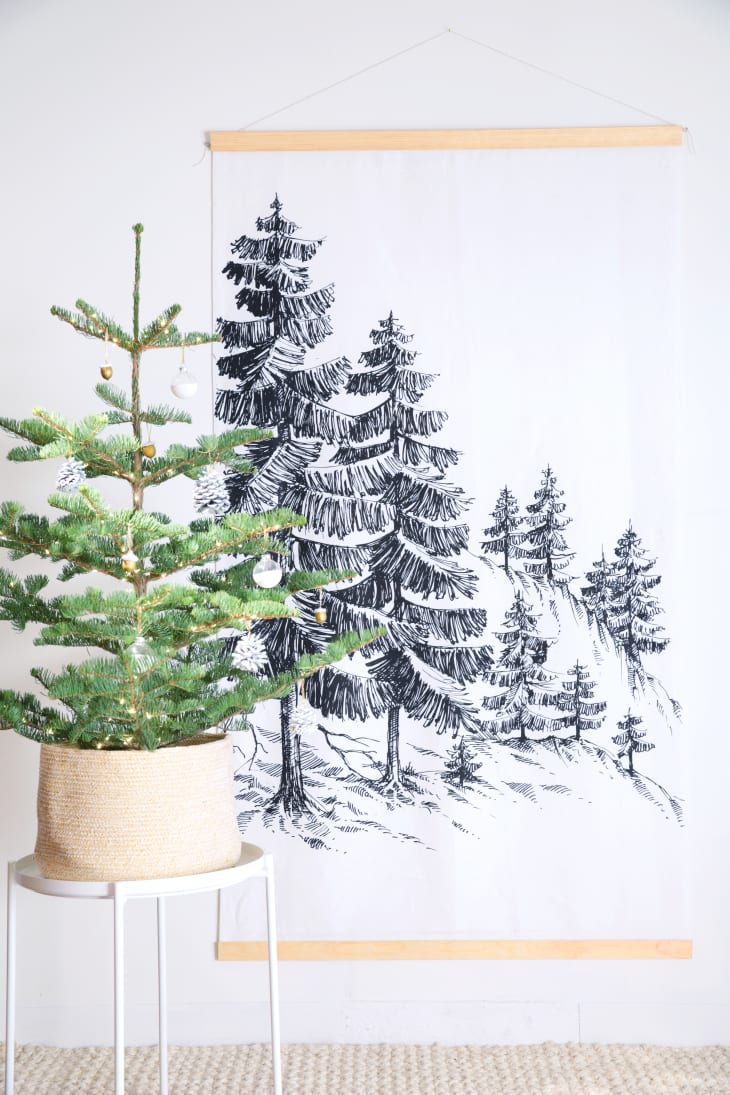

Remember the fabric Christmas tree that IKEA used to sell? Yeah, they don’t carry those any longer. Which is such a shame, because not only do these types of wall hangings last forever, but they are also great for small spaces because: a) they don’t have a footprint; and b) they are small and easy to store after the holidays are over. You can try searching for an old one on eBay, or you can easily make your own custom version that’s just as lovely as the original.
Here’s how to make one yourself:
Step #1: Find An Image
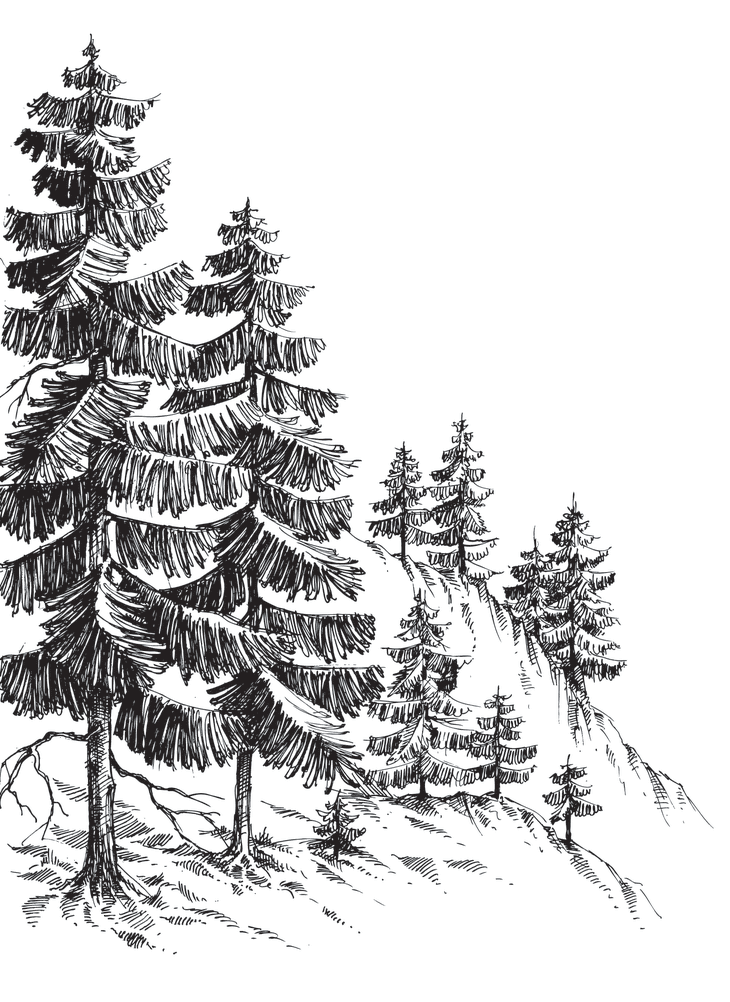
The key here is to find resizable artwork that, once you enlarge it, won’t lose its resolution. Vector files are ideal for this, and won’t get all grainy, blurry or pixelated when supersized. The image above is fromShutterstock(which sells images in packs of two for $29), but you can also google various images and see if you can find one that works.
Spoonfloweralso has some pre-designed options that use one yard.
Step #2: Resize Your Image

Using a photo editor like Photoshop or Gimp, resize your image to fit your intended wall space. Keep in mind that most printable fabric ranges in width from 42″ to 54″. Know your dimensions before you get started. If you’re working with a vertical image, that’s the max width. For landscape orientation, that’s the max height you have to work with.
To determine how large to make your image, refer to Spoonflower’sDesigning FAQ here:
In the world of digital printing, resolution is often expressed as dots per inch (dpi) and Spoonflower produces a good quality print at our minimum resolution of 150 dpi. When creating your design, you will need a minimum of 150 pixels for every inch of your final print dimension. For example, if you’d like an image to print at 4″ by 4″, you’ll want to prepare your file so that measures at least 600 by 600 pixels, since 4 inches x 150 pixels = 600. You can use this formula to size any image— just multiply the print width and height in inches by 150 pixels. Here are some basic sizes:
- 8″ = 1200 pixels
- 12″ = 1800 pixels
- 18″ = 2700 pixels
- 21″ =3150 pixels
- 24”= 3600像素
- 27″ = 4050 pixels
- 28″ = 4200 pixels
- 29″ = 4350 pixels
- 36″ = 5400 pixels
- 42″ = 6300 pixels
- 54″ = 8100 pixels
- 56″ = 8400 pixels
- 58″ = 8700 pixels
Step #3: Order Fabric
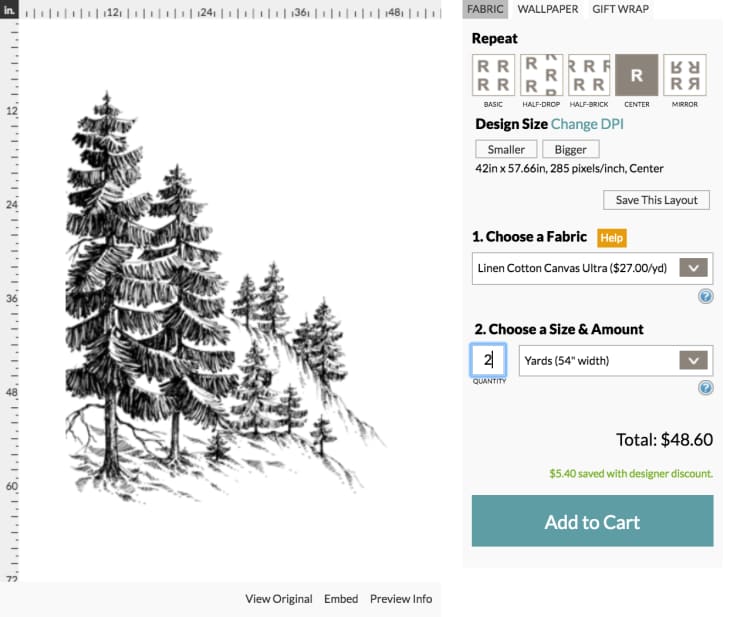
Go toSpoonflowerto upload your resized file, then choose your desired fabric and yardage. We used two yards of their Linen Cotton Canvas Ultra. Choose the option to center the image on the piece of fabric, versus repeat the design. Save the layout when you’re done.
Note: If you want to add more white space up top, for example, you’ll have to manipulate the image digitally before uploading onto the site. Spoonflower doesn’t let you manually shift the image up or down by degrees.
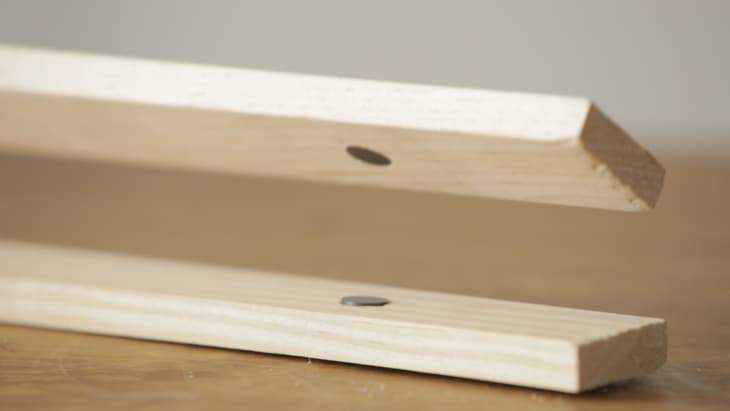
Step #4: Make A Frame & Finish
Depending on your image, you might want to finish off the edges of the fabric with a sewing machine or a no-sew product like fusible tape. In our case, since the tree image was cut off on the left-hand side, we hemmed it to get rid of excess white space on both sides.
You can tack your finished fabric to the wall, but this basic magnetic wooden frame is incredibly easy to make and it takes your wall hanging up a notch, while still keeping it natural-looking and simple. See thefull frame tutorialhere.