Seasons Greetings: How To Make Your Own Custom Greeting Card

Liz Corkery is a Sacramento-based artist who founded and runsPrint Club Ltd., an online source for fine art silkscreen prints. Through Print Club, Liz works with other artists to create and sell limited edition works on paper. She has shared some simple instructions for creating your own set of festive greeting cards for the holidays — using a technique that can be used for any kind of design. She has partnered with talented Sacramento friends,Create + Gatherwho have beautifully documented the whole printing process!
For more content like this follow
Take it away, Liz:
As an Aussie living overseas, I always end up with a long list of friends and family abroad to send holiday greetings to. The cost of sending out dozens of cards can seriously add up! So I’ve taken to making my own cards and I am exciting to share these techniques.
I used, but feel free to use any phrase you want (just be sure to flip it so it reads backwards as it will be re-flipped when it comes to printing time). I created a 5″ x 7″ design to ensure I could purchase envelops to fit. If you buy an “easy cut” linoleum (lino) block, it can be cut down to size very easily using an X-acto knife.
What You Need
Materials
- A set of blank cards & envelopes
- A set of water-based block printing inks
- Adhesive-backed foam sheets
- Single hole punch
- A piece of linoleum carve block
- A piece of block or plywood cut to size
- A tray for rolling out your colors
- Kraft paper or plastic covering for underneath your printing area.
- Transfer paper
Tools
Instructions
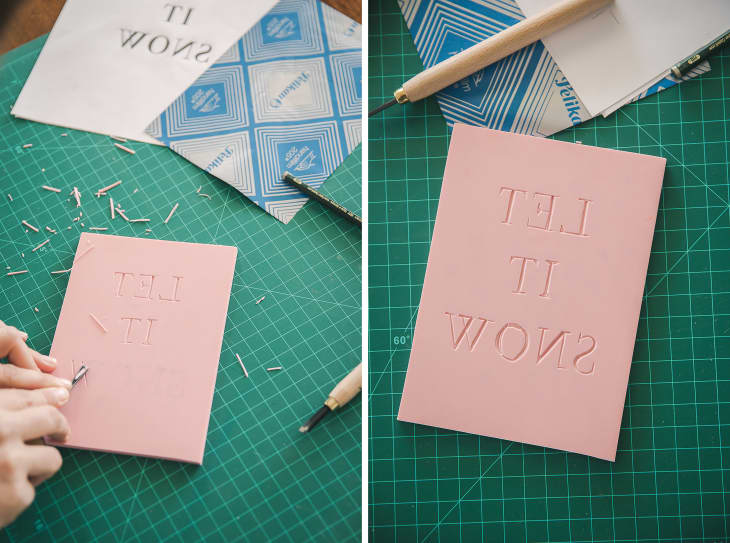
1.Transfer your text or design onto your linoleum block and cut.我喜欢用复写纸转移印花text onto the lino block that I will be cutting out, but feel free to draw a design directly onto the block (just remember whatever you print will be a reflection of what you carved into your block). Once the outline has been transferred, it’s time to cut out each letter. Lino tools are sharp by nature and always need to be cut in a direction away from your hand. A good technique for getting around curves is to keep your cutting hand stationary and move the lino block around beneath it. And don’t sweat the imperfections – I assure you they will only add charm to your final design.
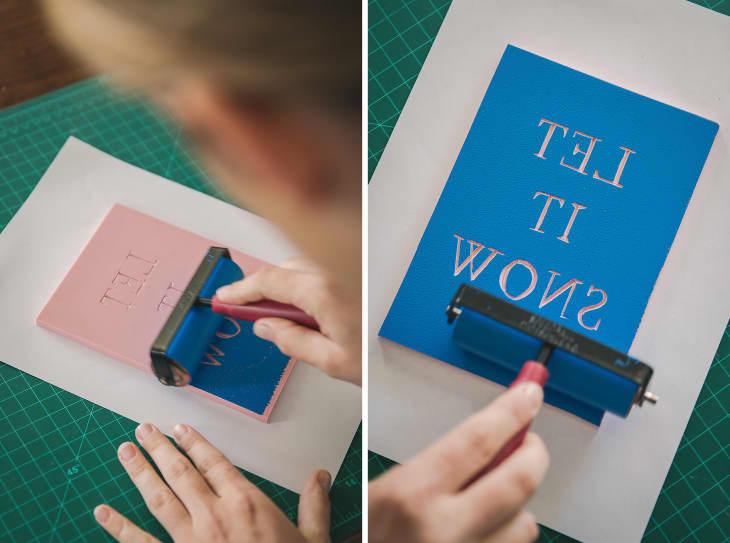
2.Ink Up.Squirt a thin line of fabric ink at the top of your tray and use the brayer to roll out an even layer of the ink. Once it’s fully distributed on the brayer, roll the ink onto your cut lino block in an even layer.Pro-tip:滚动迅速接墨水(what you want to do when you’re getting it on the brayer from the tray) and rolling slowly will lay it down (what you want when you’re inking your block for printing.)
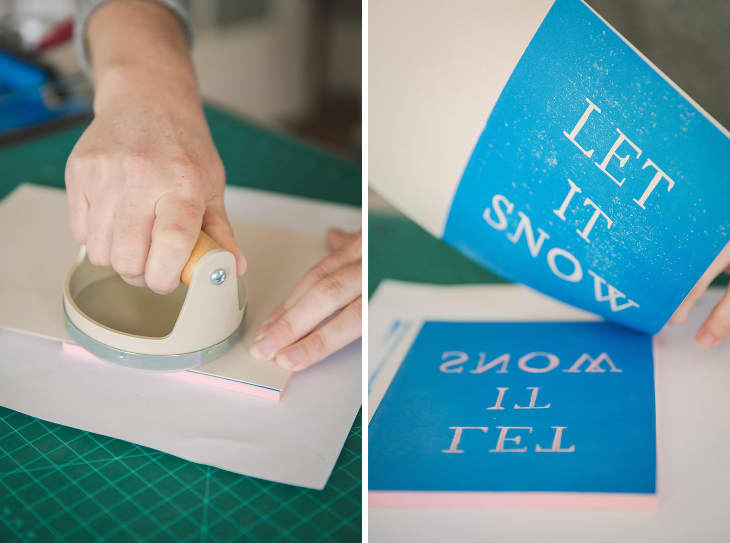
3.Print.After inking up your block, grab your blank card or cardboard and line it up with the edges of your inked up block. Grab your baren and move it across the surface in small circular motions, applying firm even pressure to all areas of the block. Don’t be surprised if your first couple of impression are a bit inconsistent, as you keep going and the ink builds up on the block you will start to get more consistent printing. Pull the card carefully back from the block and enjoy reading your greeting the right way around. Let these dry completely before moving on to the snowy pattern of the second color.
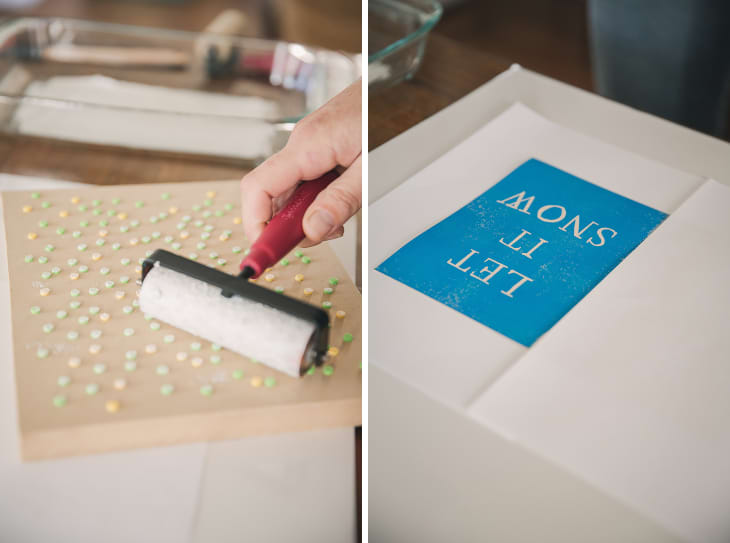

4.Add the snow.I’ve become a bit obsessed with using sheets of adhesive-back foam to create block printing stamps (see ourThanksgiving napkin postfor more details), so this design wouldn’t be complete without it. I used a one-hole punch to punch little circles that were then stuck down to a piece of wood. Randomly arrange them, and then ink them up in the same way as the first print. The block of “snow” was larger than the front area of the card, so I masked out the printing area with some scrap pieces of paper. After inking up, place the block face down on your card and press gently. You don’t need too much pressure for this part of the design as the foam is so squishy and has already captured quite a lot of your ink.
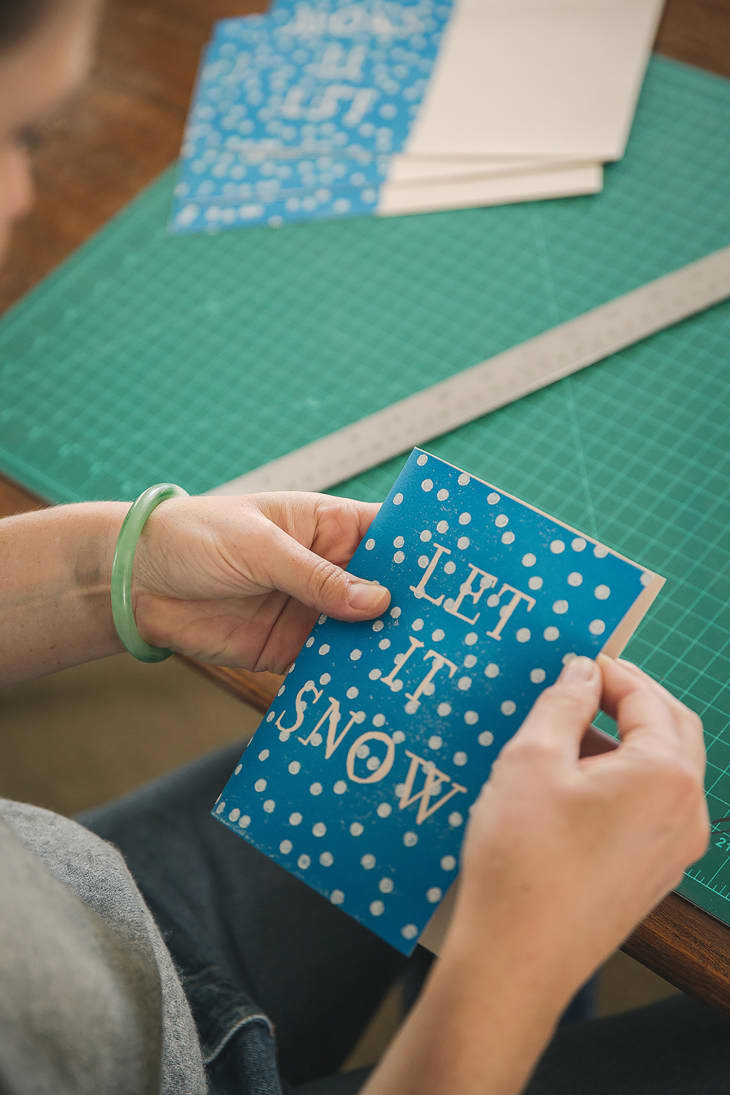
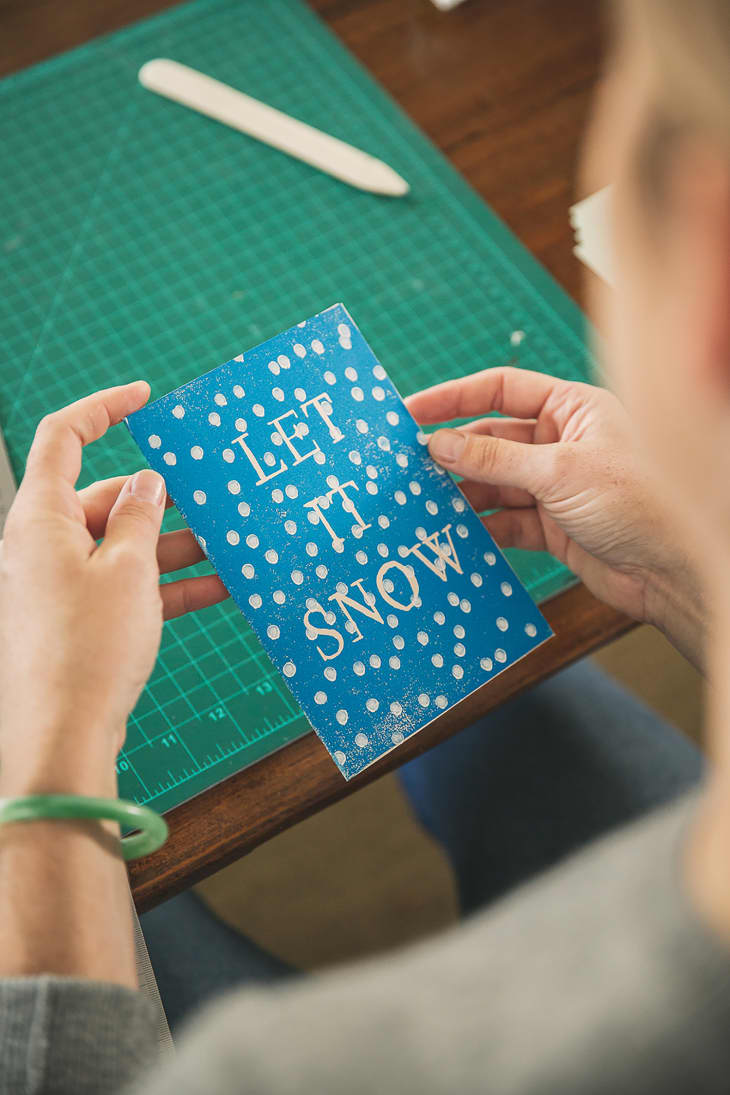
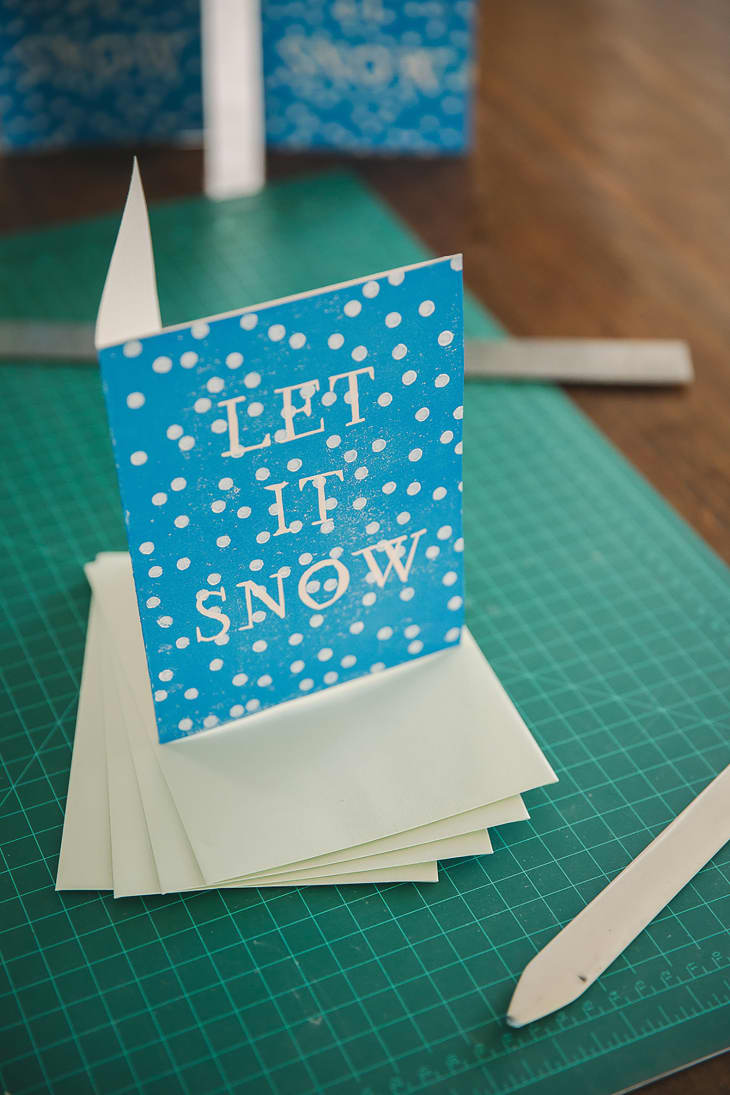
5.Folding and finishing.When the snow has dried, you can fold up your cards, write a little note, stuff into an envelope, and send to the ends of the earth!
Thanks to Liz for sharing her expertise, and her tutorial! To see more of her work with or to purchase one of their prints, visitHave a really great DIY project or tutorial that you want to share with others? Let us know! We love checking out what you’re making these days, and learning from our readers. When you’re ready, click here to submit your project and photos.